Enabling Hardware Virtualization Extension:
First, you have to enable hardware virtualization extension from the BIOS of your CentOS 8 machine. For Intel processors, enable VT-x or VT-d CPU extension. For AMD processors, enable AMD-v CPU extension.
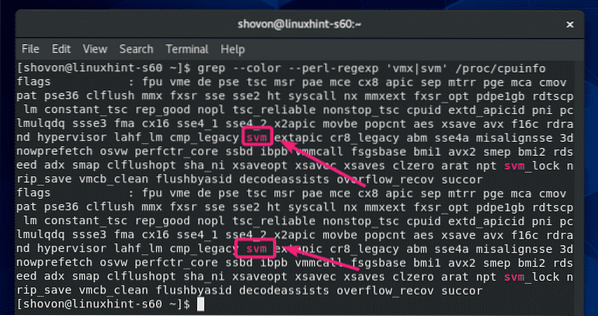
Once you have hardware virtualization enabled, run the following command to verify that VT-x/VT-d or AMD-v extension is enabled.
$ grep --color --perl-regexp 'vmx|svm' /proc/cpuinfoIn my case, svm flag is enabled as you can see in the screenshot below. I am using an AMD processor.
If you're using an Intel processor, vmx flag will be enabled. So, hardware virtualization is enabled. Great!
Installing KVM/QEMU During CentOS 8 Installation:
You can configure KVM/QEMU virtualization on CentOS 8 during CentOS 8 installation by selecting Virtualization Host from the Software Selection.

Installing KVM/QEMU using YUM Package Manager:
If you did not install Virtualization Host environment during the installation of CentOS 8 to configure KVM/QEMU, you can still do it afterwards using the YUM package manager.
The Virtualization Host environment is available as a group on CentOS 8. You can install the Virtualization Host group using the YUM package manager with the following command:
$ sudo yum groupinstall "Virtualization Host"
To confirm the installation, press Y and then press
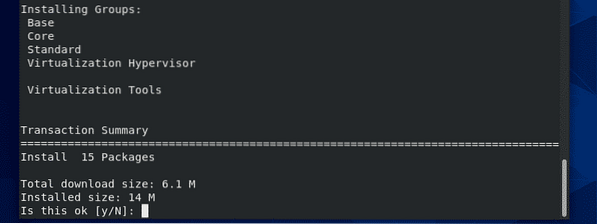
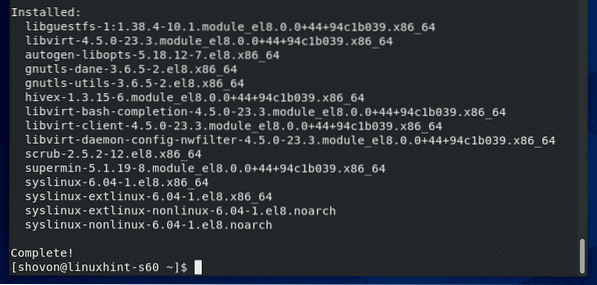
All the packages listed in the Virtualization Host group should be installed.
Managing libvirtd Service:
Now, check whether the libvirtd service is running with the following command:
$ sudo systemctl status libvirtdAs you can see, the libvirtd service is running. It is also enabled to start automatically on system boot.

If libvirtd service is not running, then start it with the following command:
$ sudo systemctl start libvirtdIf libvirtd service is not enabled to start automatically, then enable it with the following command:
$ sudo systemctl enable libvirtdChecking if KVM/QEMU is Working:
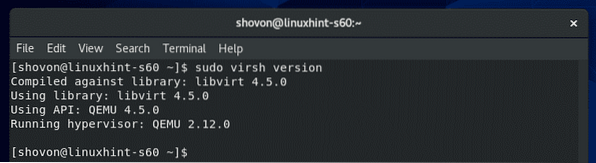
Now, to check whether KVM/QEMU is working properly, run the following command:
$ sudo virsh versionAs you can see, KVM/QEMU is working correctly. If it didn't, you would get a connection error message here.
CentOS 8 at the time of this writing shipped with libvirt 4.5.0 and QEMU 2.12.0.
Allow QEMU/KVM Commands Without Root:
If you want to allow your login user (non-root) to run virsh command or other KVM/QEMU commands, or use these commands without sudo, then add your login user to the libvirt group as follows:
$ sudo usermod -aG libvirt $(whoami)Command Line Client for Installing KVM/QEMU Virtual Machines:
virt-install is a command line tool for easily installing KVM/QEMU virtual machines. virt-install is based on libvirt. So, the virtual machines installed using virt-install can also be managed with virsh and virt-manager.
You can install virt-install using YUM package manager as follows:
$ sudo yum install virt-install
To confirm the installation, press Y and then press
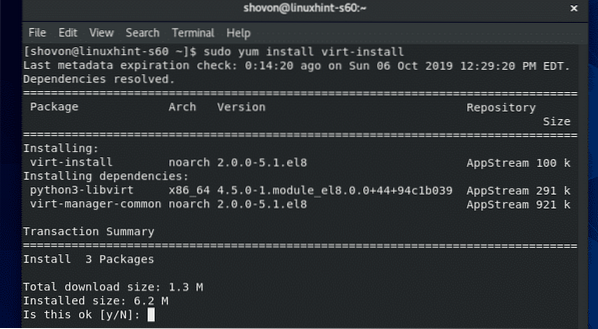
virt-install should be installed.

Run the following command to check whether virt-install is working:
$ virt-install --versionvirt-install is working.

Installing Virtual Machine Manager Graphical Utility:
Virtual Machine Manager is a graphical utility to create, manager KVM/QEMU virtual machines. If you're going to run KVM/QEMU virtual machines in a CentOS 8 server with GUI (graphical user interface), then Virtual Machine Manager is a must have tool for you.
You can install Virtual Machine Manager using the YUM package manager as follows:
$ sudo yum install virt-manager
To confirm the installation, press Y and then press
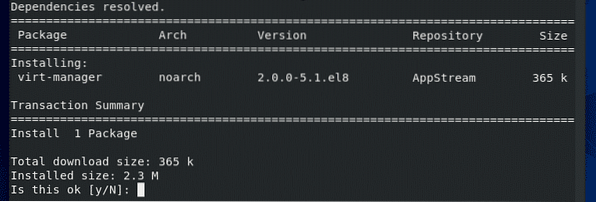
Virtual Machine Manager should be installed.

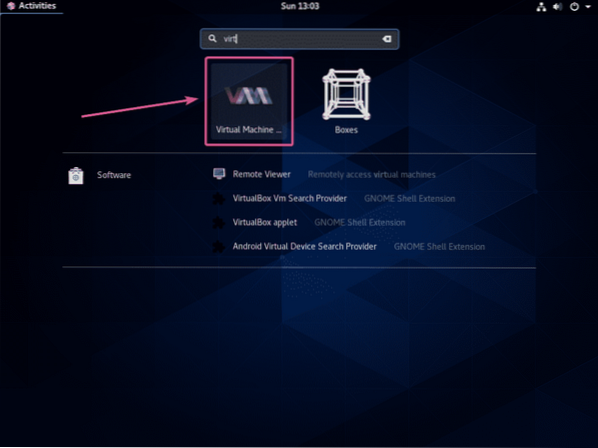
Once Virtual Machine Manager is installed, you can find it in the Application Menu of CentOS 8 as you can see in the screenshot below. Click on the Virtual Machine Manager icon.
Virtual Machine Manager should start and automatically connect to the KVM/QEMU running on your CentOS 8 machine using libvirt.

Remotely Connecting to the KVM/QEMU Server:
You can setup a CentOS 8 KVM/QEMU headless server and manage it remotely from another computer using Virtual Machine Manager.
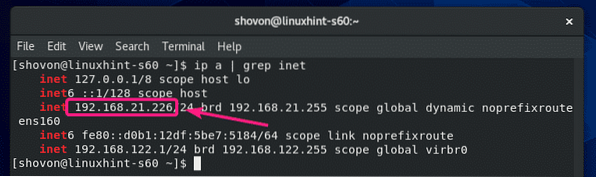
Once you install KVM/QEMU on CentOS 8, run the following command to find the IP address of your CentOS 8 machine:
$ ip a | grep inetAs you can see, the IP address of my CentOS 8 machine is 192.168.21.226. It will be different for you. So, make sure to replace it with yours from now on.
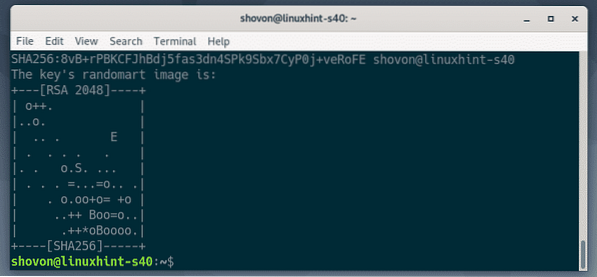
Then, from another Linux computer (in my case Debian 10), run the following command to create a SSH public-private key pair.
$ ssh-keygen
Press

Press

Press
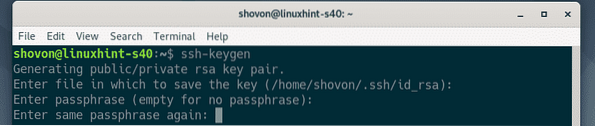
SSH public-private key pair should be created.
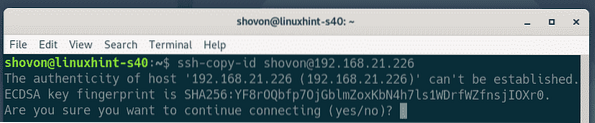
Now, copy the SSH key to your CentOS 8 machine with the following command:
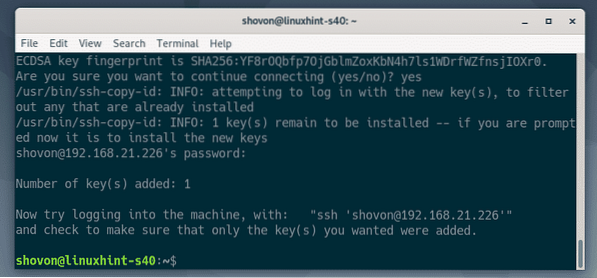
$ ssh-copy-id [email protected]NOTE: Here, shovon is my login username and 192.168.21.226 is the IP address of my CentOS KVM/QEMU server. Don't forget to replace it with yours.

Type in yes and press
Type in the password of your login user and press
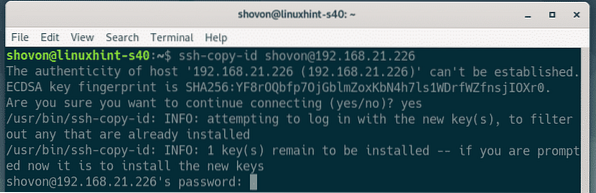
The SSH key should be copied over to the CentOS 8 KVM/QEMU server.
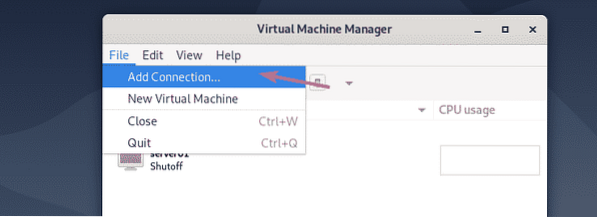
Now, open Virtual Machine Manager and go to File > Add Connection…
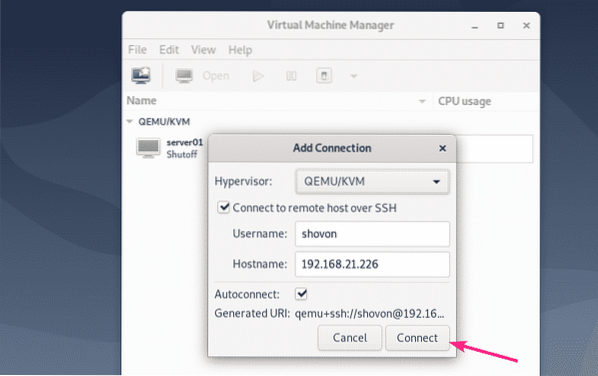
Now, select QEMU/KVM as Hypervisor, check Connect to remote host over SSH. Then, type in the login username and the IP address of your CentOS 8 KVM/QEMU server in the Username and Hostname section respectively.
If you want to automatically connect to the CentOS 8 KVM/QEMU server when you start Virtual Machine Manager, check the Autoconnect checkbox.
Once you're done, click on Connect.
Your CentOS 8 KVM/QEMU server should be listed in the Virtual Machine Manager dashboard.
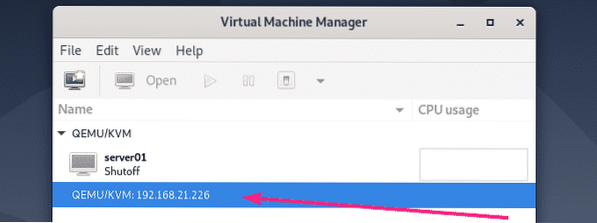
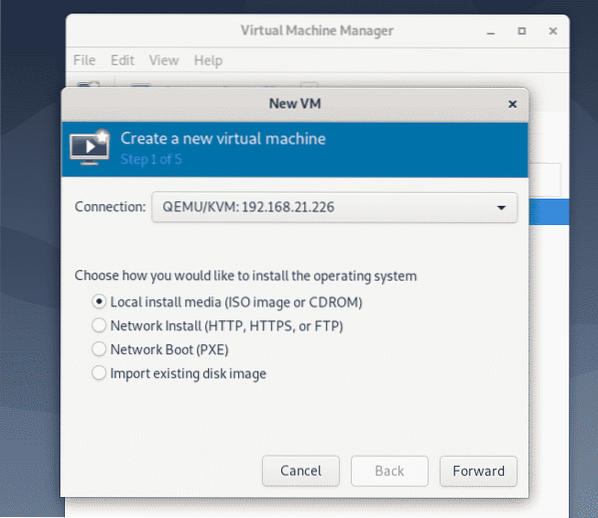
If you want to create a new virtual machine in the CentOS 8 KVM/QEMU server, then right click (mouse) on it and select New.
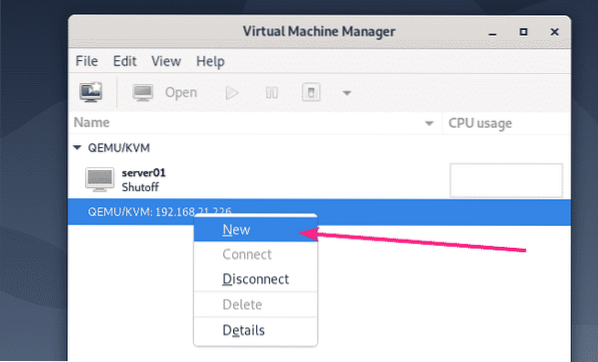
Then, follow the wizard.
So, that's how you install KVM/QEMU on CentOS 8 and connect to it remotely using Virtual Machine Manager. Thanks for reading this article.


