
Bash in Windows 10
Enabling Bash in Windows 10 offers various benefits, as it creates multiple native Linux capabilities for any Windows system. Bash eliminates all the requirements of running dual-booting by Ubuntu to access many Linux capabilities.
Following the Windows 10 anniversary update, Windows users can now easily access Bash in Windows. This article shows you various methods that you can use to enable Bash in Windows 10 without experiencing any errors. In addition to the latest Windows version, this article will also cover how to enable Bash in older versions of Windows.
How to Enable Bash in Windows 10
This article covers two different methods for enabling Bash in Windows 10 because the method that you use depends on the version of Windows that is installed on your system. Procedure One is specifically for the latest Windows version and should work well for most users. Procedure Two is for the older versions of Windows and requires the user to enable developer access to enable Bash in Windows.
Procedure One
It is required to follow a step-by-step process to enable Bash in Windows 10, so, in the first step, enable the Windows Subsystem for Linux.
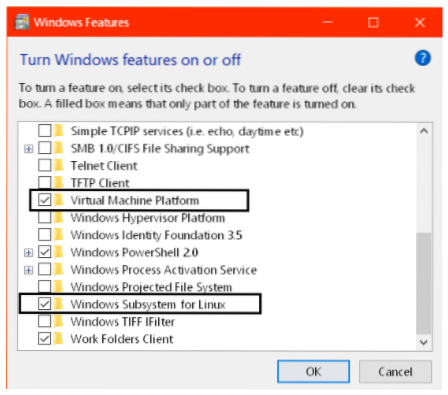
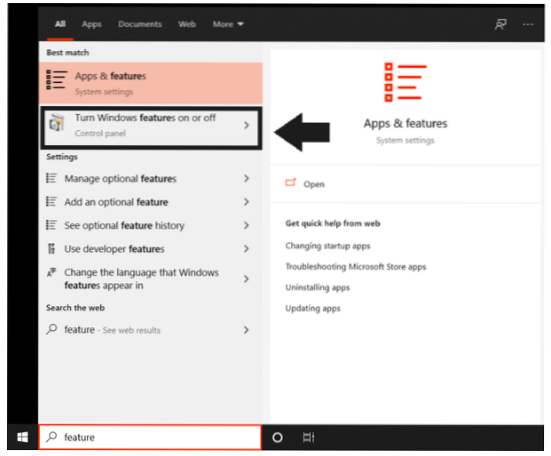
Search the term “feature” in the Start Menu search bar and select “Turn Windows feature on and off” from the results list.

In the features list, enable the “Windows subsystem for Linux” and “Virtual machine platform” options.
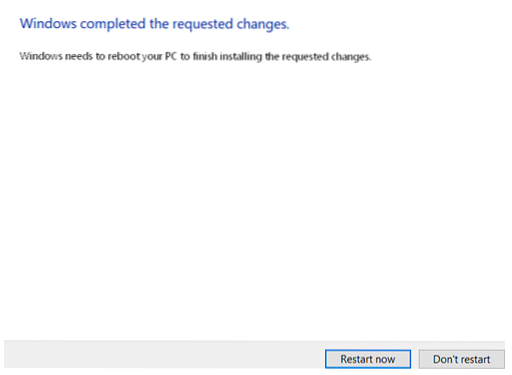
Windows will take a few moments to apply these changes to the system. Restart your system to finalize the changes.
Once your system restarts, open the “Microsoft Store” and then type and search “Linux”.
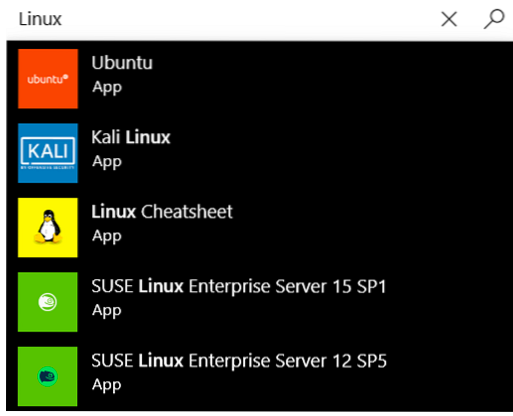
After searching Linux, you will see a list of different Linux distros. We will install “Ubuntu.” It is recommended to go with Ubuntu because the commands to install a new package in this Linux subsystem will differ.
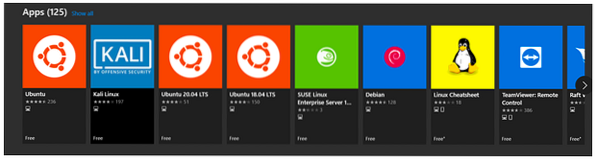
Click the “Get” button to download and install the Ubuntu Linux distro in Windows.

Wait until the system installs the downloaded file, then search for the installed Linux distro in the Start Menu search bar. In this case, we have installed Ubuntu, so we searched for the term “Ubuntu” and opened it from the Start Menu.
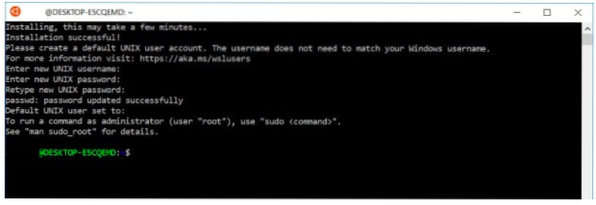
Next, set the username and password. This username and password set-up will only occur once, and Bash will be directly available from the next time you open it.
Now, you should be able to use Bash in Windows 10 without any difficulty.
Procedure Two (Older Windows Versions)
If you cannot update your Windows system to run Bash, it is encouraged to follow the procedure below to enable Bash in older versions of Windows 10.
First, open “Settings” from the Windows Start Menu.

Navigate to “Update & security” then select “For Developers” from the left column.
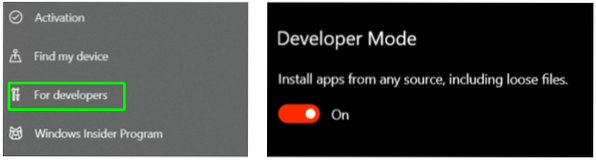
Turn on Developer Mode to enable the developer's option in Windows.
Now, search the term “feature” in the Start Menu search bar and select “Turn Windows feature on and off.” You may also open this from the control panel using the Windows and X keys as a shortcut.
Select “Windows Subsystem for Linux” and click on the OK button.

Restart the system to implement these changes in your Windows system.
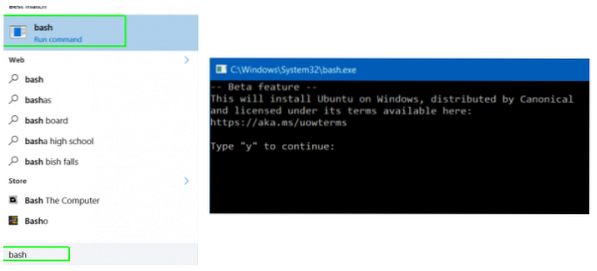
After restarting the system, search “Bash” in the Start Menu search bar, then select it from the list. Type “Y” and press the Enter button in Bash to install Ubuntu. It will take some time to install Ubuntu on your system.
Finally, generate the username and password for using the Bash shell on your Windows system.
Bonus Tip: Install Ubuntu Font
The Ubuntu font offers an even more authentic and unique experience when using this distro in Windows 10. The following section shows you how to install the Ubuntu font in your Windows system.
First, download the Ubuntu Font Family from the official Ubuntu website.
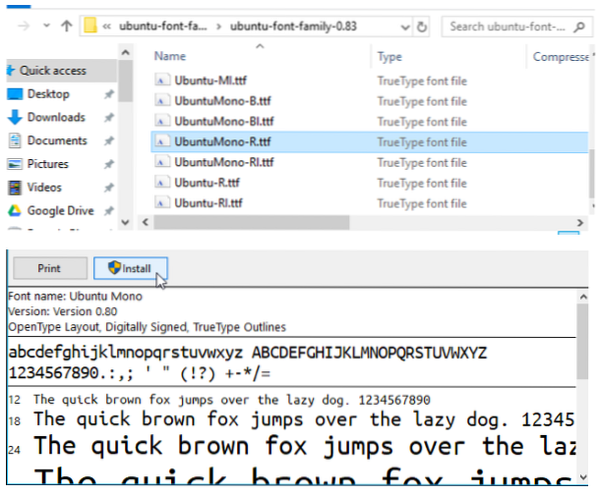
The download file will be a .zip file. Open the file and look for the “UbuntuMono-R.ttf” file (it is a Ubuntu monospace font). After selecting this file, click the install button to easily install this font onto your system.
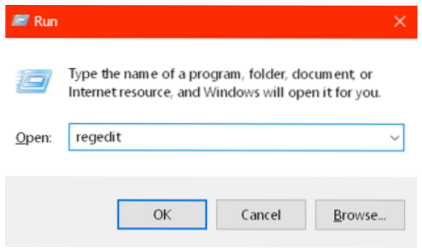
Open the Run utility in your system using the Windows and R keys as a shortcut.
Type “regedit” in the run utility and press the Enter key to process this command.
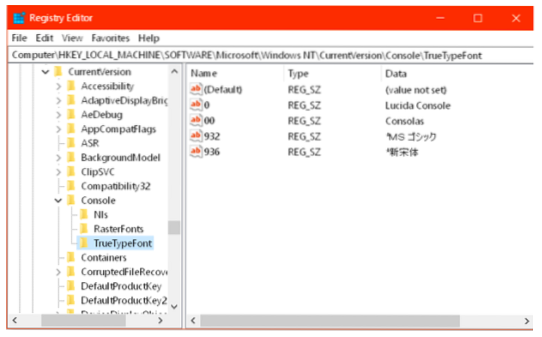
Now, the Registry Editor will appear on the screen. Paste the following command in the Registry Editor:
HKEY_LOCAL_MACHINE\SOFTWARE\Microsoft\Windows NT\CurrentVersion\Console\TrueTypeFont
After that, click Edit>New>String Value and define this new value as “000.”
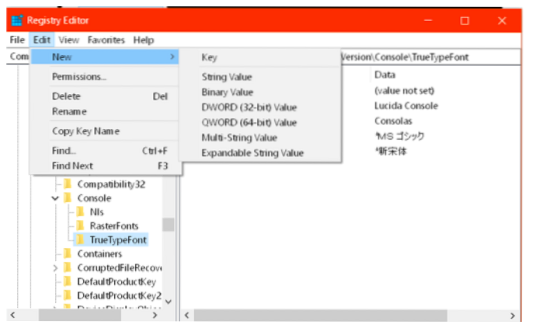
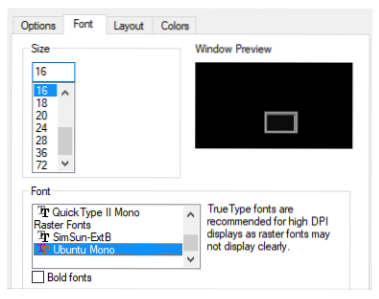
After defining the value, double click the term “000,” then enter the Ubuntu Mono as its font.
Troubleshooting Issues
Issue 1: Installation failed with error 0x80070003
This error occurs due to the “Windows Subsystem for Linux” not running on the C drive, which is Windows's system drive. To address this issue, ensure that your Linux system is installed in the C drive.
Issue 2: The WSL optional component is not enabled. Please enable it and try again.
This issue occurs when the “Windows Subsystem for Linux” has not been enabled appropriately. Follow Procedure One covered previously in this article to resolve this error.
Conclusion
This article covers all the information essential for enabling Bash in Windows 10. The ability to use Bash in Windows 10 has become a reality because of the collaboration between Microsoft and Canonical (Ubuntu's parent company). Bash in Windows 10 offers various benefits. With Bash, you can create bash scripts, modify the local Windows file system, use various NIX command-line utilities, and more.
In this article, we also included some ways to tackle certain common errors if you come across any while performing these procedures in your system. Further, the article taught you how to download and install the Ubuntu font for a better experience and more authentic feel while working in Bash in Windows 10.


