For example, let's say, you don't want to install Node.js on your computer and still want to develop Node.js applications or test an existing one. In that case, you can simply use a Node.js Docker container.
Another example is where you need to test your Node.js application on different versions of Node.js. In that case, you can use different Node.js Docker containers with different version of Node.js installed to test your application.
In this article, I will show you how to set up Node.js development environment using Docker. So, let's get started.
Setting Up Project Directory:
In this section, I will clone one of my Node.js API app from GitHub to my ~/Projects/ directory just for testing Docker Node.js development environment I am about to show you how to setup. This is not required. You can always use your own Node.js app if you want.
First, I am going to navigate to my ~/Projects/ directory as follows:
$ cd ~/Projects/
Now, I am going to clone my shovon8/angular-hero-api GitHub repository as follows:
$ git clone https://github.com/shovon8/angular-hero-api
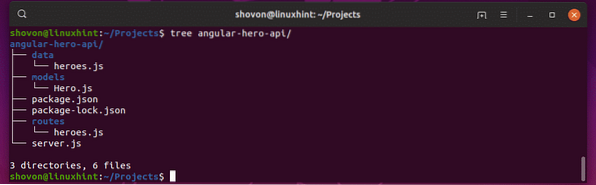
The project files will be in the angular-hero-api/ directory as you can see in the screenshot below.
Node.js Docker Images:
There are official container images for different version of Node.js built on top of different Linux distribution on DockerHub. Visit https://hub.docker.com/_/node/ from your favorite browser to find the Node.js image you need. As you can see, the tag name for all the Node.js images are listed in the DockerHub page of Node.js. You can either use Debian Jessie/Stretch, Alpine, ChakraCore Linux distribution based images for different versions of Node.js.
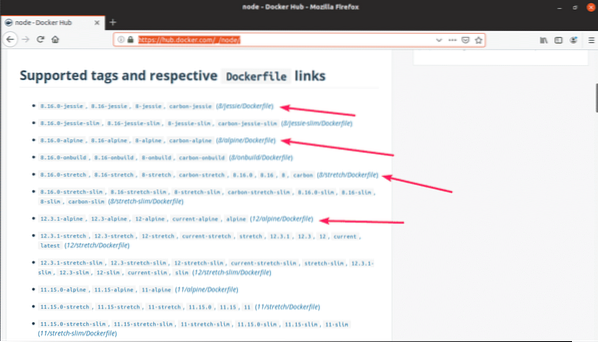
Usually, you don't have to know much to use a Node.js Docker image. If you want to use Node.js version 12, then all you have to do is write node:12 when you make a container. For Node.js 10, it is node:10. For Node.js 8, it is node:8. It's that simple.
Configuring the Node.js Development Environment:
In this section, I am going to configure Linux command aliases for my Node.js API app. That way, I can easily use any version of Node.js I want to run my app.
In each of my Node.js project directory, I will create a new file source. In that file, I will keep the command aliases like node12 for Node.js 12 runtime, node10 for Node.js 10 runtime, node8 for Node.js 8 runtime running on Docker. You can reuse the same source file with slight modification on your other Node.js projects as well.
First, navigate to your project directory as follows:
$ cd angular-hero-api/
Now, create a source file with the following command:
$ nano source
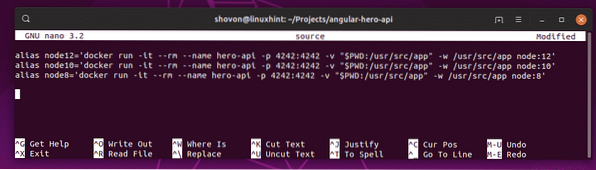
Now, type in the following lines in the source file.
alias node12='docker run -it --rm --name hero-api -p 4242:4242 -v"$PWD:/usr/src/app" -w /usr/src/app node:12'
alias node10='docker run -it --rm --name hero-api -p 4242:4242 -v
"$PWD:/usr/src/app" -w /usr/src/app node:10'
alias node8='docker run -it --rm --name hero-api -p 4242:4242 -v
"$PWD:/usr/src/app" -w /usr/src/app node:8'
Here, -it means, run the container in interactive mode.
-rm means remove the container automatically when it's no longer needed.
-name hero-api defines a name for the container.
-p 4242:4242 means the container port 4242 is forwarded to the destination port (on your computer) 4242. The format of this option is -p destination:source. Remember, the first port before the colon (:) is the destination port. If you want to access your application on some other port than 4242 on your computer, then you have to change the destination port. If your applications run on some other port than 4242. Then you have to change the source port.
NOTE: As I will only be using one of the containers at any one time, the name and destination port can be the same. If you wish to run or test your Node.js application on multiple Node.js version at the same time, then make sure the name and destination port is different for each of the containers in the source file.
Once you're done, save the file by pressing
Now, enable the aliases with the following command:
$ source source
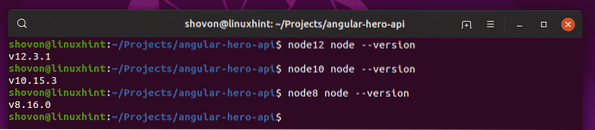
Now, you can run any version of node runtime whenever you need with node12, node10, node8 commands as you can see in the screenshot below.
Running Hero API Node.js App:
Now, let's see how to run the angular-hero-api app from my GitHub repository with this setup. I am going to use Node.js 12 runtime first, then go for Node.js 10 and Node.js 8 runtime to show you that it works in each of the versions.
The API app does not have any node modules installed. So, you have to install all the required node modules with npm install command as follows:
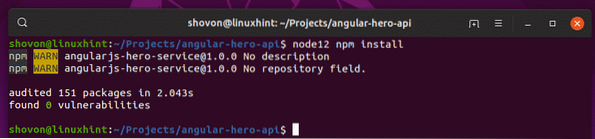
$ node12 npm install
The node modules are installed as you can see in the screenshot below.
Now, run the Node.js API app as follows:
$ node12 npm run test
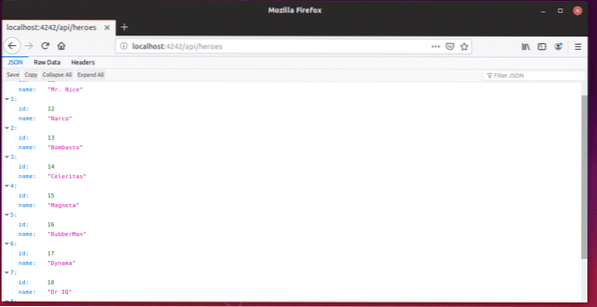
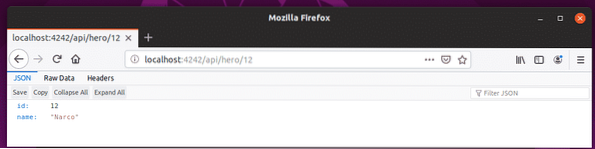
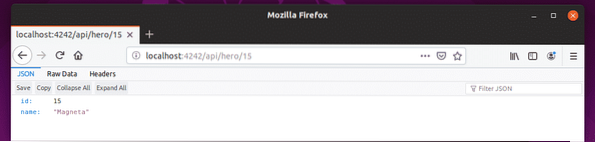
As you can see, the API server is running on port 4242 on the container. I also forwarded the port to 4242 on my computer. So, I should be able to access it on port 4242.

Yes, I can access it. It's working as expected.
Now, stop the container by pressing
Let's try to run the API app with Node.js version 10.
$ node10 npm run testAs you can see, it's running.

It works for Node.js 10 as well.
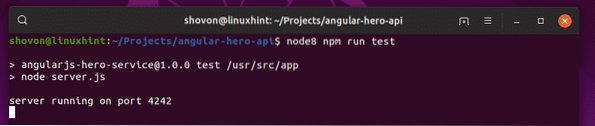
Finally, let's try for Node.js version 8.
$ node8 npm run testThe API app is running on Node.js 8 runtime as well.
Perfect! It works correctly.
So, that's how you set up Node.js development environment using Docker. Thanks for reading this article.


