Install Nvidia Optimus Graphics Drivers on CentOS 7
In this article, I will show you how to set up new Nvidia Optimus supported graphics card in hybrid graphics configuration on CentOS 7. All the new laptops/notebooks these days use these type of configuration. So it's very common these days. I used ASUS UX303UB with 2GB Nvidia GeForce 940M and Intel HD Graphics 520 to test everything of this article. Let's get started.
This article is only for Nvidia Optimus supported graphics card or hybrid graphics configuration. You can check whether your Nvidia graphics card supports Optimus technology or not with the following command:
“lspci | grep 'NVIDIA\|VGA'”

If you have 2 graphics card listed, as it is in the screen shot, you can follow this article and expect everything to work.
Note: Before proceeding with the installation, turn off Secure Boot from BIOS settings.
First, we have to add some package repositories to our CentOS 7 operating system. Run the following commands to add the package repositories:
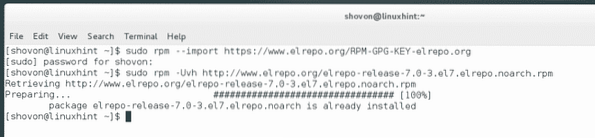
Add elrepo repository:
sudo rpm --import https://www.elrepo.org/RPM-GPG-KEY-elrepo.org sudo rpm -Uvh http://www.elrepo.org/elrepo-release-7.0.3.el7.elrepo.noarch.rpm
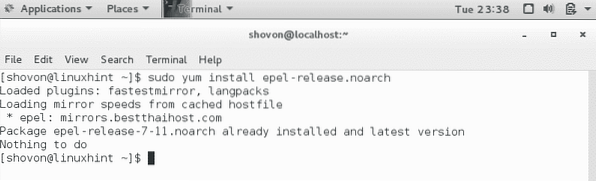
Add epel repository:
sudo yum install epel-release
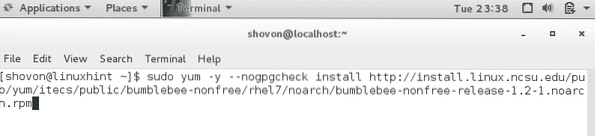
Add bumblebee repository:
sudo yum -y --nogpgcheck install http://install.linux.ncsu.edu/pub/yum/itecs/public/bumblebee/rhel7/noarch/bumblebee-release-1.2-1.noarch.rpm

sudo yum -y --nogpgcheck install http://install.linux.ncsu.edu/pub/yum/itecs/public/bumblebee-nonfree/rhel7/noarch/bumblebee-nonfree-release-1.2-1.noarch.rpm
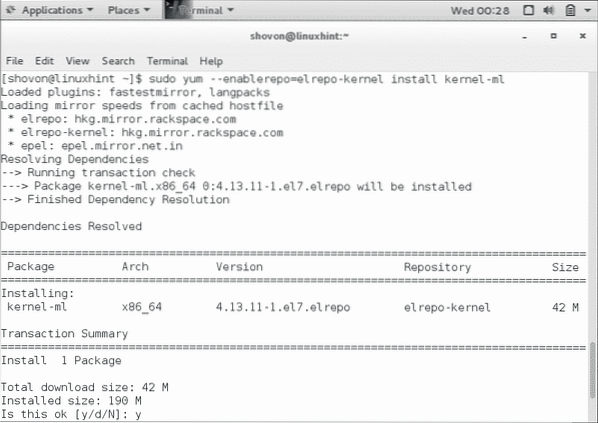
Now we have to update the kernel of CentOS 7. Otherwise it will not work.
sudo yum --enablerepo=elrepo-kernel install kernel-ml
Install new kernel development package with the following command:
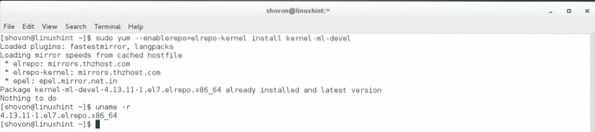
sudo yum --enablerepo=elrepo-kernel install kernel-ml-devel
As you see, I've already done that and restarted my computer. From the 'uname -r' command, you can see that my kernel version is now '4.13.11'. You should restart your computer after installing a new kernel and kernel-ml-devel package.
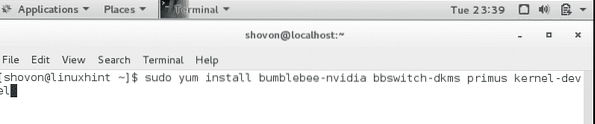
Now we are ready to install bumblebee Nvidia Optimus drivers. To install bumblebee, run the following command:
sudo yum install bumblebee-nvidia bbswitch-dkms primus kernel-devel
Or the following command, if you want 32-bit compatibility:
sudo yum install bumblebee-nvidia bbswitch-dkms VirtualGL.x86_64 VirtualGL.i686 primus.x86_64 primus.i686 kernel-devel
I will go with the first command.
Once you run the command, press 'y' and then press
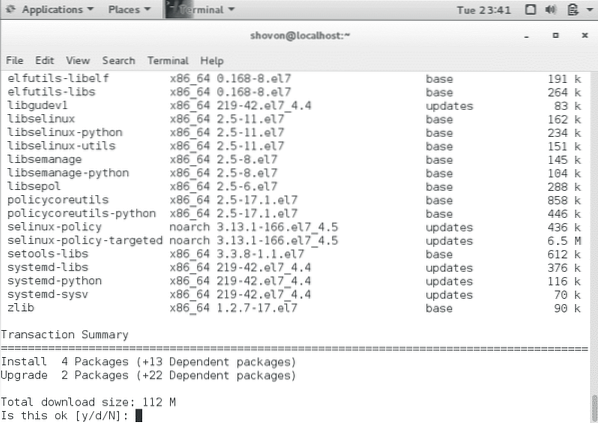
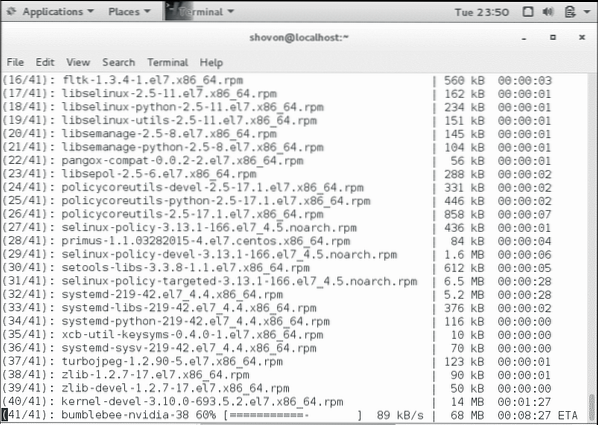
Your installation should start. It may take several minutes to finish.
Once installed, run the following command to add your user to the bumblebee group.
sudo usermod -aG bumblebee YOUR_USERNAME

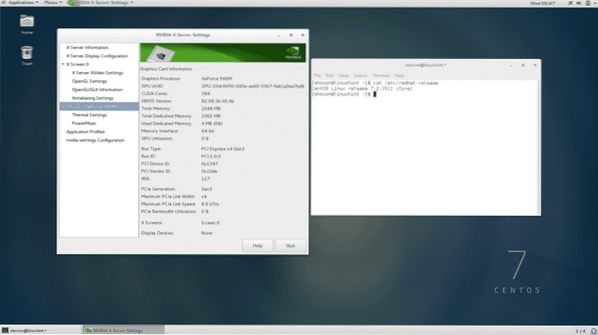
Now restart your computer. Once your computer restarts, you should be able to run “Nvidia Settings” control panel. It verifies that everything is working correctly.
You can check if everything is working correctly from the command line as well. Run the following command to check if Nvidia driver and bumblebee is working:
bumblebee-nvidia --check
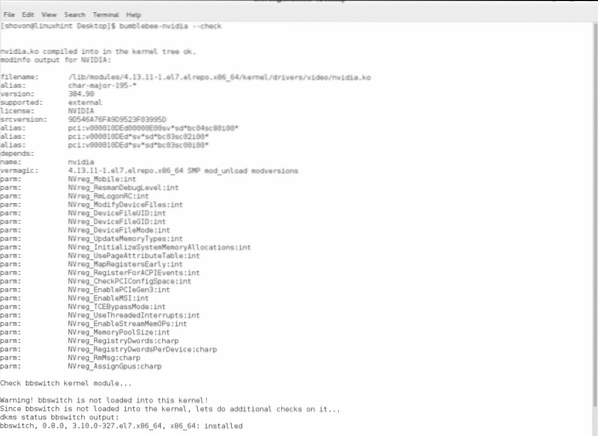
From the following output, you can see that everything is working correctly.
If you have any problem, you should try running the following command:
sudo bumblebee-nvidia --debug --force
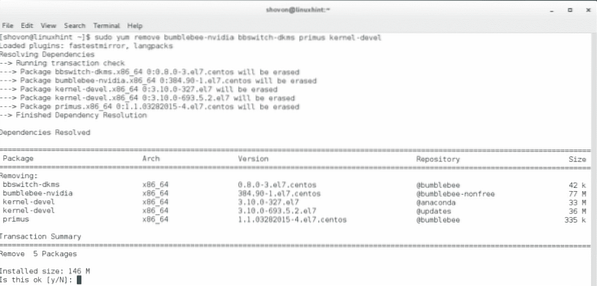
If you want to uninstall Nvidia Optimus drivers by Bumblebee, run the following command:
sudo yum remove bumblebee-nvidia bbswitch-dkms primus kernel-devel
Press 'y' and press . Bumblebee Nvidia Optimus drivers should be removed.
You can also remove the updated kernel with the following commands:
sudo yum remove kernel-ml kernel-ml-dev
Although, removing the kernel is not required. You can use them if you want.
So that's how you install and uninstall the new Nvidia Optimus drivers on CentOS 7. Thanks for reading this article.


