Gitlab is the code hosting platform like Github and Bitbucket. These three are the most popular solutions for hosting your own Git repositories. They have various features that allow individuals and teams to share code remotely with others. Gitlab is an open-source web-based hosting tool. It has a friendly web interface that's simple and intuitive for just about every user if you want to build your server for code hosting so that you can share and host code and install and set up your server.
In this article, we will show you how to install and set up the GitLab server on Ubuntu 20.04 LTS system using the command line.
You can install gitlab using the following two different methods:
Method 1: Installation of Gitlab by using a simple script
Before starting the installation process, you must ensure that all system packages are updated. To do that, you need to open the terminal application. Therefore, access the terminal by clicking on Activities and type terminal in the application launcher. Or you can also access the terminal window using keyboard shortcut keys Ctrl + Alt + t. Issue the following command:
$ sudo apt update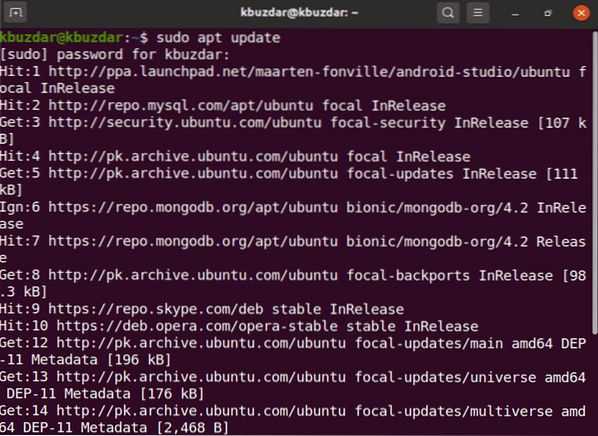
Now, using the following command, you will install the gitlab package dependencies.
$ sudo apt-get install -y curl openssh-server ca-certificates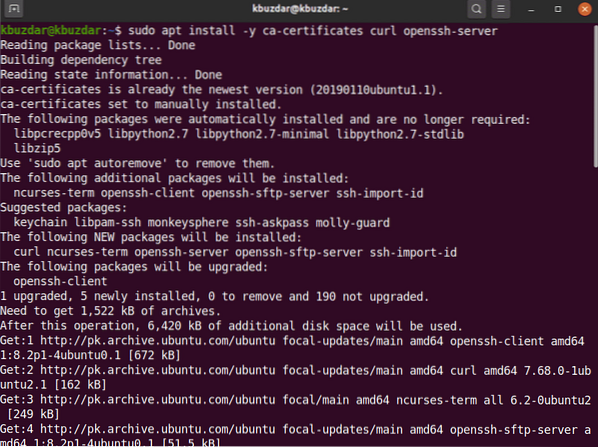
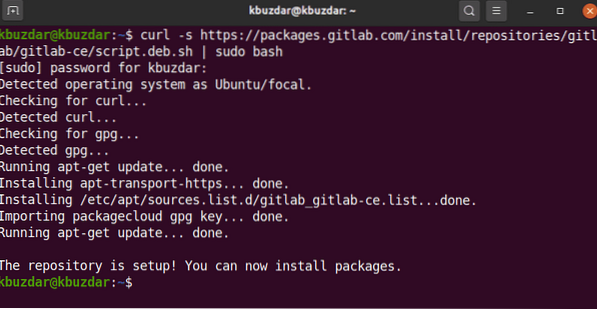
Most of the developers prefer to add a gitlab repository using the simple script. Once you install the prerequisites dependencies, now for convenience add the gitlab repository to run the below-mentioned script on the system and download the gitlab using the following command:
$ curl https://packages.gitlab.com/install/repositories/gitlab/gitlab-ce/script.deb.sh| sudo bash
After successfully running the script, you can install the gitlab-ce package on Ubuntu 20.04 by using the following command:
$ sudo apt-get install gitlab-ceMethod 2: Install Gitlab to download from the internet
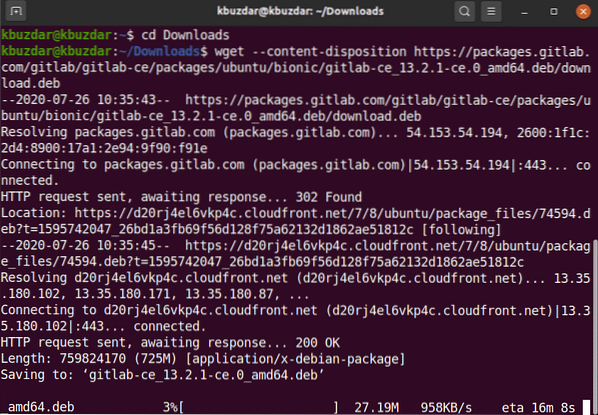
In case of any server problem or Ubuntu release official support issue related to the gitlab package then, you can download the gitlab package from another network server. You can download the gitlab package from this given URL https://packages.gitlab.com/gitlab/gitlab-ce. When you completely download the package, copy or move it to your server and then install the gitlab using the following commands:
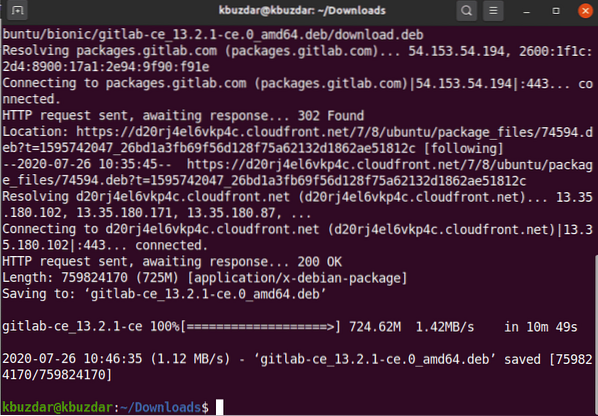
$ cd downloadsRun the following wget command to download gitlab package:
$ wget --content-disposition https://packages.gitlab.com/gitlab/gitlab-ce/packages/ubuntu/bionic/gitlab-ce_13.2.1-ce.0_amd64.deb/download.deb
The following output will display on your system, and it will take time to download the gitlab package.
Once the download is complete, list the files using ls command.
Now, you will install the downloaded (.deb) package on Ubuntu 20.04 using the following command:
$ sudo dpkg -i gitlab-ce_13.2.1-ce.0_amd64.deb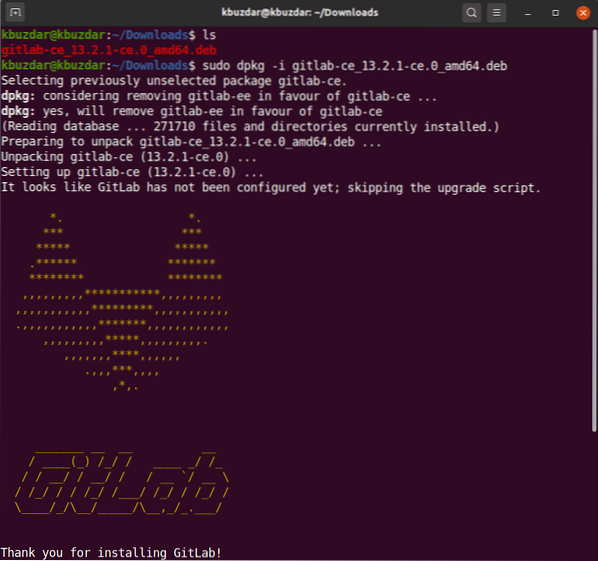
In a while, you will see the following output on your terminal window.
Once you installed the gitlab package, you can execute the required configuration utility. This file provides automatic configurations, and you can modify it according to your need. Run the following edit of the gitlab configuration file.
$ sudo vim /etc/gitlab/gitlab.rbNow, edit the configuration file to change hostname using external_url variable so that, you can access them from other remote machine using the specified hostname and other parameters:
Run the following command to reconfigure the services of gitlab:
$ sudo gitlab-ctl reconfigure
The above command will reconfigure all gitlab service. This process may take time to complete. So, be patient and wait for the completion of reconfiguration gitlab services.
Now, using the following command, you will start the gitlab services on your system.
$ sudo gitlab-ctl start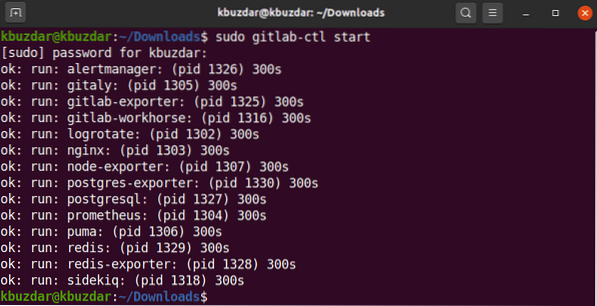
The following output you will see on the terminal that will notify you all gitlab services started successfully.
You can also check the status of services either running on your system or not by executing the following command on the terminal.
$ sudo gitlab-ctl status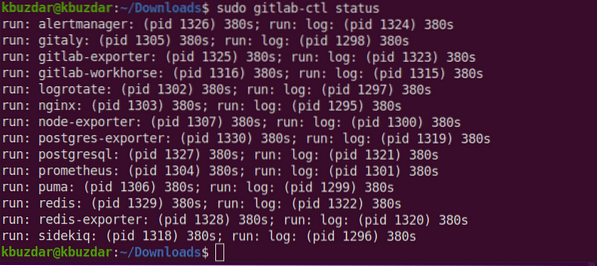
Now, open the browser and enter localhost to access the GitLab web portal that will ask you to set the username and password of root.
The following window will display in your browser:
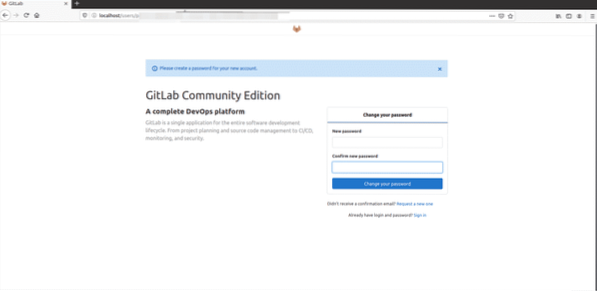
Enter the new root password. After verifying then, click the 'Change your password' option.
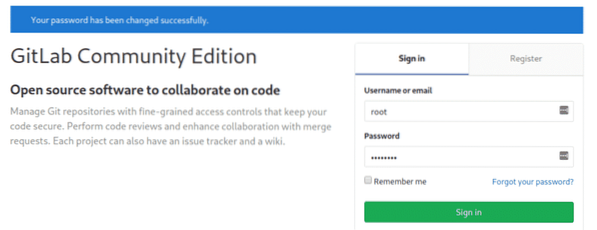
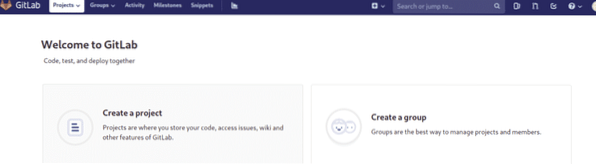
Now, login with the username as root and then provide the password. You will see the following gitlab dashboard screen on your system.
Conclusion
In this article, you have studied how to install and set up gitlab on Ubuntu 20.04 LTS system. Moreover, you also explored two different methods for the installation of gitlab. One is using the simple script method, and the other one is to download the gitlab deb file from the internet. I hope you will like this article.


