In this article, I am going to show you how to install Debian on Raspberry Pi 4. So, let's get started.
Things You Will Need:
To try this article, you need the following things:
- A Raspberry Pi 4 single-board computer.
- A USB Type-C power adapter for Raspberry Pi 4.
- A 16GB or higher capacity microSD card.
- A card reader for flashing Debian on the microSD card.
- A computer/laptop for flashing the microSD card.
- A keyboard and a mouse.
- A micro-HDMI to HDMI cable.
Downloading Debian for Raspberry Pi 4:
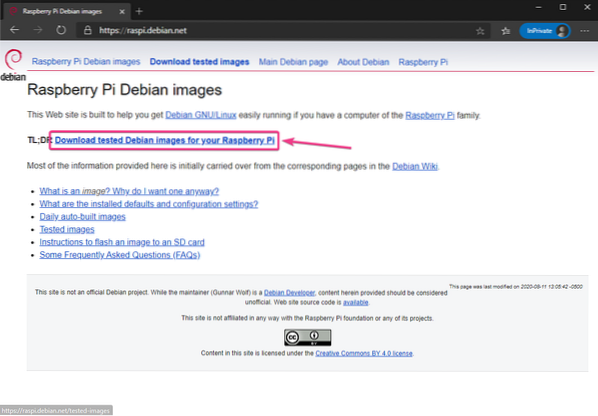
You can download Debian for Raspberry Pi 4 from the official Debian for Raspberry Pi website.
First, visit the official Debian for Raspberry Pi website from your favorite web browser. Once the page loads, click on Download tested Debian images for your Raspberry Pi as marked in the screenshot below.
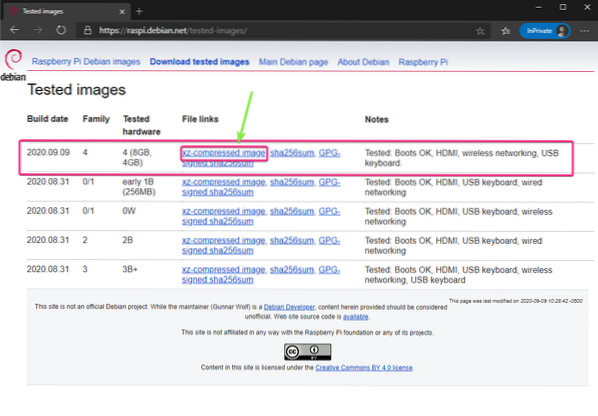
Click on the xz-compressed image link (Raspberry Pi 4 or Family 4) as marked in the screenshot below.
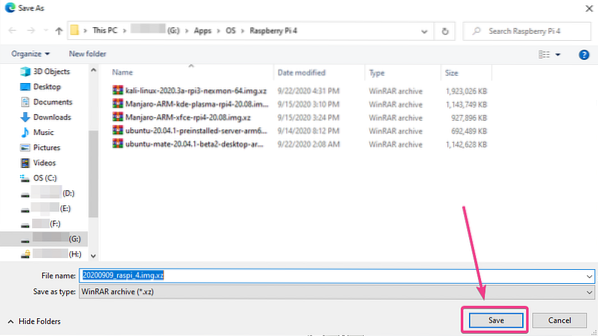
Your browser should prompt you to save the Debian Raspberry Pi 4 image. Select a directory where you want to save the image and click on Save.
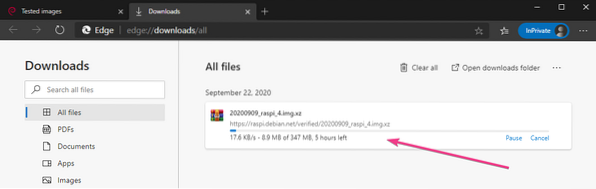
Your browser should start downloading the Debian Raspberry Pi 4 image. It may take a while to complete.
Flashing Debian for Raspberry Pi 4 on the MicroSD Card:
Once the Debian Raspberry Pi image is downloaded, you have to flash it on a microSD card. You can use programs like Balena Etcher, Raspberry Pi Imager, etc. to flash the Debian Raspberry Pi image on a microSD card.
In this article, I will use the Raspberry Pi Imager program to flash the Debian image on a microSD card. Raspberry Pi Imager can be downloaded from the official website of the Raspberry Pi Foundation. It is available for Windows 10, Mac, and Ubuntu. If you need any assistance on installing Raspberry Pi Imager, check out my article How to Install and Use Raspberry Pi Imager at LinuxHint.com.
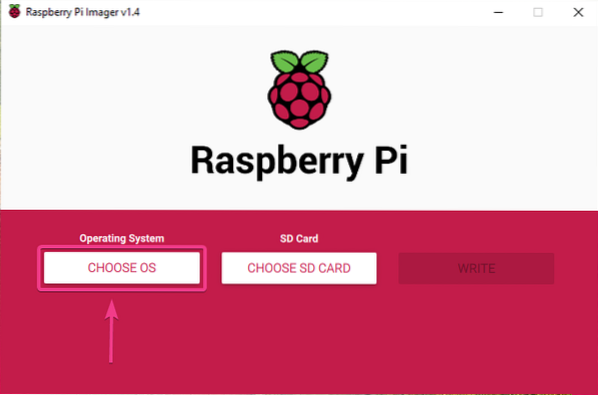
Once you have Raspberry Pi Imager installed on your computer, insert the microSD card on your computer and run Raspberry Pi Imager.
Then, click on CHOOSE OS to select an operating system image.
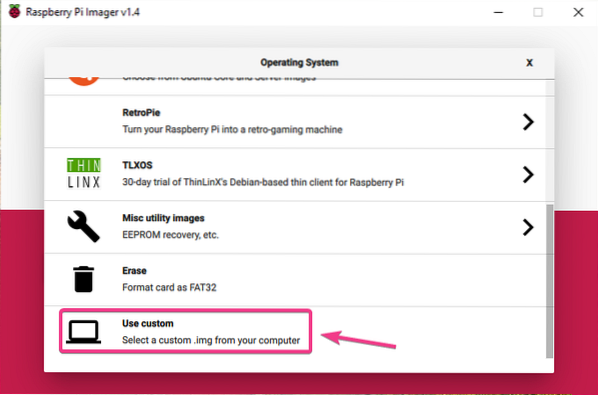
Click on Use custom from the list.
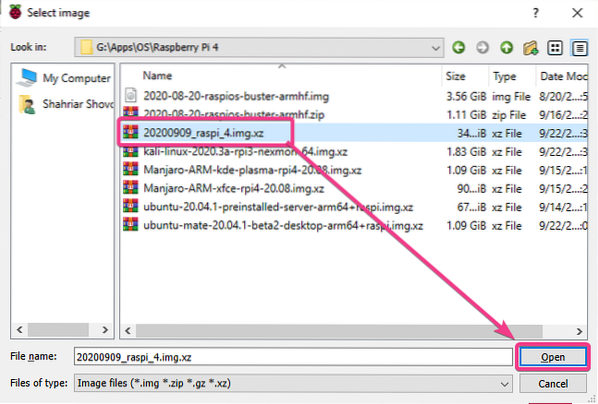
Select the Debian Raspberry Pi image that you have just downloaded and click on Open.
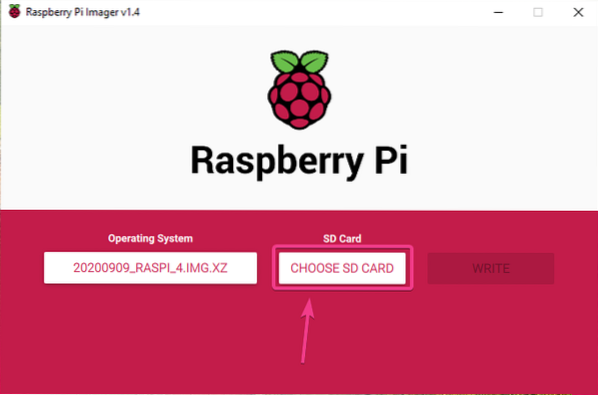
To select your microSD card, click on CHOOSE SD CARD as marked in the screenshot below.
Click on your microSD card from the list.

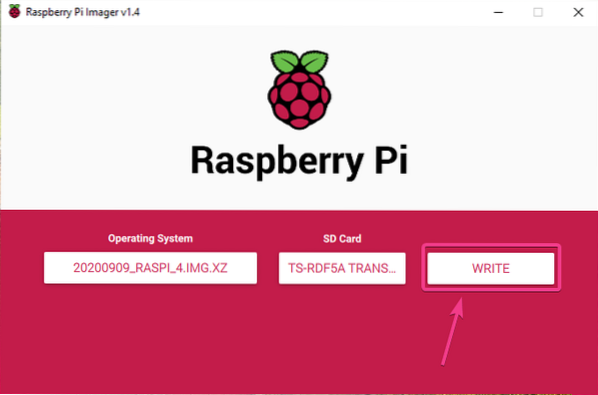
To flash the Debian image to the selected microSD card, click on WRITE.
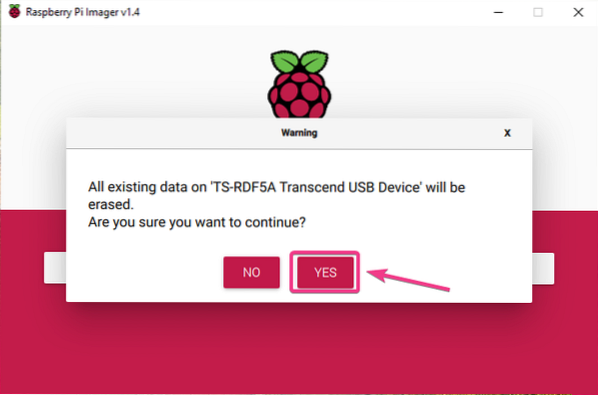
Before the microSD card can be flashed with a new operating system image, it must be erased. If you don't have any important data on your microSD card, click on YES.
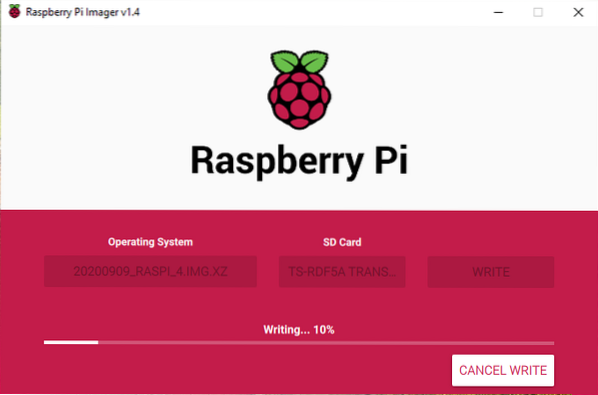
Raspberry Pi Imager should start flashing the Debian Raspberry Pi image on the microSD card. It may take a while to complete.
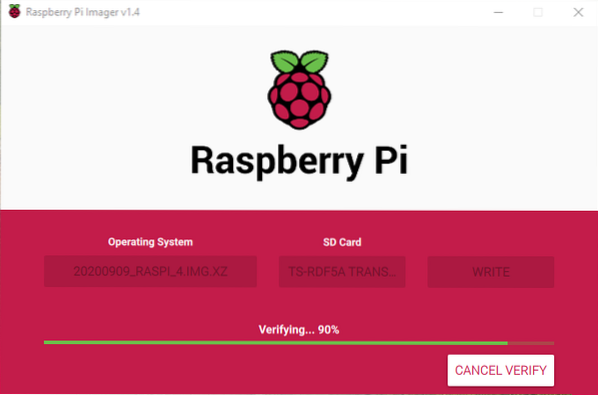
Once the Debian Raspberry Pi image is written on the microSD card, Raspberry Pi Imager will check the microSD card for write errors. It may take a while to complete.
At this point, the Debian Raspberry Pi image should be flashed on to the microSD card. Click on CONTINUE and close Raspberry Pi Imager. Then, remove the microSD card from your computer.

Booting Debian on Raspberry Pi 4:
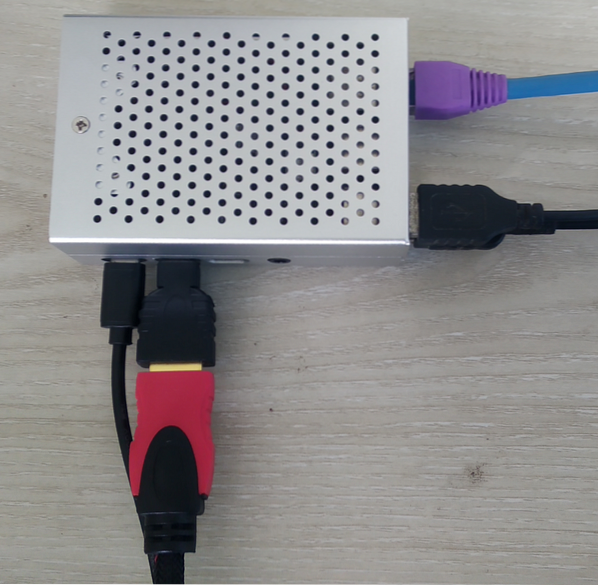
Once you have ejected/removed the microSD card from your computer, insert it on the MicroSD card slot of your Raspberry Pi 4. Also, connect the micro HDMI to HDMI cable, a USB keyboard, a USB mouse, a network cable on the RJ45 port (optional), and a USB Type-C power cable on your Raspberry Pi 4.
Once you've connected all the accessories, power on your Raspberry Pi 4.
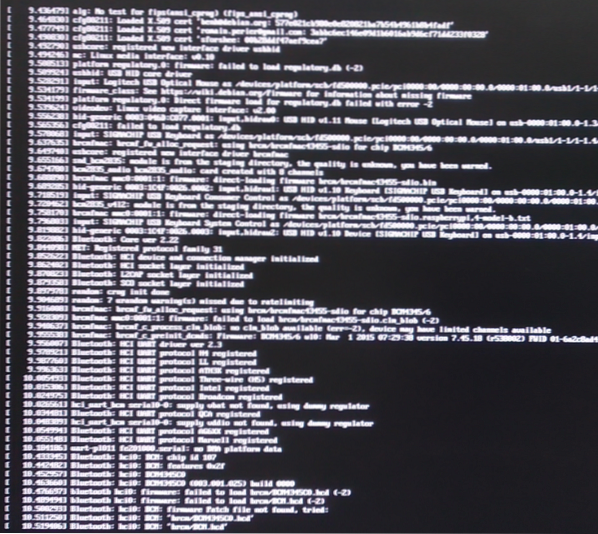
Debian is being booted.
Shortly, you should see the login prompt of Debian. Debian operating system for Raspberry Pi 4 does not come with a graphical desktop environment by default.
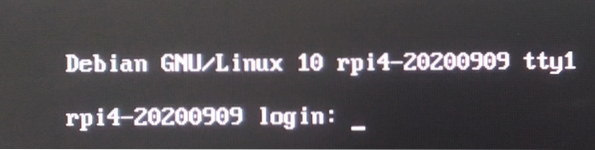
You can log in as the user root. Just type in the username root and press
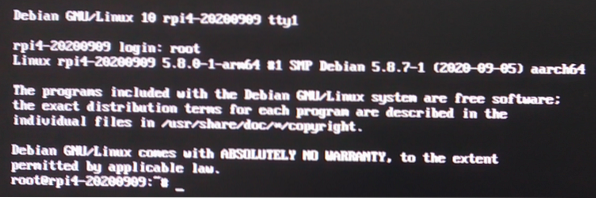
Setting Up a root Password:
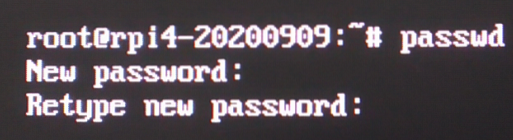
To set a root password, run the following command:
$ passwd
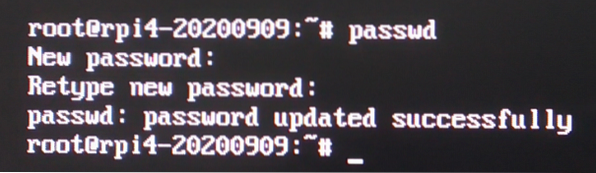
Type in a new password and press

Retype the new password and press
The root password should be set to your desired password.
Configuring Wireless Network:
If you want to use a wireless network (Wi-Fi) instead of a wired network on your Raspberry Pi 4, then you can easily configure it on Debian.
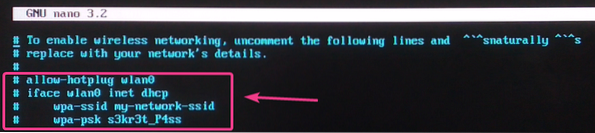
First, open the /etc/network/interfaces.d/wlan0 configuration file with nano text editor as follows:
$ nano /etc/network/interfaces.d/wlan0
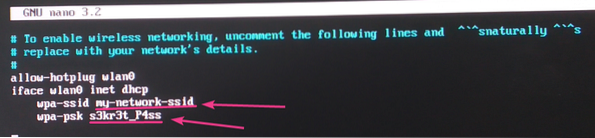
Then, remove the # sign from each of the lines as marked in the screenshot below.
Change the wpa-ssid to your Wi-Fi SSID and wpa-psk to your Wi-Fi password.
Once you're done, press
Finally, reboot your Raspberry Pi 4 with the following command:
$ systemctl reboot
Once your Raspberry Pi 4 boots, your wireless network interface wlan0 should automatically connect to your desired Wi-Fi network and receive an IP address via DHCP. In my case, the IP address is 192.168.0.104. It will be different for you. So, make sure to replace it with yours from now on.
$ ip a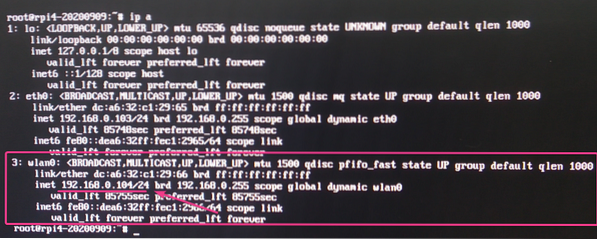
Allowing SSH Access:
If you want to SSH into your Raspberry Pi 4 running the Debian operating system, this section is for you.
By default, on the Debian operating system of Raspberry Pi 4, only key-based passwordless SSH root login is enabled.
For key-based password-less SSH root login to work, create an SSH key-pair on the client from where you want to SSH into the Raspberry Pi 4 using the ssh-keygen command. Then, append the contents of the ~/.ssh/id_rsa.pub file of your client computer to the ~/.ssh/authorized_keys file of your Raspberry Pi 4. If you need any assistance on that, read the Adding Client Public Key to the Git Server section of the article Configure Git Server with SSH on CentOS 8.
If you want to SSH into the Raspberry Pi 4 as a root user using the root password as usual, then you have to configure the SSH server to allow password-based root login.
First, open the /etc/ssh/sshd_config configuration file with the nano text editor as follows:
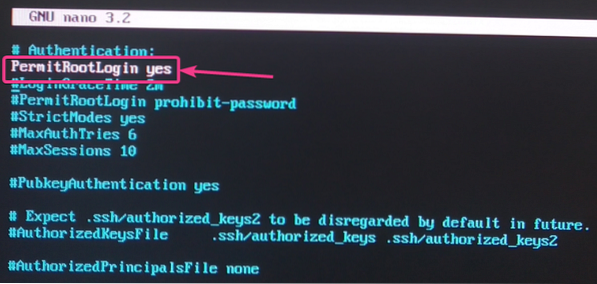
$ nano /etc/ssh/sshd_config
In the # Authentication section, add the line PermitRootLogin yes as marked in the screenshot below.
Once you're done, press
For the changes to take effect, restart the sshd service running on your Raspberry Pi 4 with the following command:
$ systemctl restart sshd
Now, you should be able to SSH into your Raspberry Pi as the root user using the password of the root user.
You can SSH into your Raspberry Pi 4 as the root user from any computer on the network as follows:
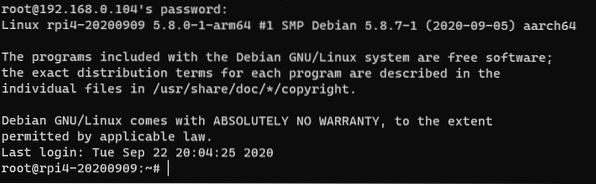
$ ssh [email protected]
Type in yes and press

Type in the root password of your Raspberry Pi 4 and press

You should be connected to your Raspberry Pi 4 via SSH. Now, you can run any command you want on the Raspberry Pi 4 remotely.
Conclusion:
In this article, I have shown you how to install a Debian operating system on Raspberry Pi 4. I have also shown you how to set a root password, configure Wi-Fi, and remotely access the Raspberry Pi 4 via SSH. This article should help you get started with the Debian operating system on your Raspberry Pi 4.


