Installing parted:
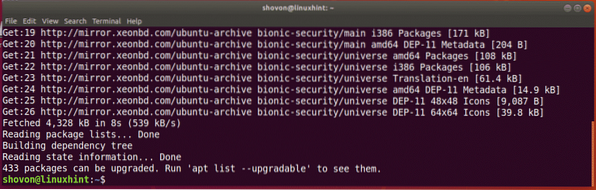
If you're using Ubuntu or any Debian based Linux distributions, then you can easily install parted as it is available in the official package repository. First, update the APT package repository cache with the following command:
$ sudo apt update
The APT package repository cache is updated.
Now, run the following command to install parted:
$ sudo apt install parted
Now, press y and then press
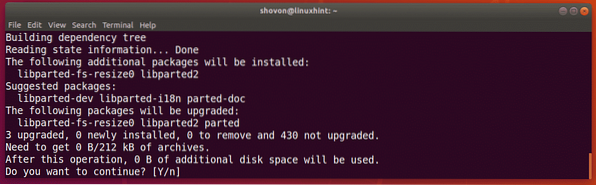
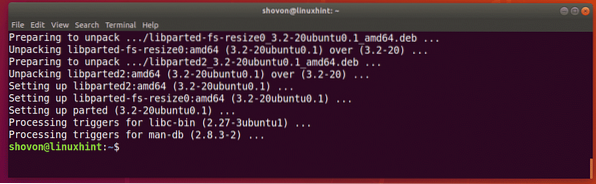
Parted should be installed.
On CentOS/RHEL 7, you can install parted with the following command:
$ sudo yum install parted -yFinding Storage Device Identifiers:
Before you can start working with parted, you have to know which storage device you need to partition.
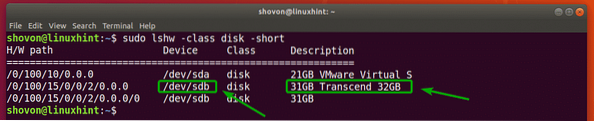
You can run the following command to list all the attached storage devices on your computer:
$ sudo lshw -class disk -shortAs you can see, I have 2 storage devices on my computer, /dev/sda and /dev/sdb. Here, /dev/sdb is my 32GB USB thumb drive. This is the one I want to partition.
Opening Storage Device with parted:
Now that you know which storage device you want to partition, you can open parted as follows:
$ sudo parted /dev/sdbNOTE: Make sure you change /dev/sdb to the storage device that you want to partition.

Parted should be opened. Now, you can run many of the parted commands to partition your desired storage device any way you want.

Switching to Different Storage Device:
You can also start parted without specifying which storage device to open beforehand as follows:
$ sudo parted
As you can see, parted is started. By default, /dev/sda, the first/primary storage device is selected.

You can list all the storage devices on your computer with the following parted command:
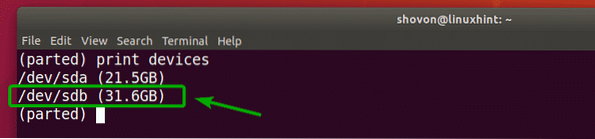
(parted) print devicesAs you can see, the storage devices on my computer /dev/sda and /dev/sdb are listed along with their physical size.
Now, you can use the select parted command to select the storage device (let's say /dev/sdb) that you want to partition as follows:
(parted) select /dev/sdb
As you can see, /dev/sdb is selected.

Creating a New Partition Table:
You can create GPT and MSDOS partition table with parted.
To create a GPT partition table, run the following parted command:
(parted) mklabel gpt
To create a MSDOS partition table, run the following parted command:
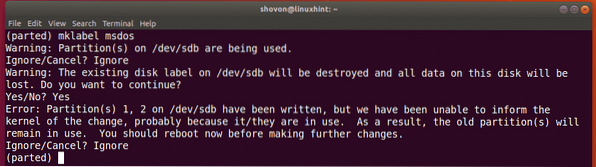
(parted) mklabel msdos
I will go for MSDOS partition table as I am partitioning a USB thumb drive. The procedure for the GPT partition creation is the same.
Now, type in Ignore and press

When you create a new partition table, all the existing partitions will be erased. If you're okay with it, type in Yes and then press

For some reason, the changes can't be applied immediately. But it's alright. Type in Ignore and press

A new partition table should be created.
Creating New Partitions:
You can create a new partition with the following parted command:
(parted) mkpart
Now, type in either primary or extended depending on whether you want to create a primary or extended partition. Once you're done, press

Now, type in a filesystem type that you want to use for the partition. I will go for ext4.

NOTE: You can find out what keywords you can use here with the following command:
$ grep -v nodev /proc/filesystems| cut -f2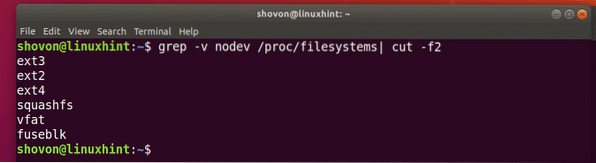
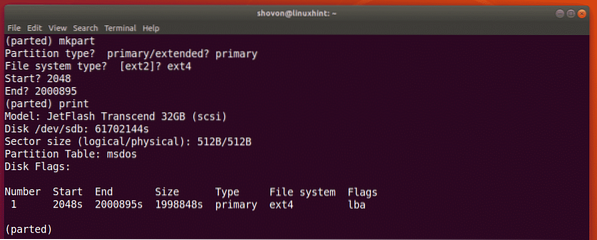
Now, type in the location in megabyte (MB) where the partition starts. If it's the first partition, then 1 (MB) is an acceptable value. Once you're done, press

Now, type in the location in megabyte (MB) where the partition ends. The size of the partition will be the difference between the End and Start location. For example, let's say, you want to create a 1GB/1024MB partition. So, the end will be 1024. Once you're done, press
NOTE: You can't put 1025 here due to alignment problems. Parted don't align partitions automatically.

The partition will be created.

You can list all the partitions of your selected storage devices as follows:
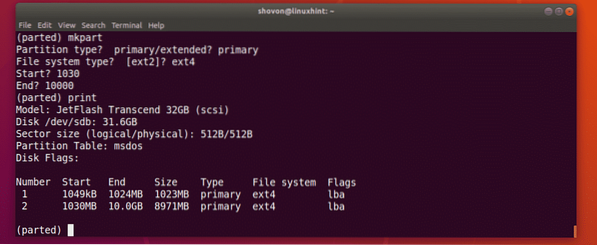
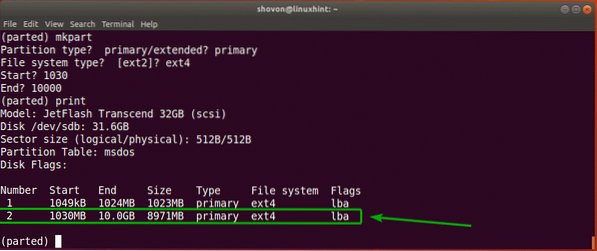
(parted) print
As you can see, the newly created partition is listed.

NOTE: When you create multiple partitions with parted, you have to start the new partition from at least End+1 of the last partition. For example, the partition I created earlier ended in 1024MB. So, the next partition will start from 1025MB or more.
I created another partition to demonstrate how to remove partitions using parted in the next section.
Removing Partitions:
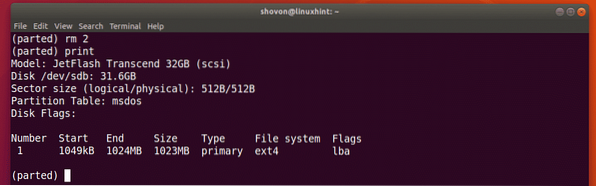
First, list all the partitions of your selected storage device as follows:
(parted) printLet's say, you want to delete the partition number 2 as marked in the screenshot below.
To do that, run the following parted command:
(parted) rm 2
As you can see, partition number 2 no longer exists.
Changing the Unit:
When you create a new partition, you have to specify the Start and End section of your new partition. The default unit is MB. You can change it very easily in parted.
The supported units and keywords are:
| Unit | keyword |
| Sectors | s |
| Bytes | B |
| Cylinders | cyl |
| cylinders, heads, sectors | chs |
| Kilobytes | KB |
| Mebibytes | MiB |
| Megabytes | MB |
| Gibibytes | GiB |
| Gigabytes | GB |
| Percentage | % |
NOTE: For more information on this, check the man page of parted with the following command:
$ man partedYou can use the unit command to change the default unit.
For example, let's say you want to change the default unit MB to sectors, then run the following command:
(parted) unit sAs you can see, the display unit has changed as well.
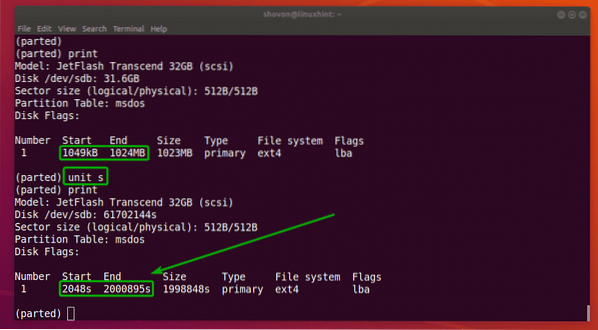
Now, you can also create partitions with the newly set unit.
So, that's how you use parted on Linux. Thanks for reading this article.

