Qemu is a hardware virtualization solution for Linux that enables emulation of an entire OS installed on a virtual disk. VirGL is an OpenGL renderer added to recent QEMU builds, it allows you to create a virtual 3D capable graphics card inside QEMU virtual machine.
Using a combination of Android-x86, QEMU and VirGL technologies, we will boot and install complete Android OS in a virtual machine.
A compatibility note: This guide has been tested with Ubuntu 19.04 and instructions below will work for Ubuntu 19.04 or newer versions. QEMU in older versions of Ubuntu lacks VirGL support. You also need to have a Kernel-based Virtual Machine (KVM) compatible CPU on your system. Most modern CPUs have support for KVM but you can check its presence by running command below:
egrep -c '(vmx|svm)' /proc/cpuinfoAny number greater than 0 implies KVM support. You still need to make sure that virtualization is enabled in the BIOS though. More information can be found here.
Prerequisites
We will start by installing required QEMU packages and adding username to KVM group. Run commands below:
sudo apt install qemu qemu-kvmsudo adduser 'id -un' kvm
Reboot your system. Download Android-x86 ISO image from here. Run the following command to create a virtual hard disk:
qemu-img create -f qcow2 androidx86_hda.img 10GYou can replace 10G with any number and it will create a virtual disk of that size in GB.
Android-x86 QEMU Installation Walkthrough
To boot into live image of Android-x86 inside a QEMU virtual machine, execute command:
qemu-system-x86_64 \-enable-kvm \
-m 2048 \
-smp 2 \
-cpu host \
-soundhw es1370 \
-device virtio-mouse-pci -device virtio-keyboard-pci \
-serial mon:stdio \
-boot menu=on \
-net nic \
-net user,hostfwd=tcp::5555-:22 \
-device virtio-vga,virgl=on \
-display gtk,gl=on \
-hda androidx86_hda.img \
-cdrom android-x86_64-8.1-r3.iso
Notice the “hda” and “cdrom” arguments. You have to make sure that they match names of virtual hard disk and downloaded Android-x86 iso image. If you have followed instructions correctly upto here, you should see a new window popup:
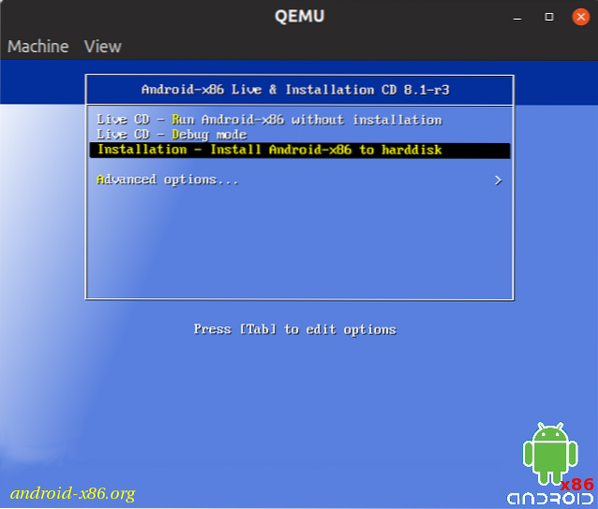
Select the “Installation” entry and wait for the partitioning screen to come up.
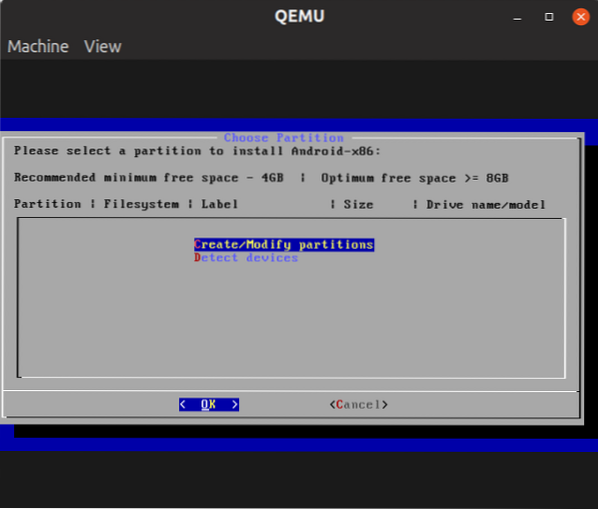
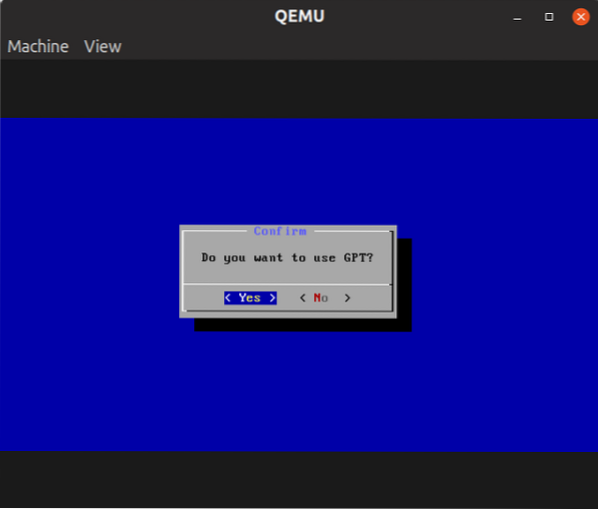
Choose “Create/Modify partitions”, and then GPT to be “Yes”.
Ignore warning on the next screen, just press any key to continue. You will see a partition manager.
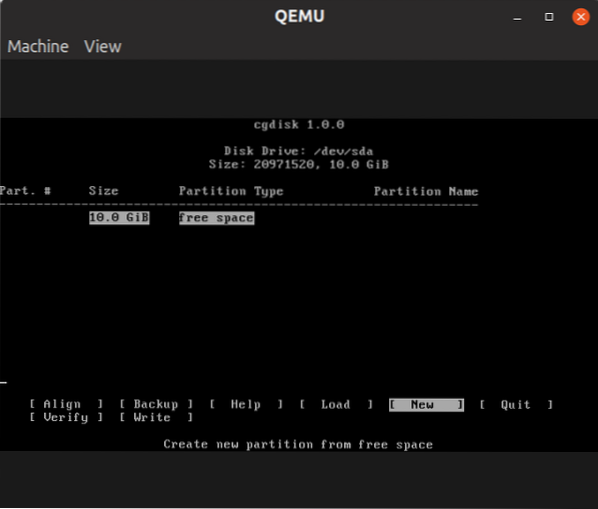
Select “New” and then continue to hit the
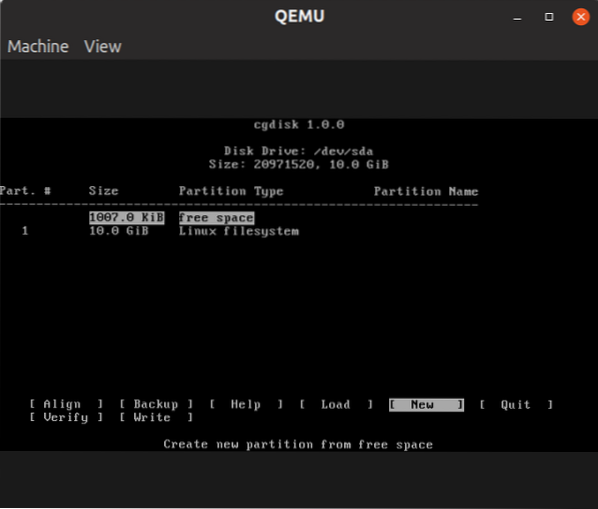
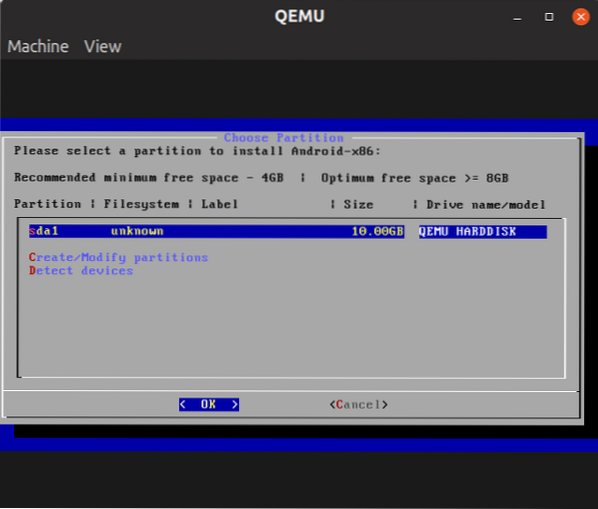
Hit “Write” option and then type “yes” to confirm. Select “Quit” option to exit partition manager. Choose “sda1” partition on next screen.
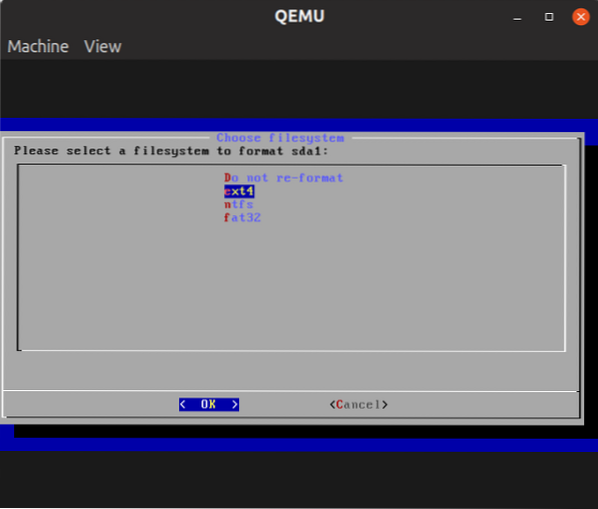
Select “ext4” to format the partition and select the “Yes” option when prompted.
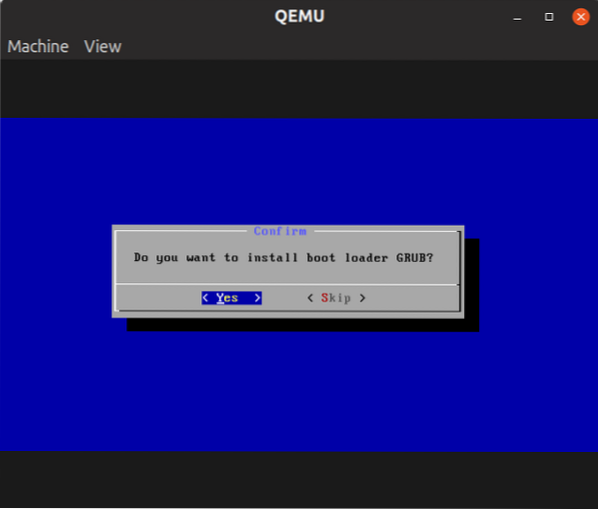
Choose “Yes” when prompted about GRUB boot loader.
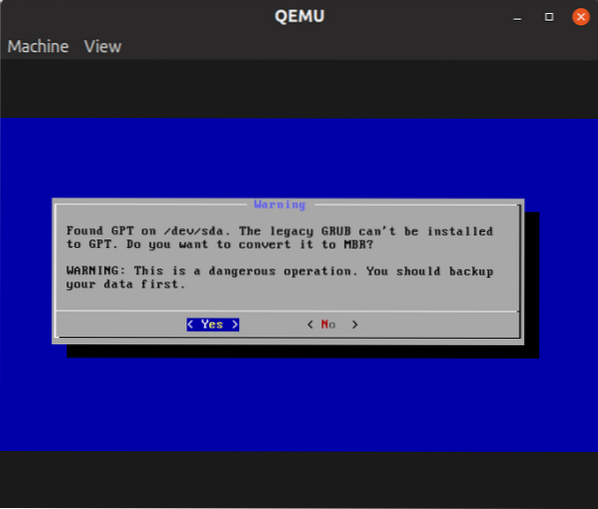
On the next screen, you may see a warning about conversion to “MBR”. Select “Yes”.
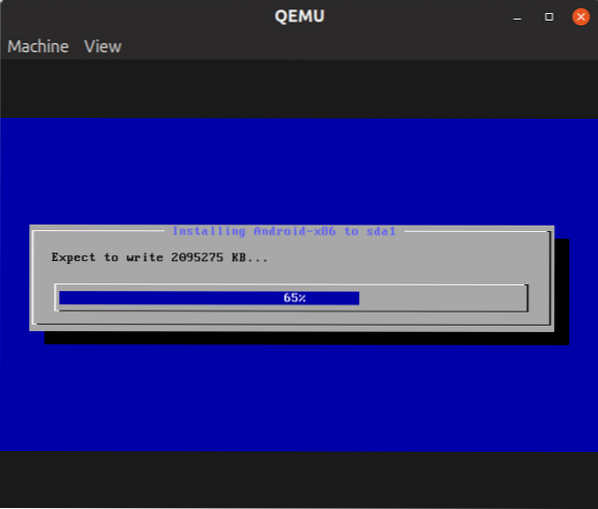
Wait for the installation to finish.
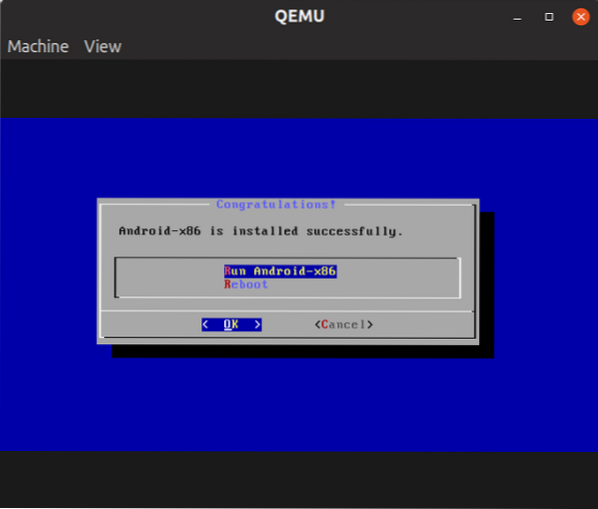
Don't select any option, just close the window on the following prompt:
Android-x86 is now completely installed in a QEMU virtual machine. To boot into newly installed OS, we will use the same lengthy command from above while omitting “cdrom” argument.
qemu-system-x86_64 \-enable-kvm \
-m 2048 \
-smp 2 \
-cpu host \
-soundhw es1370 \
-device virtio-mouse-pci -device virtio-keyboard-pci \
-serial mon:stdio \
-boot menu=on \
-net nic \
-net user,hostfwd=tcp::5555-:22 \
-device virtio-vga,virgl=on \
-display gtk,gl=on \
-hda androidx86_hda.img
You will see Android boot logo and then first run setup screen.
Wait for the installation to finish.
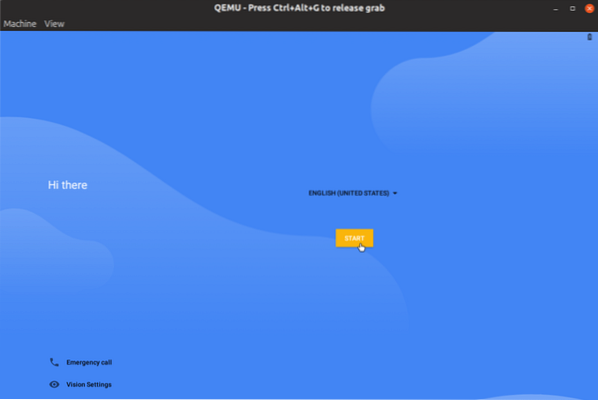
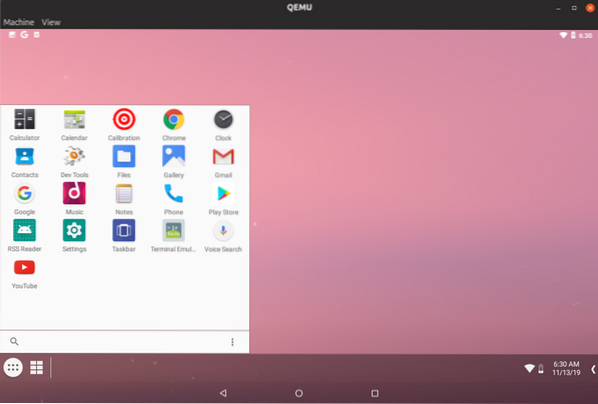
Just go through the setup to arrive at the home screen. Android-x86 has full Play Store support built-in. Note that the running virtual machine will grab all keystrokes and mouse events. To release the hold, you will have to press
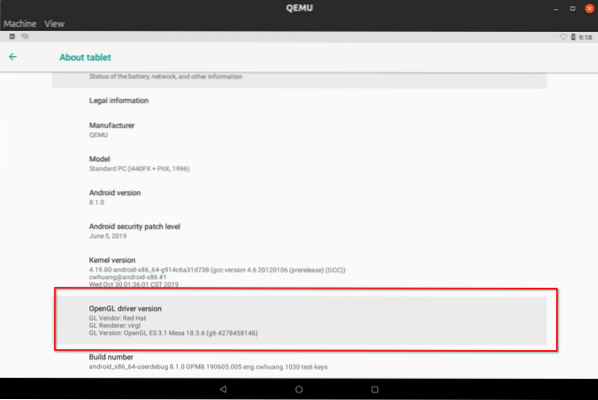
3D hardware acceleration support is present.
Important Things You Should Know
- You can customize the command we have used above to some extent: “-m” switch is for RAM, “-smp” switch is for CPU cores. If you want to explore all options, Gentoo Wiki has a pretty good explanation.
- You can activate internet connectivity inside Android-x86 by tapping on “VirtWifi” option in “Wi-Fi” settings.
- Not everything will work in virtual machine, bluetooth for example.
- Hardware acceleration compatibility and performance will depend on your PC's graphics card, drivers and CPU horsepower.
- Latest release of Android-x86 comes with free-form windows support. You can minimize, maximize, restore windows and snap them to corners, just like you would do on a desktop OS.
- Android-x86 lags behind current Android release by a version or two. It won't however affect your ability to run apps and games.
- Android-x86 in QEMU virtual machine may not be a 100% smooth sail. You can expect some random crashes and force closes now and then.
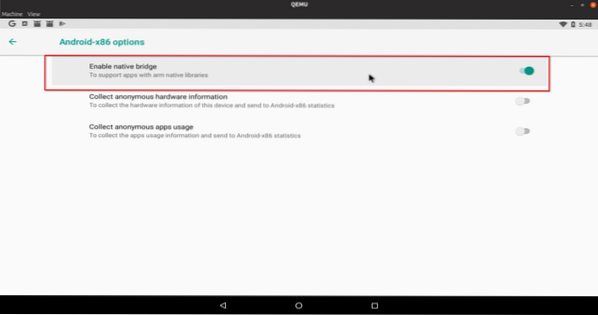
Improving App Compatibility in Android-x86
Some android apps may refuse to work with x86 architecture. Android-x86 includes a compatibility library that helps greatly but you may still find issues with certain apps. To enable the compatibility layer, toggle “native bridge” in system settings.
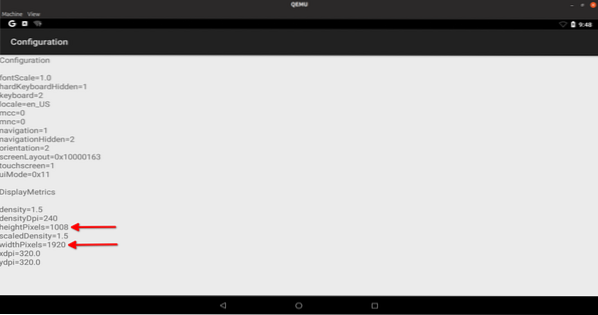
Lastly, we have a small issue yet to be fixed. Resolution of the Android-x86 virtual machine. If you have low end PC hardware, I would suggest you to run Android in windowed mode only at the default resolution (disable “Zoom To Fit” in “View” menu). If you have capable hardware, you can increase resolution by following the instructions below.
Changing Resolution of Android-x86 Installation in QEMU Virtual Machine (VM)
WARNING: All the command mentioned below are meant to be executed in Android-x86 VM installation (guest). DO NOT attempt to run these commands in your Ubuntu installation (host).
To permanently change resolution of Android VM, we need to run some commands in a terminal launched inside our running VM instance. Android-x86 comes with a terminal emulator app, launch it and run following commands one by one (allow root access when prompted):
sumount /dev/block/sda1 /mnt
vi /mnt/grub/menu.lst
Press once you see the text file to start editing mode. In the first entry, add your desired resolution in “video=widthxheight” format, as shown in the screenshot below:

To save the file, first hit
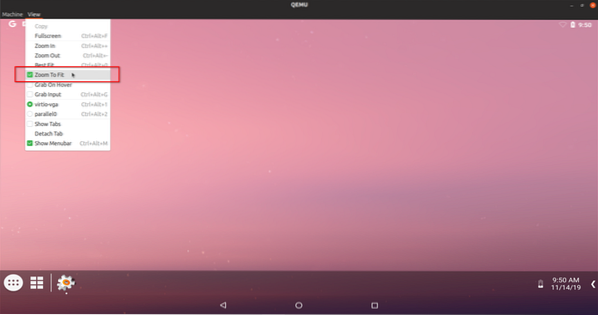
Reboot the Android VM. Your desired resolution is set now. You may see some clipping in windowed mode if your VM's resolution is equal to your monitor's resolution as window title bar and borders take some space. To fix this, you will have to enable “Zoom To Fit”, as shown in the screenshot below:
If you toggle fullscreen by pressing
Showcase
This article claims to run 3D Android games in Linux, it would be a crime to not include any footage. So here is some gameplay footage of SuperTuxKart running at full speed inside QEMU virtual machine with Ubuntu 19.04 as host. I am controlling the game with keyboard arrow keys, but the game itself is running in Android-x86 VM. GIF below is sped up and has lost quality during conversion:
This concludes the long post. If you like to run Android apps and games on desktop PC, this method is much better than using third party emulators having crazy privacy policies, plus it doesn't require you to meddle with system partitions for a dual boot.


