
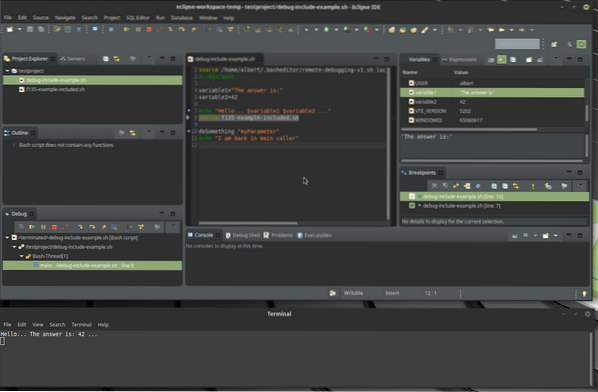
Eclipse is a popular Java Integrated Development Environment or IDE. It is written mostly in Java, and its high usage is seen for developing Java applications. Still, it may also be used to develop applications in other programming languages using plug-ins. If you are looking for a good IDE platform to design apps and manage code, then Eclipse IDE should be on your list.
Why IDE?
You don't need an IDE to write a program. The good old simple text editors will suffice for simple applications that are easier to manage. But, as the program goes complex, it's no brainer to have an IDE so that you can do things such as syntax highlighting, organizing the file structure, compiling, editing source code, and debugging.
Eclipse IDE Features
Eclipse is a great free and open-source platform built with an intuitive UI, and I highly recommend it due to these top features that come in handy while creating software.
- It can offer fixes for simple programing mistakes when it detects them.
- It lets you autoformat your source code using the Source > Format option.
- It helps you clean up the imported statements in your source code.
- Eclipse built-in dual-source view editor pane lets you compare two files graphically.
- It provides abbreviations for common items by using Ctrl+Space while typing in the command.
Install & configure Eclipse IDE on Ubuntu
However, before starting in the installation steps, you need to make sure that your Ubuntu is updated using the following commands:
sudo apt update sudo apt upgrade
Installing Oracle Java on Ubuntu
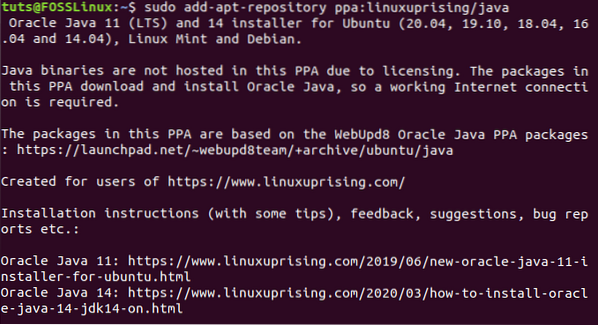
Step 1. To install Eclipse on your machine, you need to install Java as a prerequisite. Add the following Oracle Java repository to your system repositories.
sudo add-apt-repository ppa:linuxuprising/java
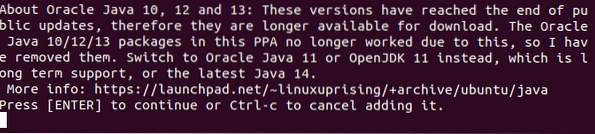
The below message indicates that some versions of Java are no longer available for download. Just press the “Enter” button to continue.
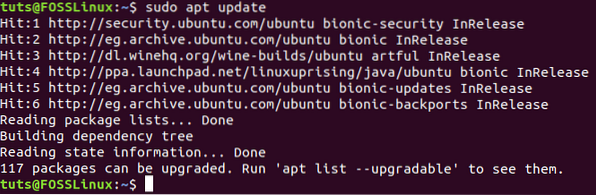
Step 2. Now let's update the system repositories.
sudo apt update
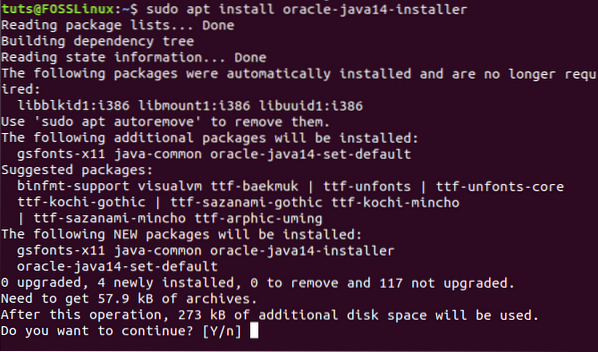
Step 3. Next, install the Oracle Java installer using the below command:
sudo apt install oracle-java14-installer
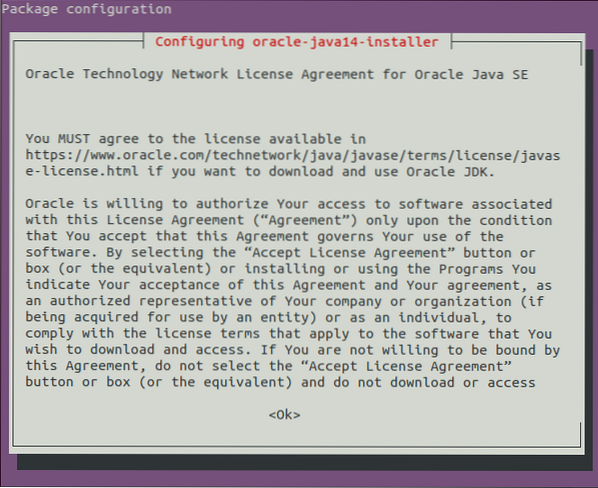
Step 4. In the package configuration screen, press the “OK” button.
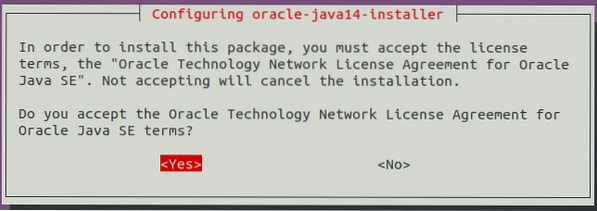
Step 5. Accept the license agreement by selecting the “Yes” option.
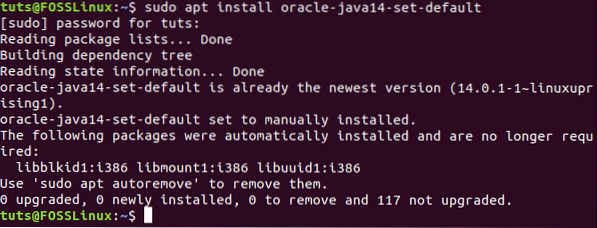
Step 6. Now you need to set the Oracle Java as default.
sudo apt install oracle-java14-set-default
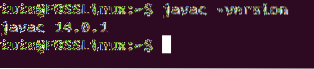
Step 7. To ensure that the Oracle Java was installed successfully, execute the next command.
javac -version
Installing Eclipse
At this point, you should have installed Oracle Java on your machine. Our next step is to install Eclipse. Although the Ubuntu snap store lets you install Eclipse using the command below, I don't recommend it as the version of the EclipseEclipse is old.
sudo snap install eclipse --classic
Recommended Method
Step 1. Instead of snap, let's download the latest EclipseEclipse from the official source. From your favorite browser, open the official Eclipse IDE website. Then download the Eclipse package.
Download Eclipse IDE Package

Step 2. Save the package.
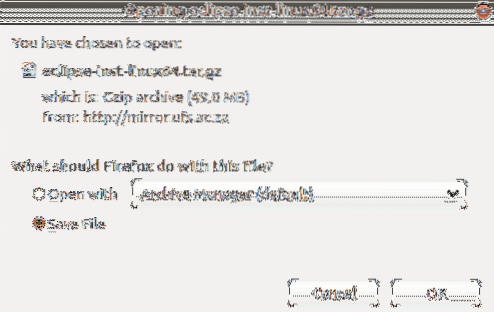
The download is in progress.

Step 3. After the download finishes, successfully extract the downloaded package using the next command.
tar xfz ~/Downloads/eclipse-inst-linux64.tar.gz

Step 4. Let's run the Eclipse Installer using the following command:
eclipse-installer/eclipse-inst

The installer should start soon.

Step 5. When the installer opens up, you can choose the version you need.
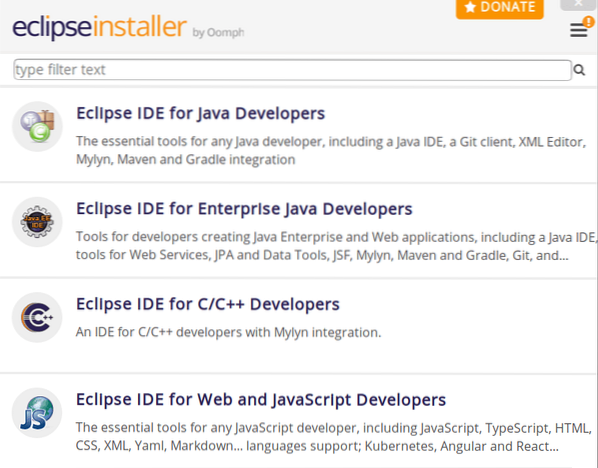
Step 6. Let's install the Eclipse IDE for Developers.
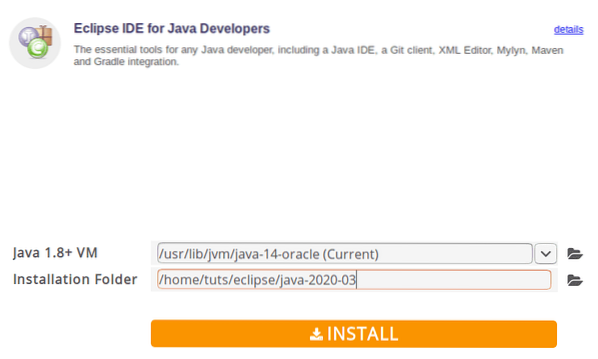
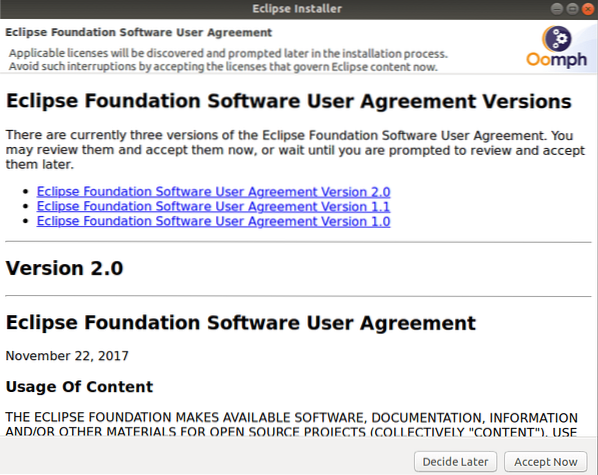
Step 7. Accept the license agreement.
Installation in progress.

Step 8. After the installation completes successfully, you can launch it.

Configuring Eclipse
Step 1. Now to create a launcher for an application open the next file:
vi .local/share/applications/eclipse.desktop
Step 2. Copy the below content and paste it in the previous file. Do not forget to replace the USER_NAME with your username.
[Desktop Entry] Name=Eclipse Type=Application Exec=/home/USER_NAME/eclipse/ Terminal=false Icon=/home/USER_NAME/eclipse/icon.xpm Comment=Integrated Development Environment NoDisplay=false Categories=Development;IDE; Name[en]=Eclipse Name[en_US]=Eclipse
Save the file and exit it.
Step 3. Finally, enter the following command to enable the shortcut icon.
sudo desktop-file-install eclipse.desktop
Conclusion
That's all about installing and configuring Eclipse IDE on your Ubuntu system. I hope you liked the tutorial. What do you think of Eclipse? What's the best feature in it that you like using it frequently? Do let our reader know in the comments below.


