Downloading CentOS 8 ISO Installation Image:
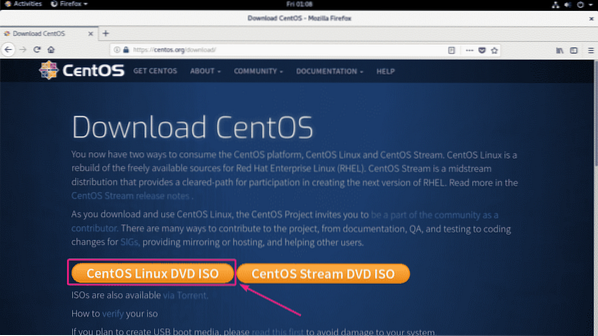
First, visit the official website of CentOS and click on CentOS Linux DVD ISO as marked in the screenshot below.
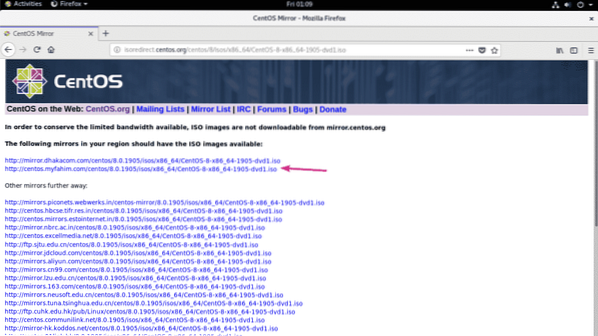
Now, click on a mirror link that is geographically closer to you.
Now, select Save File and click on OK.
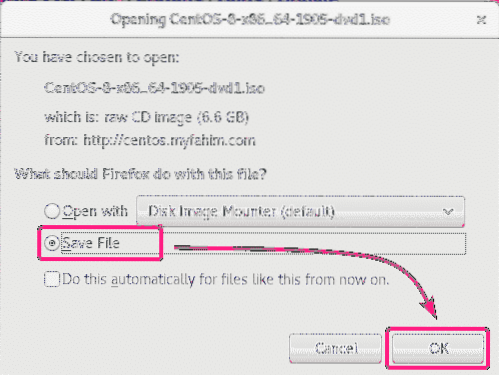
Your browser should start downloading CentOS 8 ISO installation image. It may take a while to complete.

Uploading CentOS 8 Installation ISO Image to VMware ESXi Datastore:
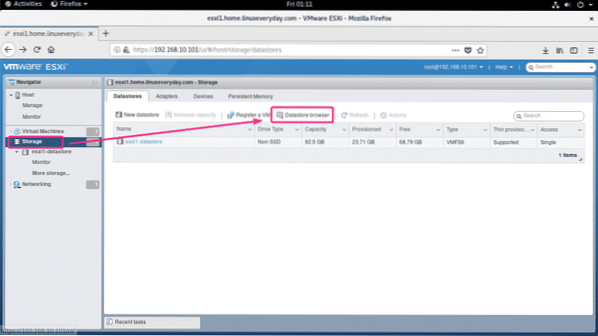
Once the CentOS 8 ISO installation image is downloaded, you have to upload it to your VMware ESXi server.
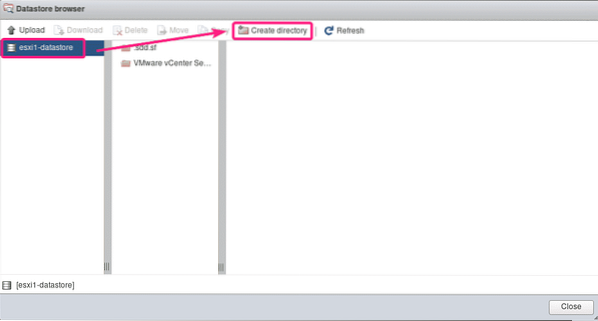
First, login to the ESXi web client and click on Datastore browser from the Storage section.
Now, select a datastore where you want to upload the CentOS 8 ISO image and click on Create directory.
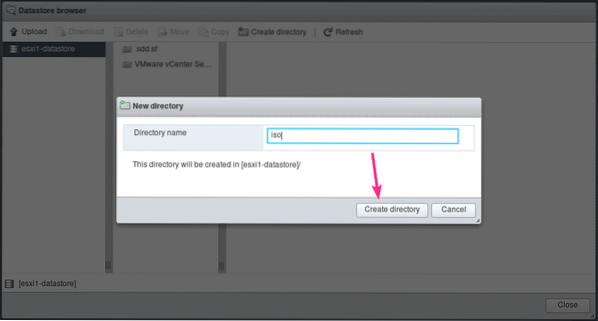
Now, type in iso in the Directory name field and click on Create directory.
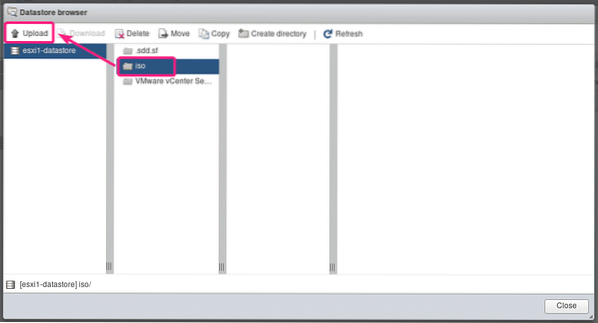
A new directory iso/ should be created. This is where I will upload the CentOS 8 ISO image.
To upload the CentOS 8 ISO image, select the iso/ directory and click on Upload.
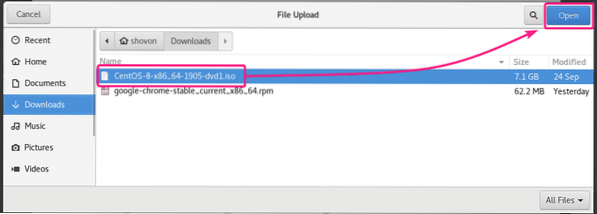
Now, select the CentOS 8 ISO image from your computer and click on Open.
The CentOS 8 ISO image is being uploaded. It may take a while to complete.
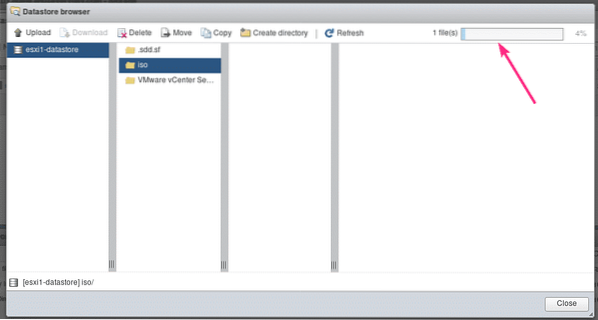
At this point, the CentOS 8 ISO image should be uploaded.

Creating a VMware ESXi Virtual Machine for CentOS 8 Installation:
Now, you have to create a new Virtual Machine (VM) where you can install CentOS 8.
First, go to the Virtual Machines section and click on Create / Register VM.

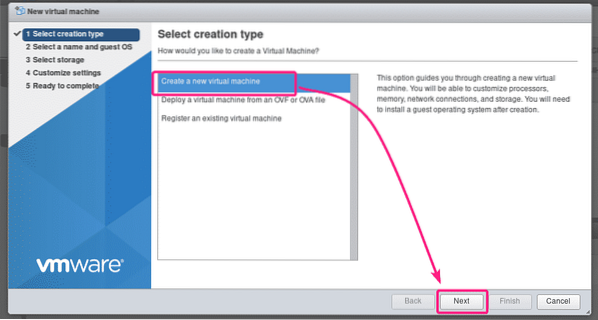
Now, select Create a new virtual machine and click on Next.
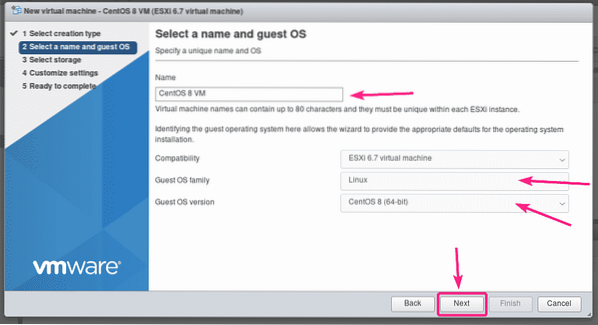
Now, type in a name for the VM, select Guest OS family to Linux and Guest OS version to CentOS 8 (64-bit). Then, click on Next.
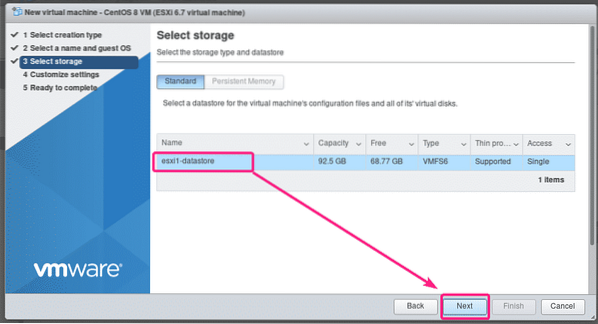
Now, select a datastore where you want to put the VM data and click on Next.
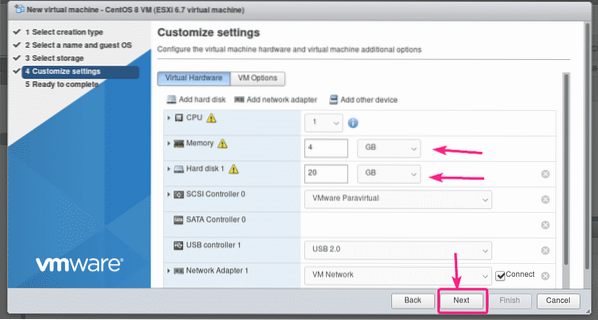
Now, select the number of CPU you want to assign to the VM. For more tasks, 1 CPU should be okay.
If you want to run CentOS 8 headless server on the VM, then 1-2 GB of memory should be okay. For CentOS 8 server with graphical user interface, you should assign at least 4 GB of memory.
Also, set the virtual hard disk size to at least 20 GB. It should be okay for both CentOS 8 headless server and CentOS 8 server with graphical user interface.
Once you're done, click on Next.
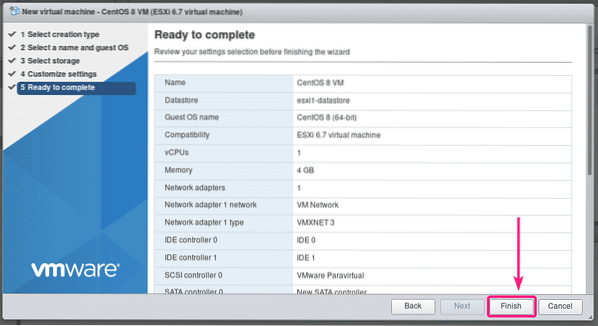
Now, click on Finish.
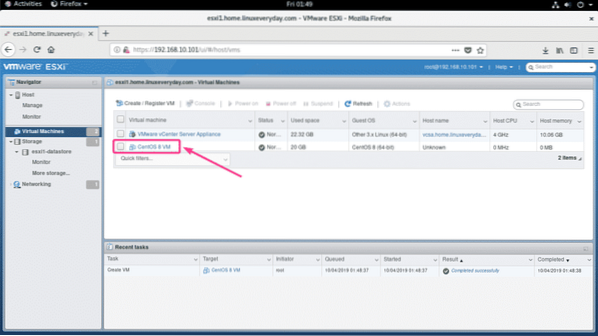
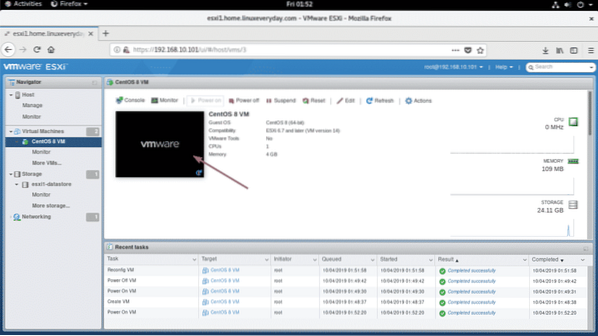
A new VM should be created. Click on the VM.
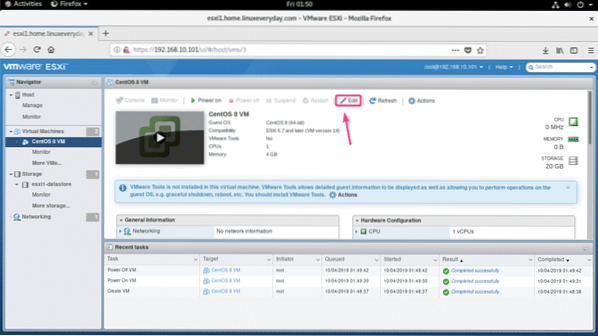
Now, click on Edit.
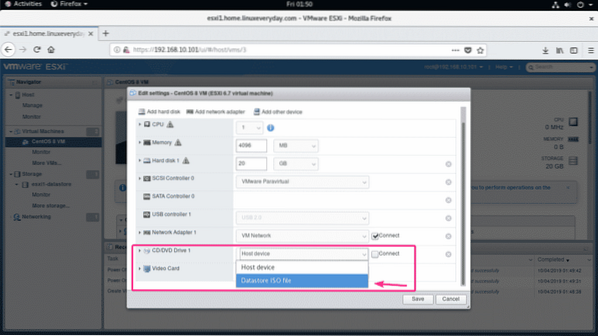
Now, select Datastore ISO file from CD/DVD Drive 1.
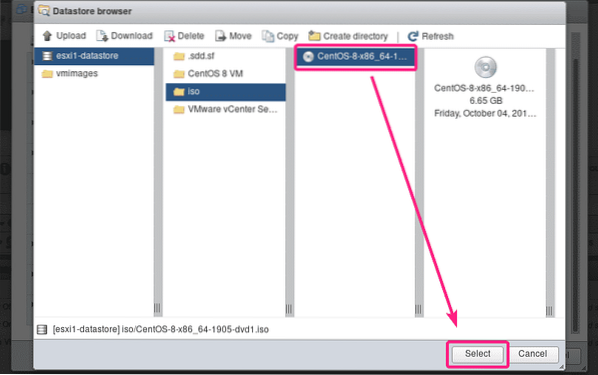
Now, select the CentOS 8 ISO image and click on Select.
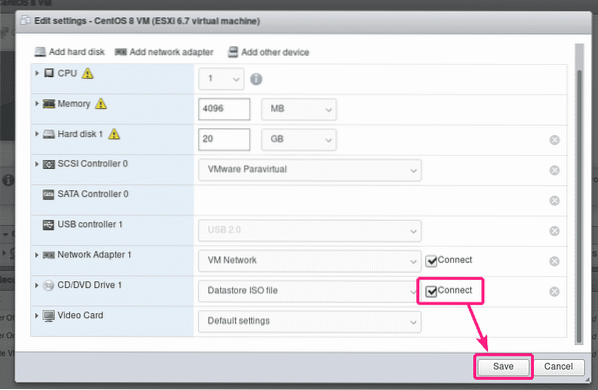
Now, check Connect from the CD/DVD Drive 1 section and click on Save.
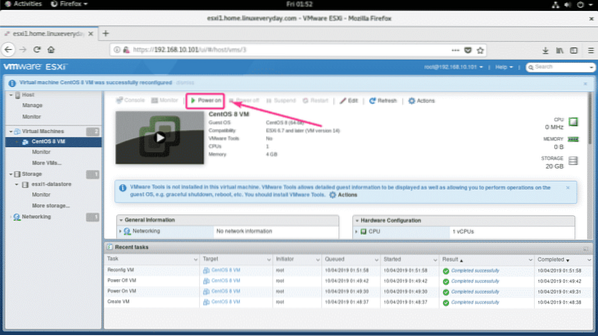
Now, click on Power on to turn on the VM.
Now, click on the VM display as marked in the screenshot below.
Now, select Install CentOS 8.0.1905 from the GRUB menu and press
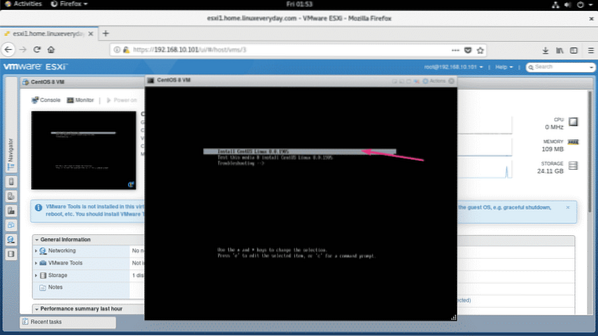
The CentOS 8 graphical installer should start. Now, you can install CentOS 8 as usual.
Installing CentOS 8 on VMware ESXi VM:
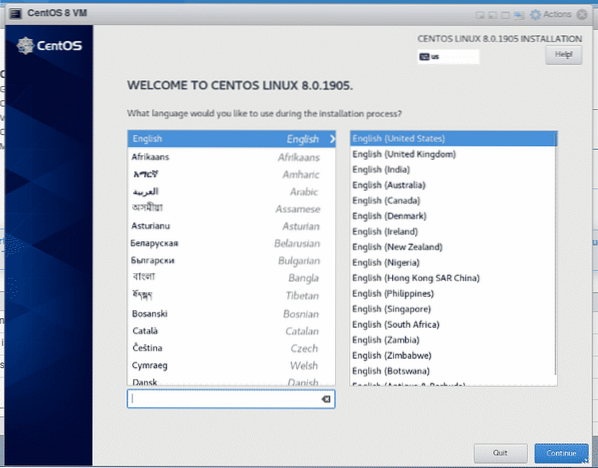
First, select the language and click on Continue.

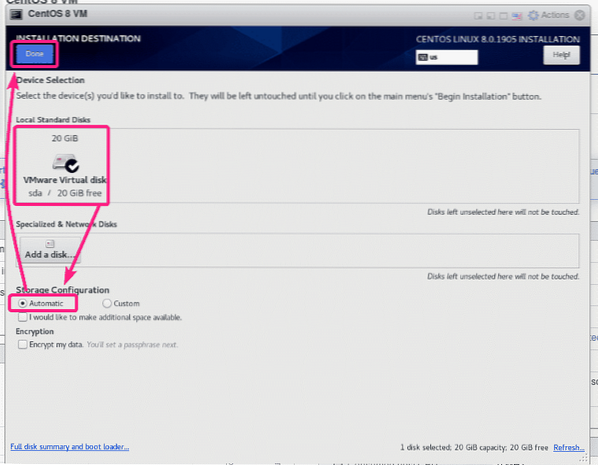
Now, click on Installation Destination.
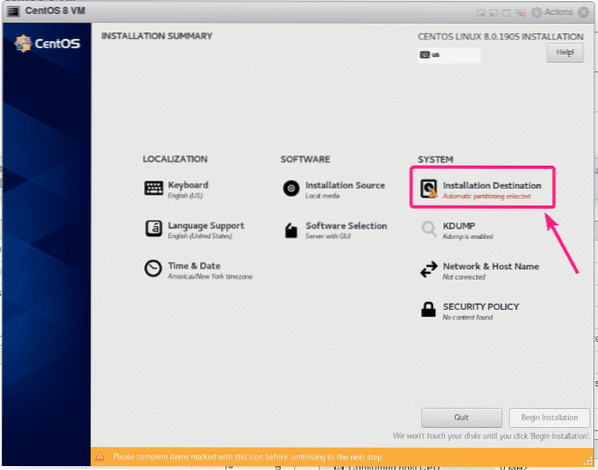
Now, select the virtual hard drive, select Automatic from Storage Configuration section and click on Done.
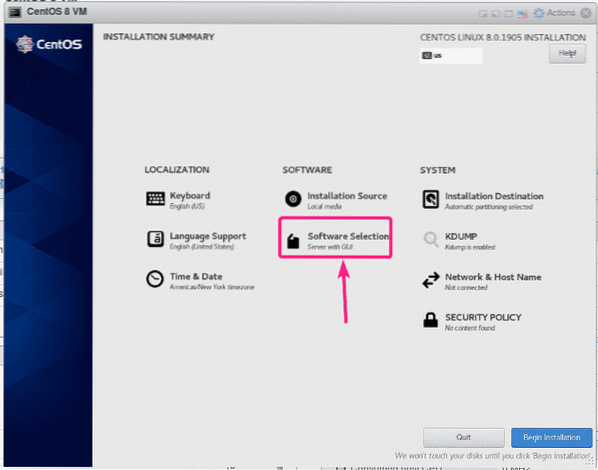
By default, CentOS 8 server with graphical user interface will be installed. But, if you want to install CentOS 8 headless server, then click on Software Selection.
NOTE: I will install CentOS 8 headless server in this article.
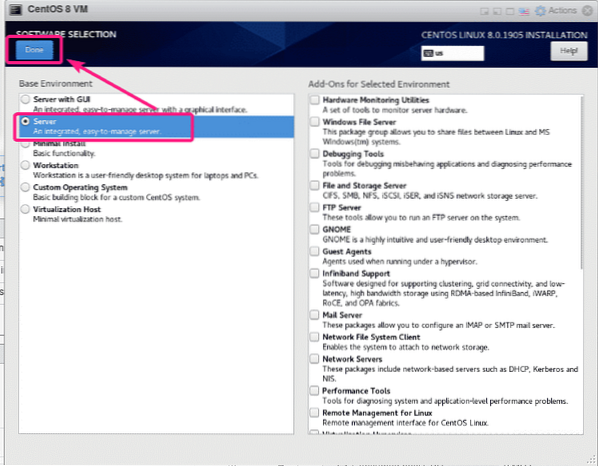
Now, select Server and click on Done.
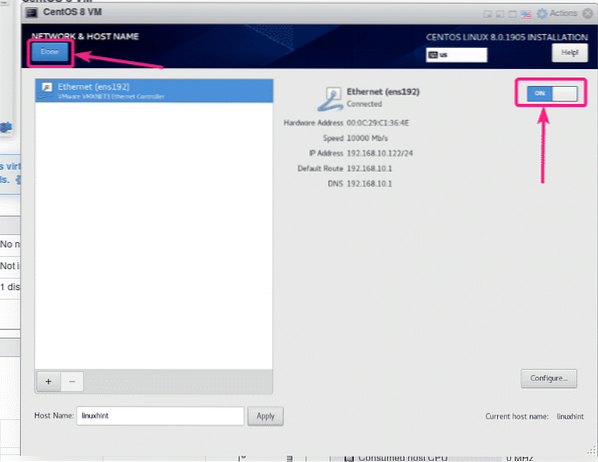
Now, click on Network & Host Name.

Type in a host name and click on Apply.
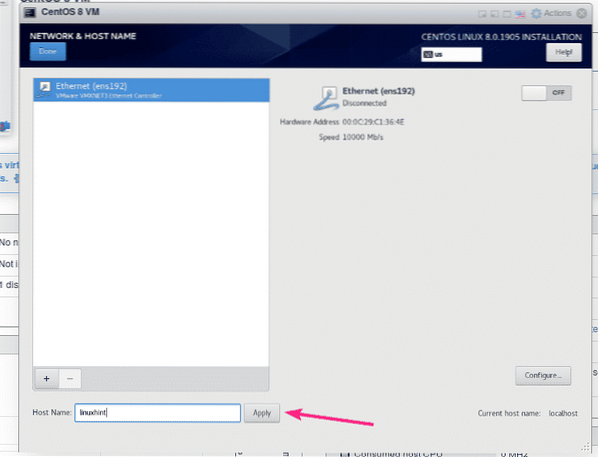
Now, click on the toggle button on the top right corner to activate the network adapter. Once the network is activated, click on Done.
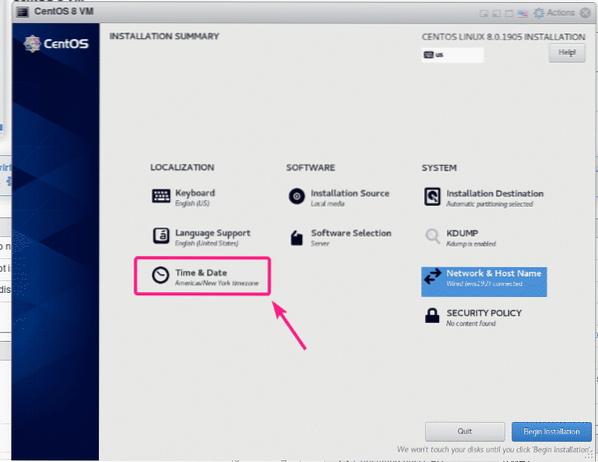
If you want to set up your time zone, click on Time & Date.
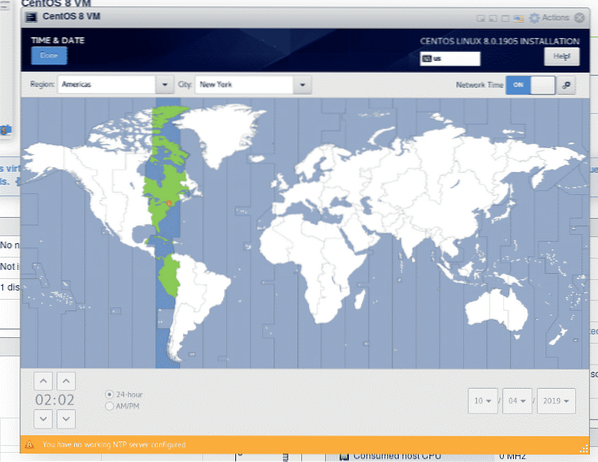
Now, select your Region and City and click on Done.
Once you've configured the installer the way you want, click on Begin Installation.
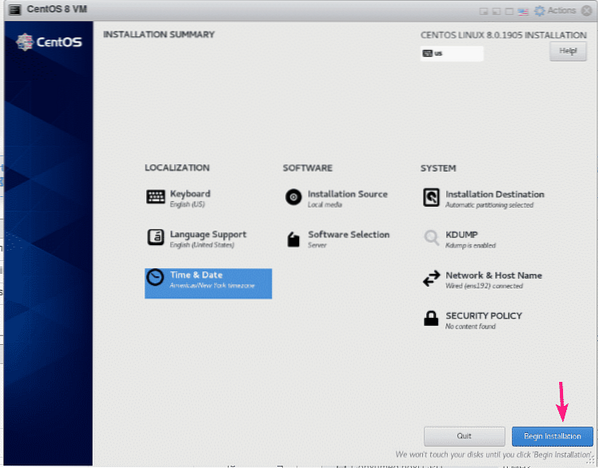
The installation should start.
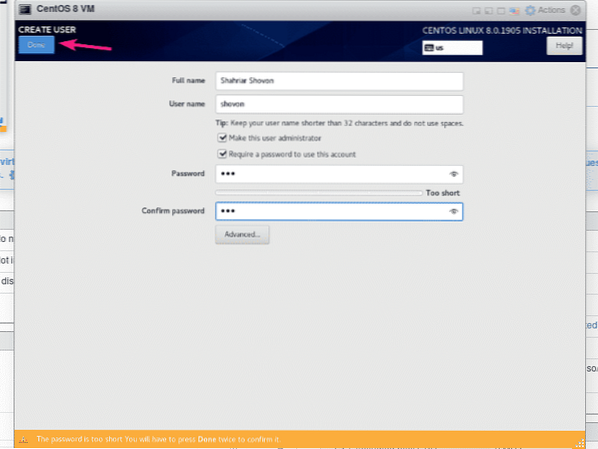
Now, you have to create a new login user. To do that, click on User Creation.

Type in your personal information, check Make this user administrator and click on Done.
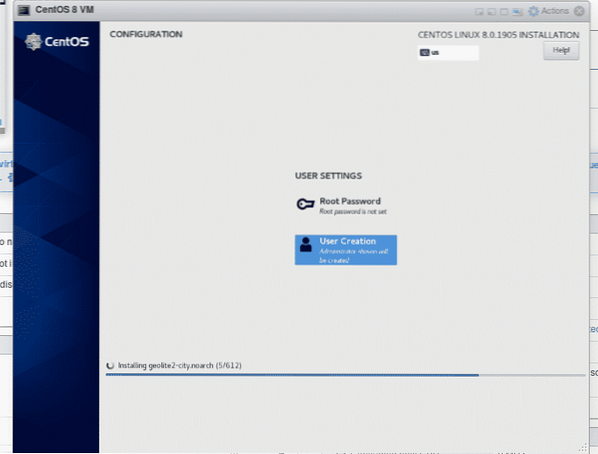
The installation should continue.
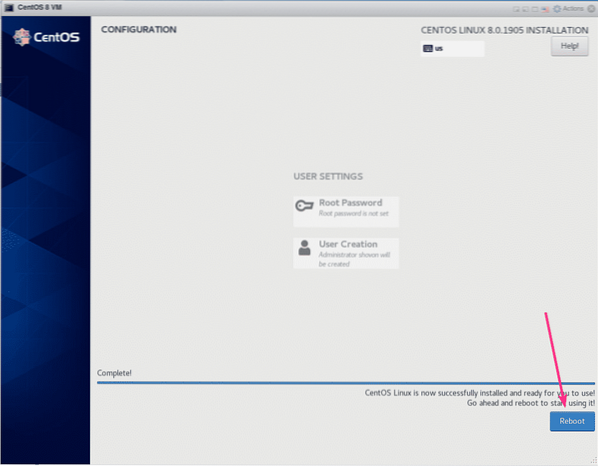
Once the installation is complete, click on Reboot.
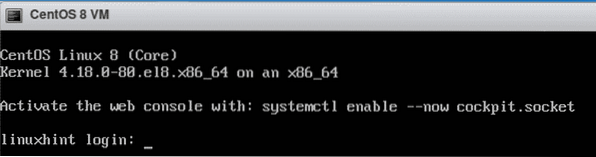
Now, the VM should boot CentOS 8 from the virtual hard drive.
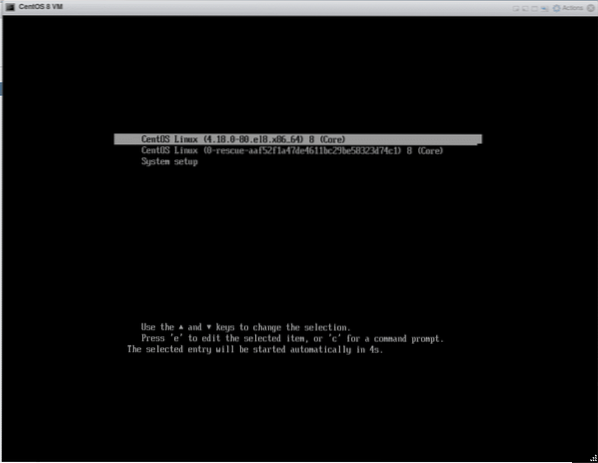
Shortly, you will see the login window. Now, you can login using the username and password that you've set during the installation.
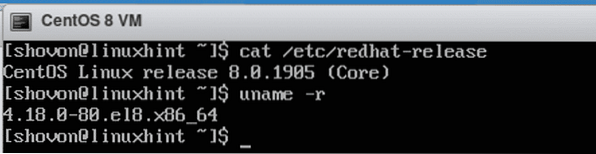
As you can see, I am using CentOS 8 and the Linux kernel version is 4.18.0.
$ cat /etc/redhat-release$ uname -r
So, that's how you install CentOS 8 on VMware ESXi server. Thanks for reading this article.


