Indexing on Windows files refers to the listing of files in a special table so that the accessibility of the indexed files can be made faster on search. But on Windows 10, by default, you cannot find any files in the listings if they are encrypted. So, in case you always tend to keep your files encrypted and at the same time want to get them indexed in the search results, you will have to modify some settings. In this post, we will show you how to index Encrypted files on Windows 10/8/7 using Indexing Options, Registry Editor or Group Policy Editor.
How to index Encrypted files on Windows
We always recommended you to create a System Restore Point before making any changes to your system.
To turn on indexation of encrypted files on Windows 10, you have three ways:
- Via Indexing Options
- Using Registry Editor
- Using Group Policy Editor.
But before you add encrypted files to the index, it is recommended that you have Windows BitLocker, or a non-Microsoft encryption program, enabled on your system drive for security purposes. If you don't, Windows may show you a yellow security warning saying Cannot Verify Files. Having done that, proceed.
Using Indexing Options
Start by opening the Cortana Search box and search for Indexing Options.
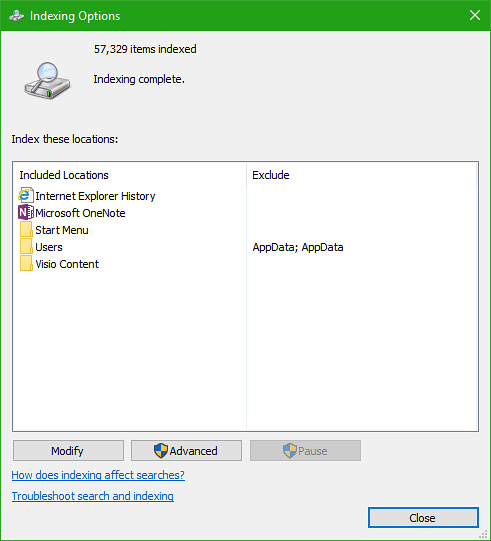
Click on the appropriate listing - say the Users folder. Now, click on the button called as Advanced.
A new mini-sized window will pop up. Make sure that you are under the tab that is labeled as Index Settings.

Under the section of File settings, check the option called as Index encrypted files and click OK.
This will enable the indexing for the encrypted files. You can uncheck that checkbox in case you want to disable the indexing of those files.
Using Registry Editor
Hit the WINKEY + R button combination to launch the Run utility, type in regedit and hit Enter. Click on Yes for the UAC or User Account Control Prompt that you get.
Once Registry Editor opens, navigate to the following key location-
HKEY_LOCAL_MACHINE\Software\Policies\Microsoft\Windows\Windows Search\
Now, in case you do not find the folder named Windows Search, right-click on some clear space and select New > Key.
Name that folder as Windows Search.
Now, inside that newly created folder, right click and select New > DWORD (32-bit) Value.
Name that key as AllowIndexingEncryptedStoresOrItems. Now, double-click on the newly created key and set the value according to your wish,
- Enabled : 1
- Disabled : 0
Close the Registry Editor and reboot your computer for the changes to take effect.
Using Group Policy Editor
Start by hitting the WINKEY + R button combination to start the Run box and type in gpedit.msc and then finally hit Enter.
Now, navigate to the following path inside the Group Policy Editor-
Local Computer Policy > Computer Configuration > Administrative Templates > Windows Components > Search
Double-click on the configuration listing named as Allow indexing of encrypted files to open the configuration page.
The description of this entry reads,
This policy setting allows encrypted items to be indexed. If you enable this policy setting, indexing will attempt to decrypt and index the content (access restrictions will still apply). If you disable this policy setting, the search service components (including non-Microsoft components) are expected not to index encrypted items or encrypted stores. This policy setting is not configured by default. If you do not configure this policy setting, the local setting, configured through Control Panel, will be used. By default, the Control Panel setting is set to not index encrypted content.
When this setting is enabled or disabled, the index is rebuilt completely.
Full volume encryption (such as BitLocker Drive Encryption or a non-Microsoft solution) must be used for the location of the index to maintain security for encrypted files.
You can either select Enabled or Disabled depending on your preferences.
Click on OK and exit the Group Policy Editor.
Reboot your computer for the changes to take effect.
Want more? Read Windows Search Indexer and Indexing Tips & Tricks.


