While binding a printed-out Word document, some portion can get hidden automatically. To solve this problem, you can change the default Gutter margin size and position with the help of this tutorial. Although the default gutter position is set to “Left,” it is possible to change it to “Top” as well. Here is how it can be done.
Margins are always handy when you need to print documents and place them in a file so that people can read the text clearly. However, if you need to bind the paper for some reason, only margin may not as helpful as it should be. That is where you need to use Gutter. Although Microsoft uses the gutter by default, you need to change the value and position so that it works as per your requirements. As Microsoft included this functionality as an in-built option, you do not need to download or install add-ins in Word.
How to change default Gutter size and position in Word
To change gutter size and position in Word, follow these steps-
- Open Word on your computer.
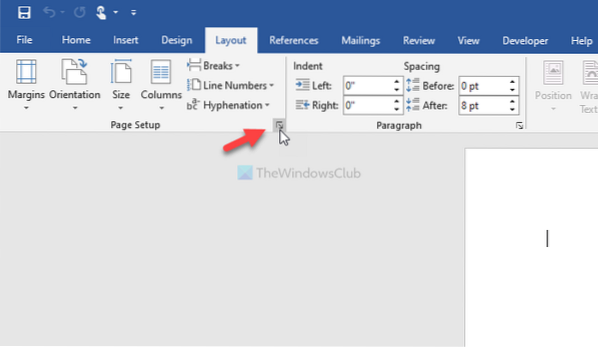
- Go to the Layout tab.
- Click the arrow icon in the Page Setup section.
- Enter the Gutter size and position.
- Click the OK button.
Let's check out these steps in detail.
To get started, you need to open Word on your computer. If it is already opened, switch tab from Home to Layout. Here you can find a section called Page Setup. You need to click the down arrow icon that is visible at the end of the Page Setup section.
Now, make sure that you are in the Margins tab. If so, you can see two options - Gutter and Gutter position.
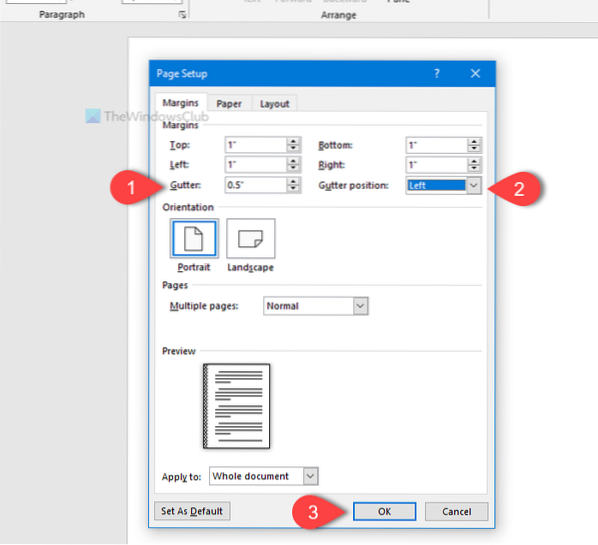
At first, choose the position. For that, expand the Gutter position drop-down menu, and select Left or Top. As almost everyone binds a page from either left or top, Word offers only these two options.
Following that, you can change the gutter size. It is possible to enter the size using the number pad of your keyboard, or you can click the up/down arrow to make the change.
You can take a look at the Preview pane as it shows the change in real-time. Once you are done with all these things, click the OK button to save the change.
That's all! Hope this simple trick will help you a lot.


