Deploying Django to a production environment for the first time can be a daunting task. Often, developers will launch a Linux instance on the cloud for their production environment.
In this tutorial, we'll show you how to launch Django in production, using a fresh Ubuntu instance.
We'll assume that all of your editing is done on the server, and that you're running the commands as root.
For this tutorial, we're using Ubuntu 18.04.2 LTS
Creating a user for the project
We'll create a new user, django, for running our application. This provides a slight security benefit.
To create the new user:
useradd -m djangoThe -m flag creates a new home directory: /home/django.
Setting up the Python environment
First things first: update your package lists with apt-get update
Ubuntu 18.04 ships with Python 3.6, but it doesn't ship with pip, which you'll need to install your dependencies.
apt-get install python3-pipNow that we have pip, let's create a virtual environment. Virtual environments help to avoid conflicts with Python packages used by Linux.
pip3 install virtualenvcd /home/django
virtualenv env
Now you've created a virtual Python 3.6 environment in the /home/django/env folder which can be activated with the following command:Now that we have pip, let's create a virtual environment. Virtual environments help to avoid conflicts with Python packages used by Linux.
Setting up the Django project
For this tutorial, we'll create a temporary Django project. If you're deploying your own code, you'll have to upload it to the server instead. We'll be operating in the home directory, /home/django.Setting up the Django project
Let's create the Django project:
cd /home/djangosource env/bin/activate
pip install django
django-admin startproject tutorial
Verify things are working by running:
cd tutorialpython manage.py runserver 0.0.0.0:80
Our Ubuntu instance is running at 178.128.229.34 so we'll connect to http://178.128.229.34.Verify things are working by running:
You'll likely see something like this:
To fix this, we'll edit /home/django/tutorial/tutorial/settings.py. Find ALLOWED_HOSTS = [] and set it to:
'178.128.229.34' # replace this with your server's IP address
or the domain name you're using to connect
]
Now let's go back to http://178.128.229.34:
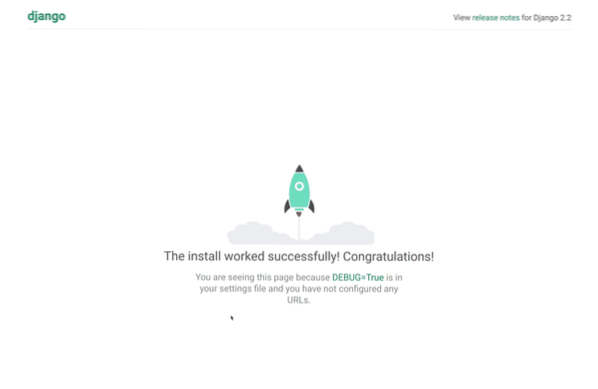
Great! We're online!
Setting up PostgreSQL, the database
By default, Django uses a SQLite3 database. Unfortunately, SQLite3 does not allow concurrent writes. If your website only ever has one user editing data, and the rest of the visitors are just reading pages, then this might be appropriate. But if you have multiple people editing data at the same time you likely want to use a different backend.
Common choices are PostgreSQL and Mysql. We'll go with PostgreSQL for this tutorial.
Start by installing PostgreSQL:
apt-get install postgresqlThen launch psql, a database shell. By default, only the postgres user is able to connect to the database so we'll first have to authenticate as that user:
su - postgrespsql
Next, we need a database and a user to access that database:
create database tutorial;create user tutorial_user with encrypted password 'tutorial_password';
grant all privileges on database tutorial to tutorial_user;
Now, type exit or press Ctrl-D twice: once to exit psql, and once to log out of the postgresuser's shell.
Great! Now we have our database and user set up. Let's verify we can log in to our database.
We'll try to open up a database shell, this time logging in to the database we created with the user we created:
psql -Ututorial_user -dtutorial -h127.0.0.1 -WAt the prompt, enter the password we created: tutorial_password.
If you see a database shell, you've been successful. If you see any errors, you'll have to go back and figure out what's wrong.
Connecting Django to the database
To get Django connected to the database, we first need to install the Python PostgreSQL adapter:
pip install psycopg2-binaryThen, let's open up /home/django/tutorial/tutorial/settings.pyand configure the connection.
Find your current database connection; if you didn't modify it, it might look something like this:
DATABASES ='default':
'ENGINE': 'django.db.backends.sqlite3',
'NAME': os.path.join(BASE_DIR, 'db.sqlite3'),
To connect to PostgreSQL, we'll replace it with the following:
DATABASES ='default':
'ENGINE': 'django.db.backends.postgresql_psycopg2',
'NAME': 'tutorial',
'USER': 'tutorial_user',
'PASSWORD': 'tutorial_password',
'HOST': '127.0.0.1',
'PORT': '5432',
Let's test the connection:
cd /home/django/tutorialpython manage.py runserver 0.0.0.0:80
You should again be able to visit your website (for us at http://178.128.229.34/, but replace that with your IP or hostname).
If all is well, we can continue.
Setting up nginx, the web server
When you run python manage.py runserver, you're using Django's development server. This is great for local development, but as with SQLite3, it's not really suited for production.
Common choices for production web servers are nginx and Apache. For this tutorial, we will use nginx.
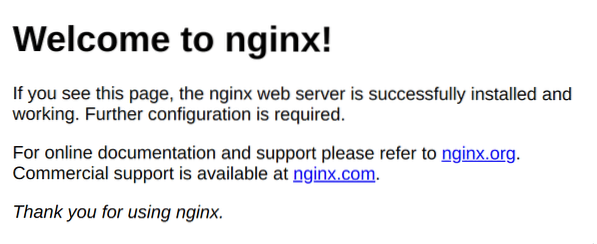
Install nginx using the following:
apt-get install nginxNow, if everything has worked well, nginx should be running on port 80. Go ahead and check out you website; you should see:
Great, so nginx is up and running! Next we'll need to configure it to communicate with Django. Open up the nginx configuration file, located at /etc/nginx/sites-available/default. Let's replace the file with the following:
upstream djangoserver 127.0.0.1:8000;
server
listen 80;
location /
try_files $uri @send_to_django;
location @send_to_django
proxy_set_header Host $http_host;
proxy_redirect off;
proxy_pass http://django;
Test the configuration file by running nginx -t. If everything is ok, we can reload by running nginx -s reload.
Now, if you visit your site you will see the following:

Whenever you see this, it means that nginx was unable to pass the request to the upstream process. At the moment, it's because it's trying to pass the request to 127.0.0.1:8000 but there is no process listening at that address.
Let's start the Django development server and try again:
cd /home/django/tutorialpython manage.py runserver 127.0.0.1:8000
and again visit your website. You should see your Django application.
Mounting Django on Gunicorn
Remember, we don't want to use our Django development server in production. Instead, we'll use a Web Server Gateway Interface (WSGI) server to run Django. Nginx will pass the request to the WSGI server, which is running Django.
Common choices for a WSGI server are Gunicorn and uWSGI. For this tutorial we will use Gunicorn.
Let's install Gunicorn:
pip install gunicornNext, we can start gunicorn as follows:
cd /home/django/tutorialgunicorn tutorial.wsgi
Now you should be able to visit your website and see your application running properly.
Running Gunicorn as a service
There are a few issues with running gunicorn like this:
- If we close the SSH session, the gunicorn process will stop.
- If the server reboots, the gunicorn process won't start.
- The process is running as root. If hackers find an exploit in our app's code, they'll be able to run commands as root. We don't want this; but that's why we created the djangouser!
To solve these problems, we're going to run Gunicorn as a systemd service.
cd /home/djangomkdir bin
cd /home/django/bin
touch start-server.sh
In start-server.sh:
cd /home/djangosource env/bin/activate
cd tutorial
gunicorn tutorial.wsgi
Now you can test the script:
cd /home/django/binbash start-server.sh
# visit your website, it should be running
Now we create the systemd service for Gunicorn. Create /etc/systemd/system/gunicorn.serviceas follows:
[Unit]Description=Gunicorn
After=network.target
[Service]
Type=simple
User=django
ExecStart=/home/django/bin/start-server.sh
Restart=on-failure
[Install]
WantedBy=multi-user.target
Now, let's enable the service & start it
systemctl enable gunicornsystemctl start gunicorn
You should be able to see your website at the moment.
We can turn gunicorn off as follows:
systemctl stop gunicornAnd you should see a 502 Bad Gateway.
Finally, let's check the boot cycle:
systemctl start gunicornreboot now
When your machine comes back online, you should see your website is up.
Static files
If you visit the Django admin panel on your website at /admin/ (for us, it's http://178.128.229.34/admin/), you'll notice static files aren't loading properly.
We'll need to create a new folder for static files:
cd /home/djangomkdir static
Then, we tell Django that's where it should put the static files by editing /home/django/tutorial/tutorial/settings.py, and adding:
STATIC_ROOT = '/home/django/static/'Now we can gather the static files:
cd /home/djangosource env/bin/activate
cd tutorial
python manage.py collectstatic
Finally, we need to tell nginx to serve those static files.
Let's open up /etc/nginx/sites-available/default and add the following directly above your location / block:
location /static/root /home/django;
try_files $uri =404;
The whole file should now look like this:
upstream djangoserver 127.0.0.1:8000;
server
listen 80;
location /static/
root /home/django;
try_files $uri =404;
location /
try_files $uri @send_to_django;
location @send_to_django
proxy_set_header Host $http_host;
proxy_redirect off;
proxy_pass http://django;
We can reload the file using nginx -s reload
And voila! Your static files will now be working fully.
Conclusion
At this point, your Django app is working properly. If you have some special requirements, you might need to set up a cache like Redis or a message queue like Rabbit MQ. You might also want to set up continuous deployment as the deployment procedure might take a while.
Another important step is to take the appropriate steps to secure your Ubuntu machine. Otherwise, you might find your server misbehaving!
Good luck!


