At the time of writing, the latest version of OpenMediaVault is OpenMediaVault 5, which can be installed on Raspberry Pi OS to convert your Raspberry Pi 4 into an NAS server. In this article, we will show you how to install and use OpenMediaVault 5 on Raspberry Pi OS.
To create a Raspberry Pi 4 NAS with OpenMediaVault, you will need:
- a Raspberry Pi 4 single-board computer,
- a Raspberry Pi 4 USB Type-C power supply,
- a microSD card (16 GB or more) with the Raspberry Pi OS Lite image flashed onto it,
- internet connectivity, and
- a laptop or desktop computer for flashing the Raspberry Pi OS Lite image onto the microSD card and accessing the Raspberry Pi 4 via SSH.
NOTE: If you do not want to access your Raspberry Pi 4 remotely via SSH, you need to connect a monitor and a keyboard to your Raspberry Pi. However, we will connect to our Raspberry Pi 4 remotely via SSH using the headless Raspberry Pi 4 setup.
Click here if you need help flashing the Raspberry Pi OS Lite image onto the microSD card. If you are still getting the hang of Raspberry Pi and you need help installing Raspberry Pi OS Lite on your Raspberry Pi 4, click here. Finally, if you want to learn more about the headless setup of Raspberry Pi 4, click here.
Connecting to Raspberry Pi 4 via SSH:
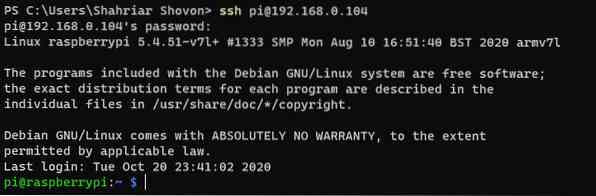
For this example, let's say the IP address of your Raspberry Pi 4 is 192.168.0.104. To connect to your Raspberry Pi 4 via SSH, run the following command from your computer:
$ ssh [email protected]
Type in the password of your Raspberry Pi OS and press .

Now, you should be logged into your Raspberry Pi 4.
Upgrading Raspberry Pi OS
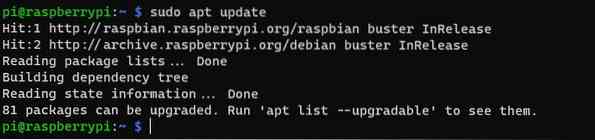
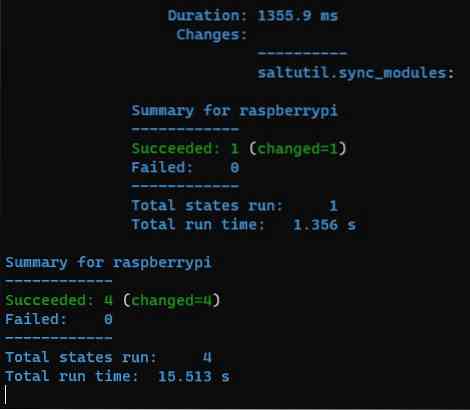
Before installing OpenMediaVault 5 on your Raspberry Pi OS, you should upgrade all existing packages of your Raspberry Pi OS. To do so, first update the APT package repository cache of your Raspberry Pi OS with the command $ sudo apt update.
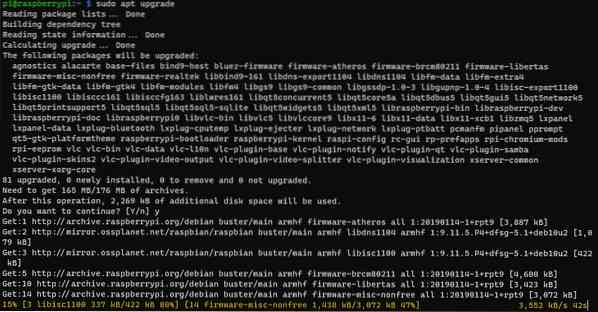
To upgrade the other packages of your Raspberry Pi OS, run the command $ sudo apt upgrade.

To carry out the upgrade, press Y and then

The APT package manager should start downloading all the required packages from the internet. Once the packages are downloaded, the APT package manager should install them one by one.
At this point, all the updates should be installed.
For the changes to take effect, reboot your Raspberry Pi 4 with the command $ sudo reboot.

Installing OpenMediaVault 5 on Raspberry Pi OS
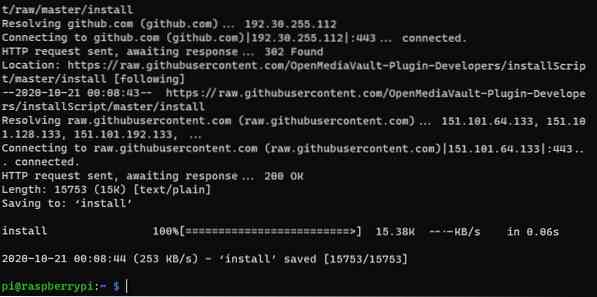
Once your Raspberry Pi 4 boots, run the following command to download the installation script of OpenMediaVault 5:
$ wget https://github.com/OpenMediaVault-Plugin-Developers/installScript/raw/master/install
Now, the OpenMediaVault 5 installation script should be downloaded.
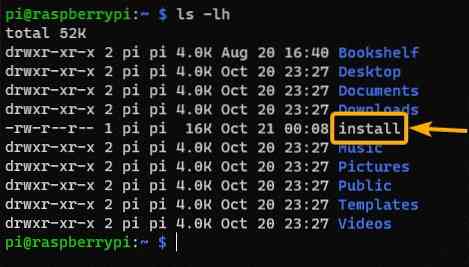
In addition, the OpenMediaVault 5 installation script install should be in your current working directory.
Add execute permission to the install script with the command $ chmod +x install.

Now, the install script should have execute permission.
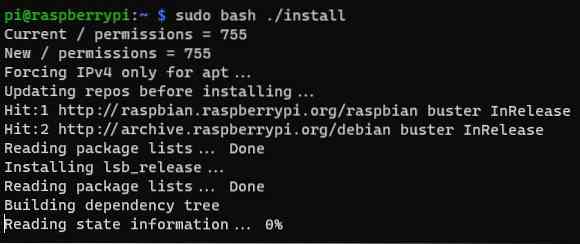
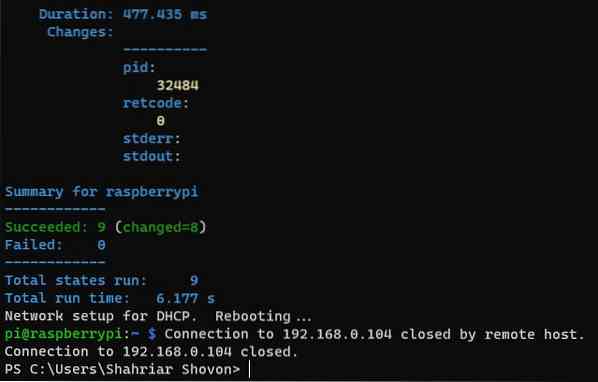
To install OpenMediaVault 5, run the install script as follows:

The installation script should start installing OpenMediaVault 5. This step will take a while to complete.
At this point, OpenMediaVault 5 should be installed.
Once OpenMediaVault 5 is installed, your Raspberry Pi 4 should reboot.
Accessing OpenMediaVault 5
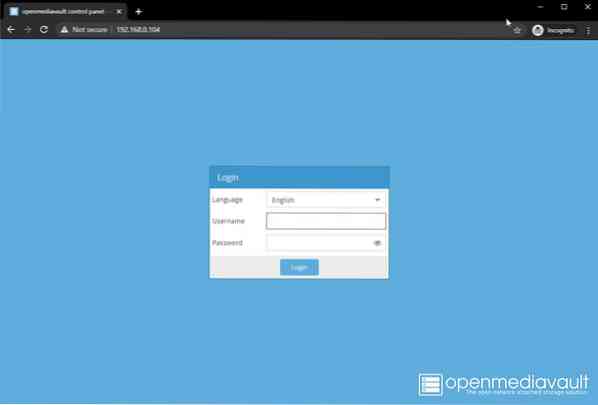
Once your Raspberry Pi 4 boots, you should be able to access OpenMediaVault 5 from a web browser. To do so, visit http://192.168.0.104 using the web browser of your choice.
You should see the login page of OpenMediaVault 5. The default OpenMediaVault 5 username is admin and the password is openmediavault. Type in admin as the username and openmediavault as the password and click on Login.
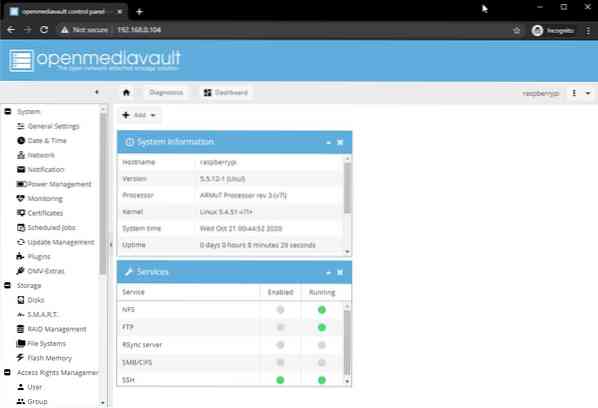
Now, you should be logged into the control panel of OpenMediaVault 5.
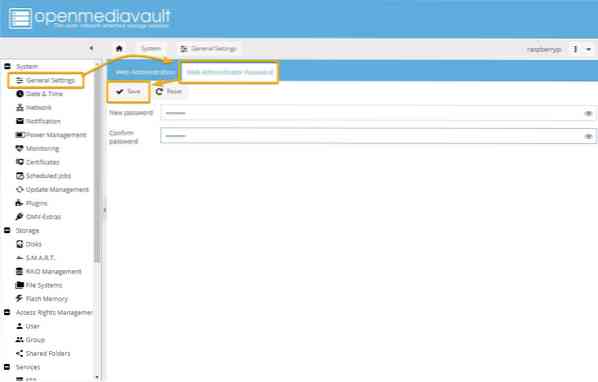
Changing Your Password in OpenMediaVault 5
If you want to change the default password, then go to System > General Settings > Web Administrator Password, as marked in the screenshot below. Then, type in the new password and click Save.
Now, the OpenMediaVault 5 administrative password should be changed. For the changes to take effect, log out of the OpenMediaVault web interface and then log back in.
Creating an SMB/CIFS Share using OpenMediaVault 5
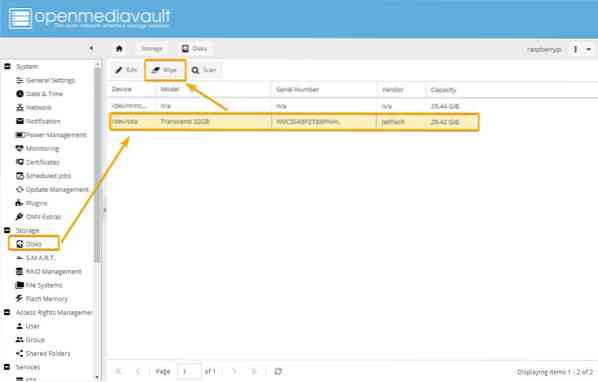
In this section, we will show you how to set up a simple SMB/CIFS share using OpenMediaVault 5 by using a USB thumb drive as a storage device for OpenMediaVault 5. You can use a USB HDD/SSD if you want; the process will be the same.
If you want to use a USB HDD/SSD or a thumb drive to store data for OpenMediaVault, you have to format it first. To do that, go to Storage > Disks and select the USB HDD/SSD or thumb drive that you want to use as a storage device for the share and click Wipe.
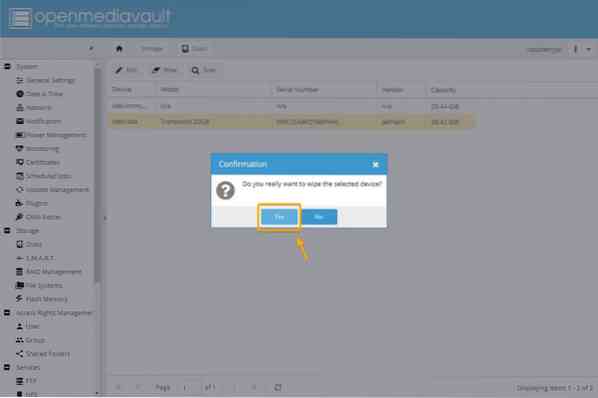
Click Yes to confirm the wipe operation.
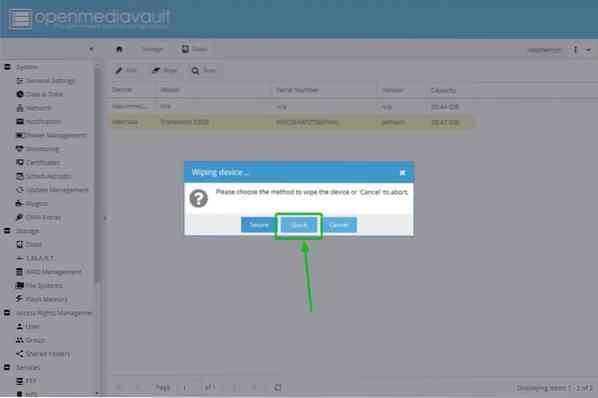
Click Quick as the wiping method.
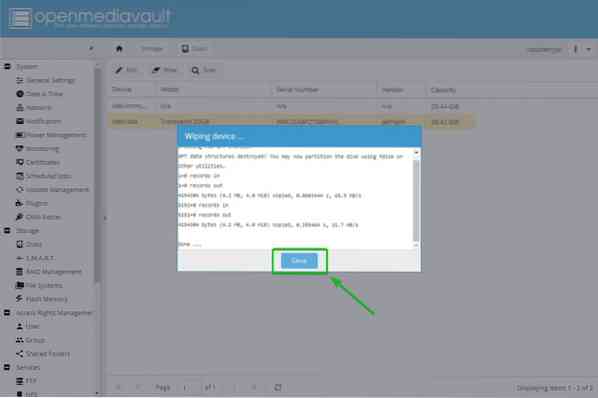
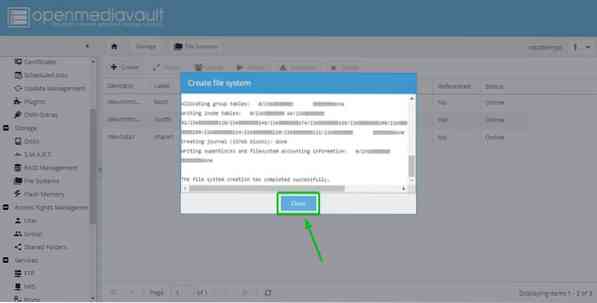
Once the wipe operation is complete, click Close.
Now, the USB HDD/SSD or thumb drive should be wiped clean.
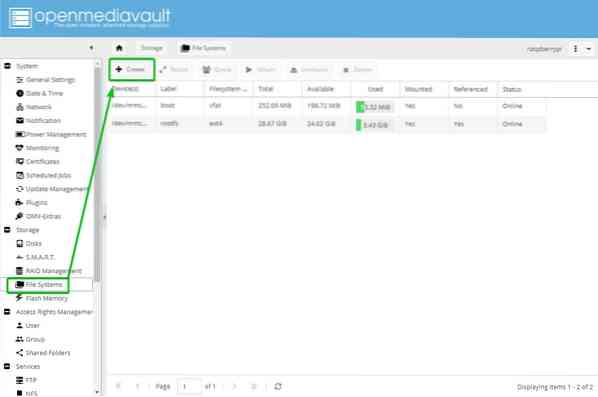
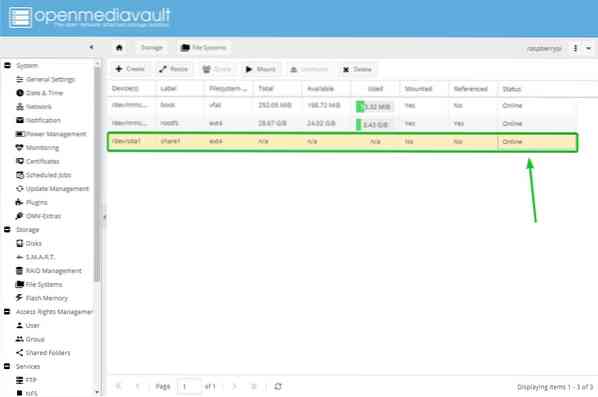
Next, you have to create a file system. To do so, go to Storage > File Systems and click Create.
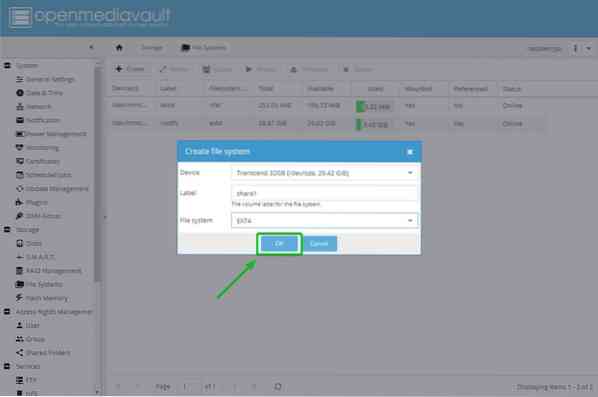
Select your USB HDD/SSD or thumb drive from the Device dropdown menu, type in a Label, select a File System format, and click OK.
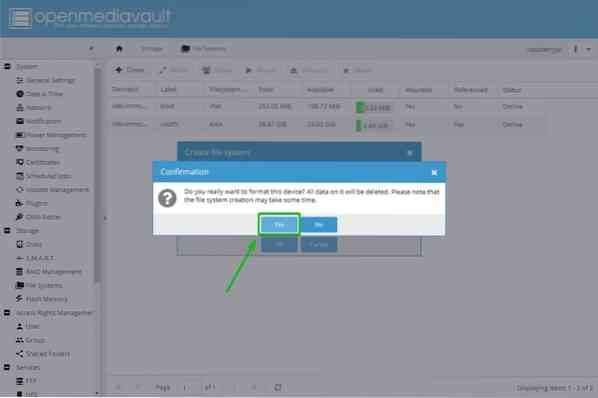
To confirm the format operation, click Yes.
Then, click Close.
Now, a filesystem should be created on the USB HDD/SSD or thumb drive.
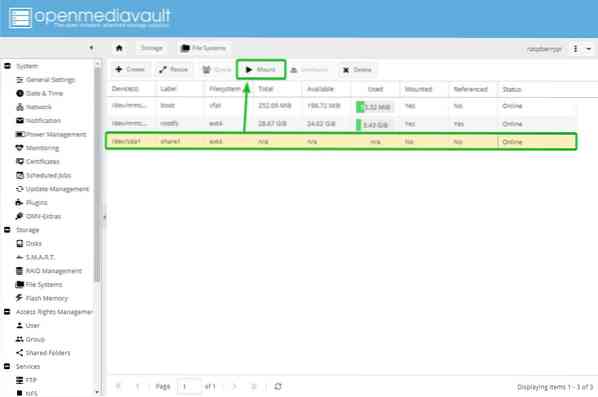
Next, select the newly created file system and click Mount.
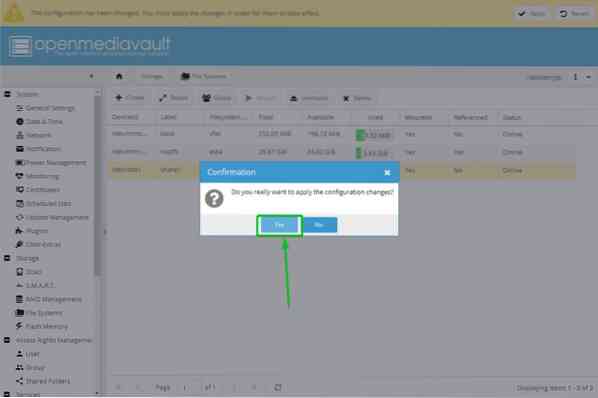
For the changes to take effect, click Apply.
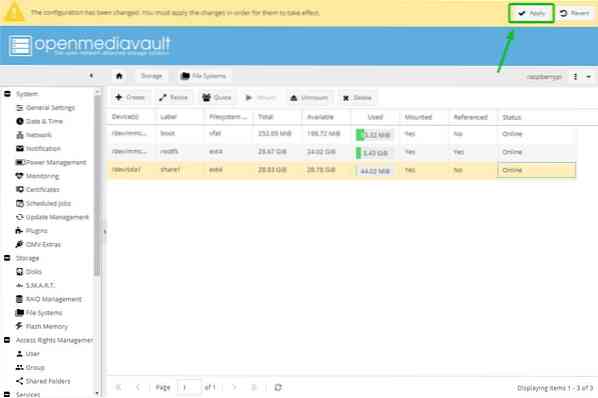
To confirm the changes, click Yes.
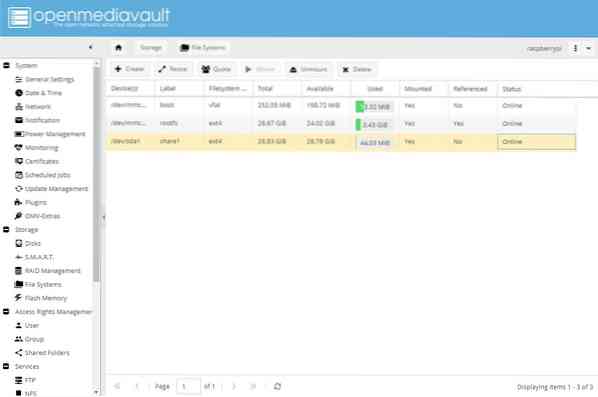
Once the changes are applied, the newly created filesystem should be mounted.
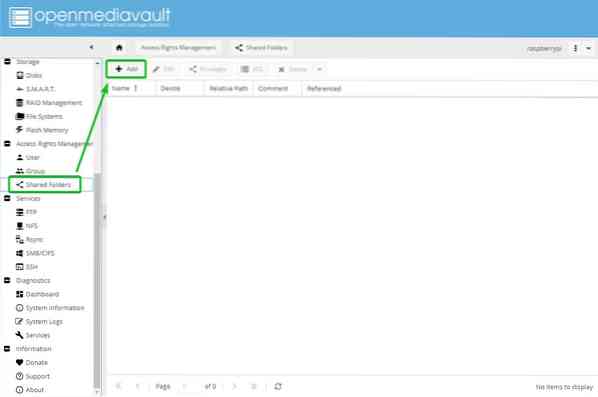
Now, you can share a folder using OpenMediaVault 5. To share a folder, go to Access Rights Management > Shared Folders and click Add.
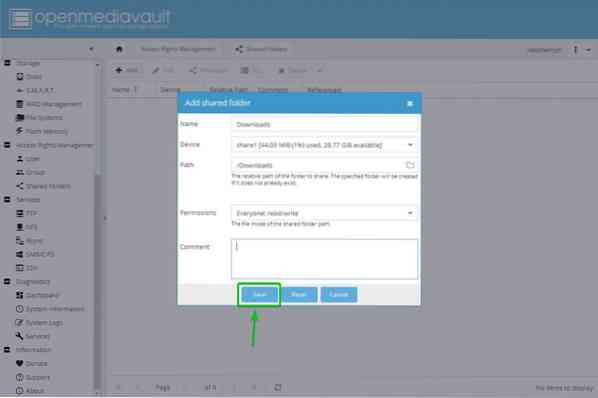
Type in the Name of your shared folder, select the file system that you just created from the Device dropdown menu, and select the permissions for your shared folder using the Permissions dropdown menu.
Once you have completed this step, click Save.
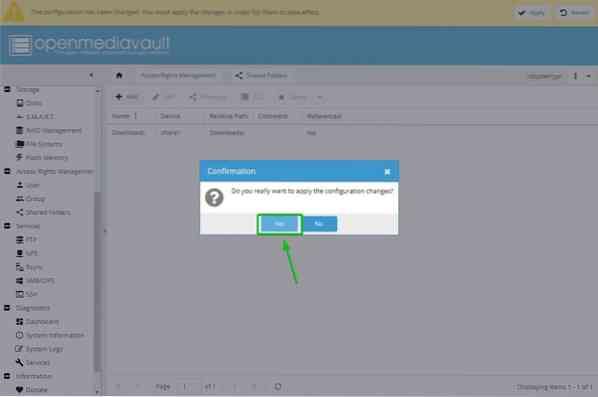
A shared folder should be created. For the changes to take effect, click Apply.
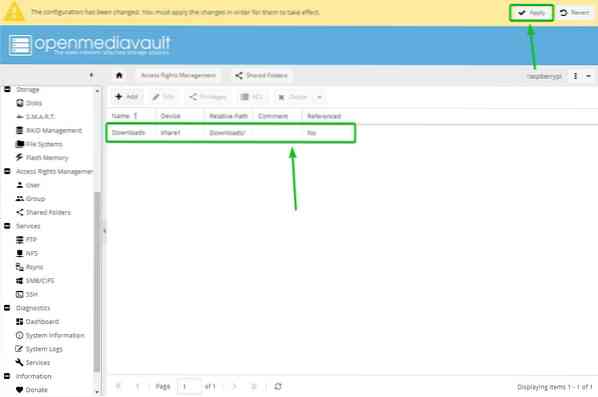
To confirm the changes, click Yes.
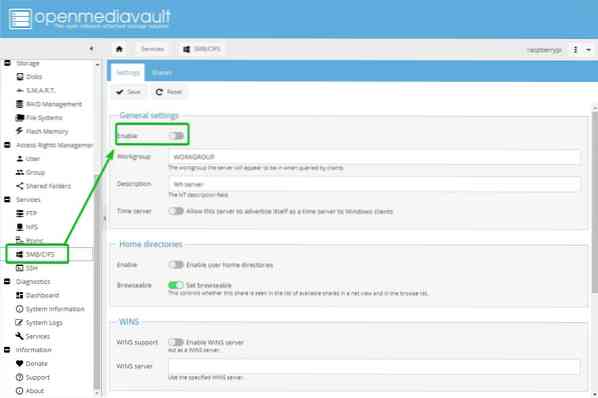
Next, you have to enable the SMB/CIFS service to share folders from OpenMediaVault 5 for the Windows operating system. To enable Windows share, go to Services > SMB/CIFS and then click the marked toggle button.
Click Save.
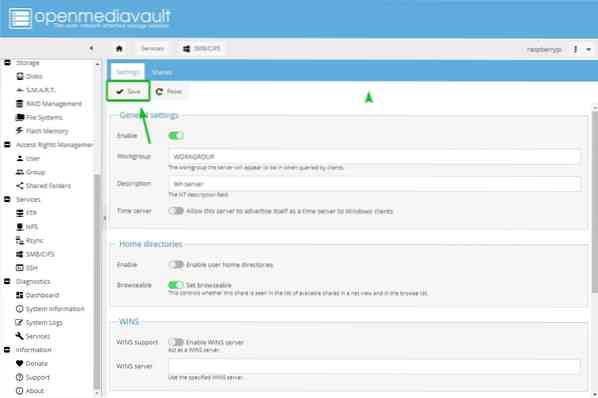
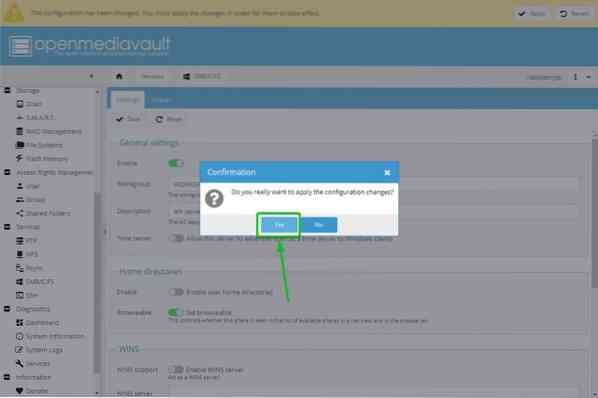
For the changes to take effect, click Apply.
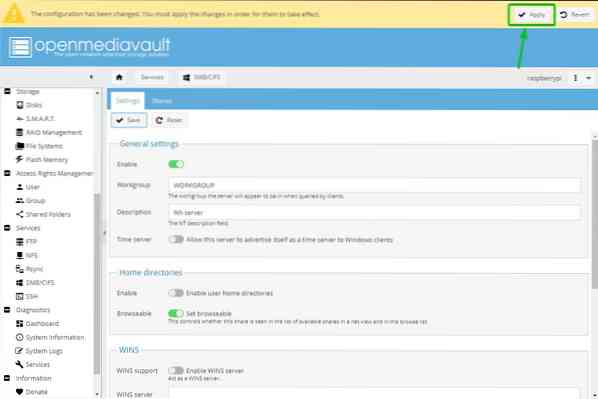
To confirm the changes, click Yes.
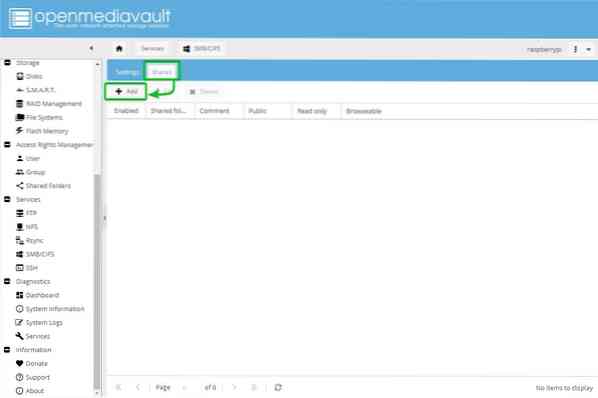
To create a Samba or SMB/CIFS share, navigate to Services > SMB/CIFS > Shares and click Add.
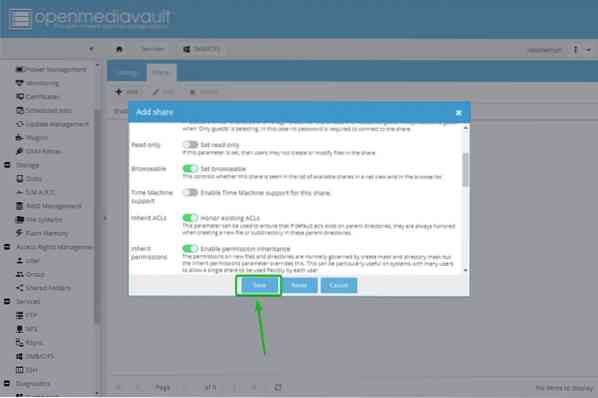
Select the Shared folder you just created from the dropdown menu. There are many options. You can configure your share however you want. To allow everyone to have full access to the share, we choose Guests allowed from the Public dropdown menu.
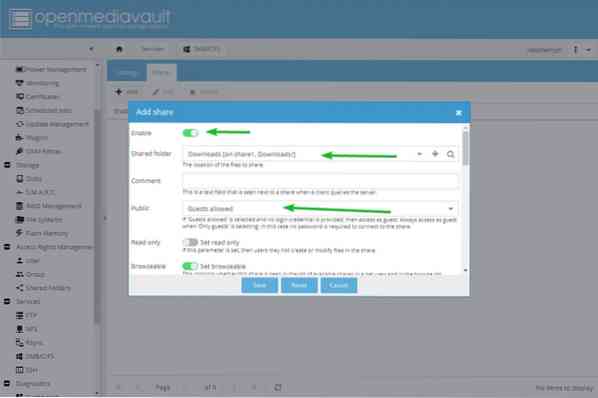
Once you are done, click Save.
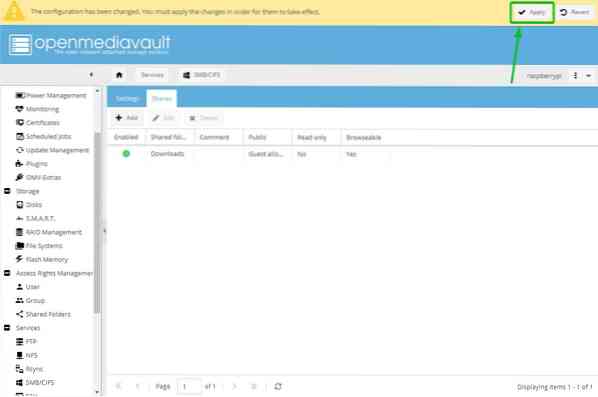
For the changes to take effect, click Apply.
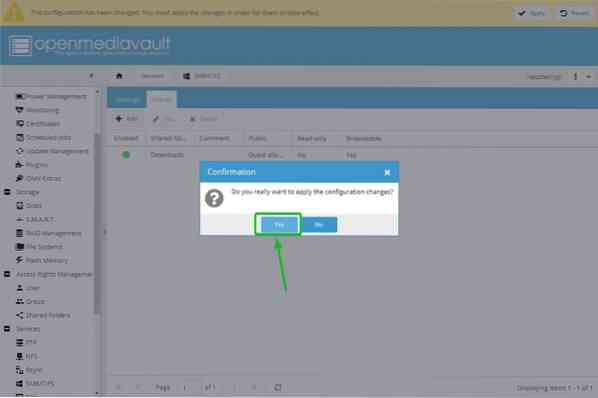
To confirm the changes, click Yes.
Accessing the SMB/CIFS Share from Windows 10
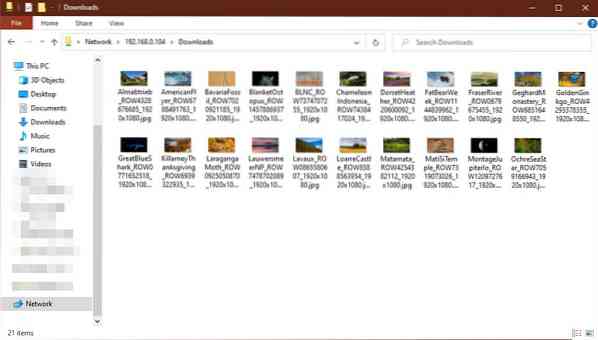
Once you have created an OpenMediaVault 5 SMB/CIFS share, you can access it from Windows 10. Open File Explorer on Windows 10 and navigate to \\192.168.0.104. The SMB/CIFS share running on the Raspberry Pi 4 should be displayed as shown in the screenshot below.
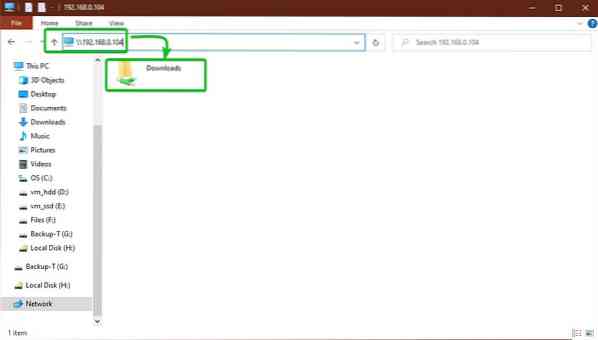
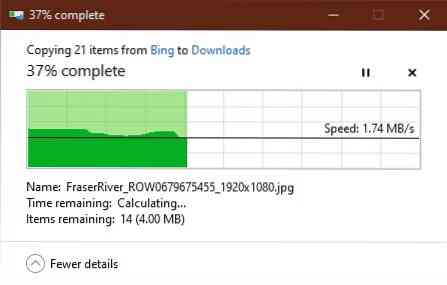
As you can see, we can copy files to the SMB/CIFS share.
In this image below, the files have been successfully added to the share. Therefore, the OpenMediaVault 5 SMB/CIFS share is working.
Conclusion
In this article, we showed you how to build a Raspberry Pi 4 NAS using OpenMediaVault 5 and how to create and access an SMB/CIFS share using OpenMediaVault 5 from Windows 10.


