To control the Mozilla Firefox web browser from Selenium, you have to use the Gecko Web Driver.
In this article, I am going to show you how to set up Selenium for running browser tests, web automation, web scraping tasks using the Mozilla Firefox web browser. So, let's get started.
Prerequisites:
To try out the commands and examples of this article, you must have,
1) A Linux distribution (preferably Ubuntu) installed on your computer.
2) Python 3 installed on your computer.
3) PIP 3 installed on your computer.
4) Mozilla Firefox installed on your computer.
You can find many articles on these topics on LinuxHint.com. Be sure to check them out if you need any assistance.
Preparing Python 3 Virtual Environment for the Project:
Python Virtual Environment is used to create an isolated Python project directory. The Python modules you install using PIP will be installed in the project directory only, not globally.
Python virtualenv module is used to manage Python virtual environments.
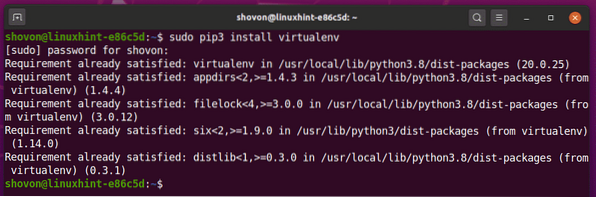
You can install Python virtualenv module globally using PIP 3 as follows:
$ sudo pip3 install virtualenv
Python virtualenv should be installed.
Create a project directory selenium-firefox/ in your current working directory as follows:
$ mkdir -pv selenium-firefox/drivers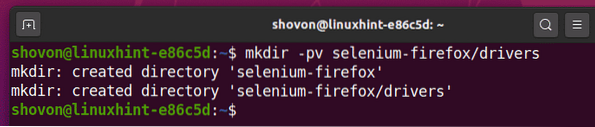
Navigate to your newly created project directory selenium-firefox/ as follows:
$ cd selenium-firefox/
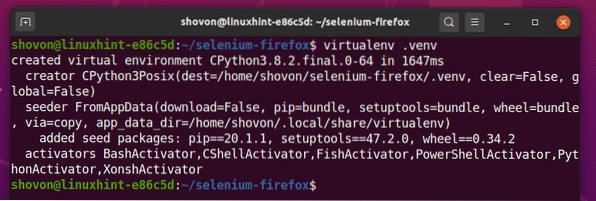
Create a Python virtual environment in your project directory with the following command:
$ virtualenv .venv
Python virtual environment should be created in your project directory.
Activate the Python virtual environment from your project directory with the following command:
$ source .env/bin/activate
Installing Selenium Python Library:
Selenium library is available in the official Python PyPI repository.
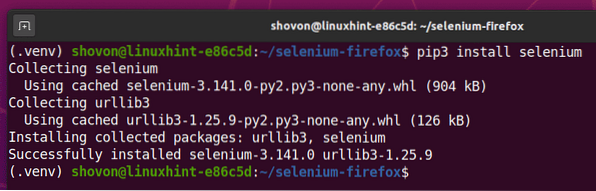
You can install Selenium Python library using PIP 3 as follows:
$ pip3 install selenium
Selenium Python library should be installed.
Installing Firefox Gecko Driver:
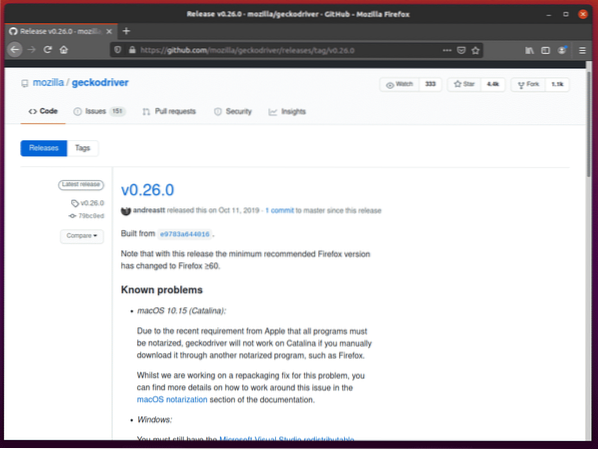
To download the Firefox Gecko Driver, visit the GitHub releases page of mozilla/geckodriver from your favorite web browser.
As you can see, v0.26.0 is the latest version of Firefox Gecko Driver at the time of this writing.
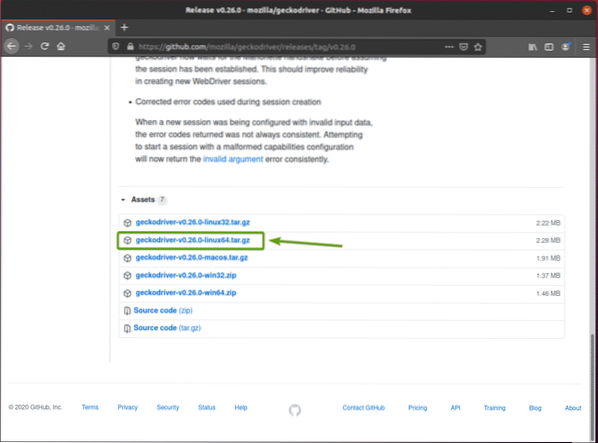
To download the Firefox Gecko Driver, scroll down a little bit and click on the Linux geckodriver tar.gz archive depending on your operating system architecture.
If you're using a 32-bit operating system, click on the geckodriver-v0.26.0-linux32.tar.gz link.
If you're using a 64-bit operating system, click on the geckodriver-v0.26.0-linuxx64.tar.gz link.
I will download the 64-bit version of the Firefox Gecko Driver.
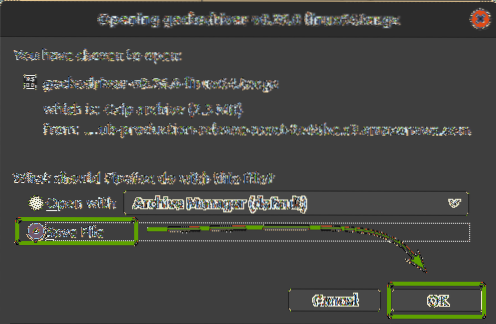
Your browser should prompt you to save the archive. Select Save File and click on OK.
The Firefox Gecko Driver should be downloaded.
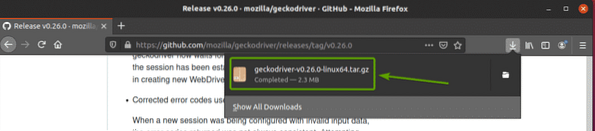
The Firefox Gecko Driver archive should be downloaded in the ~/Downloads directory.
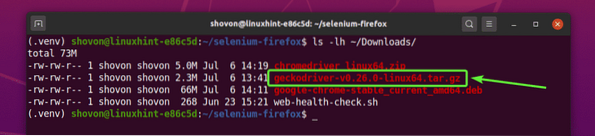
You can extract the geckodriver-v0.26.0-linux64.tar.gz archive from the ~/Downloads directory to the drivers/ directory of your project with the following command:
$ tar -xzf ~/Downloads/geckodriver-v0.26.0-linux64.tar.gz -C drivers/
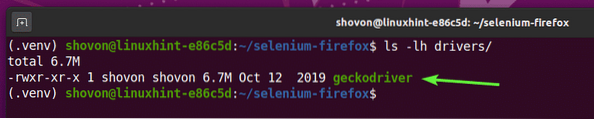
Once the Firefox Gecko Driver archive is extracted, a new binary file geckodriver should be created in the drivers/ directory of your project, as you can see in the screenshot below.
Getting Started with Selenium using Firefox Gecko Driver:
In this section, I am going to show you how to set up your very first Selenium Python script to test whether the Firefox Gecko Driver is working.
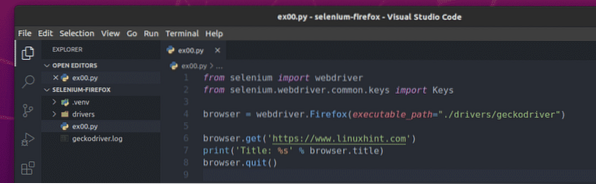
First, create a new Python script ex00.py in your project directory and type in the following lines in it.
from selenium import webdriverfrom selenium.webdriver.common.keys import Keys
browser = webdriver.Firefox(executable_path="./drivers/geckodriver")
browser.get('https://www.linuxhint.com')
print('Title: %s' % browser.title)
browser.quit()
Once you're done, save ex00.py Python script.
Line 1 and 2 import all the required components from the selenium Python library.

Line 4 creates a Firefox web driver object using the webdriver.Firefox() method and stores it in a browser variable. The executable_path argument is used to tell the web driver where to look for the Firefox Gecko Driver binary. In this case, the geckodriver binary from the drivers/ directory of the project.

On line 6, browser.get() method loads up linuxhint.com in a Firefox web browser.

Once the website finishes loading, line 7 prints the title of the website, here, browser.title property is used to access the title of the website.

Line 8 closes the Firefox web browser using the browser.quit() method.

You can run the Python script ex00.py with the following command:
$ python3 ex00.py
Selenium should open a Firefox web browser and visit the linuxhint.com website automatically.
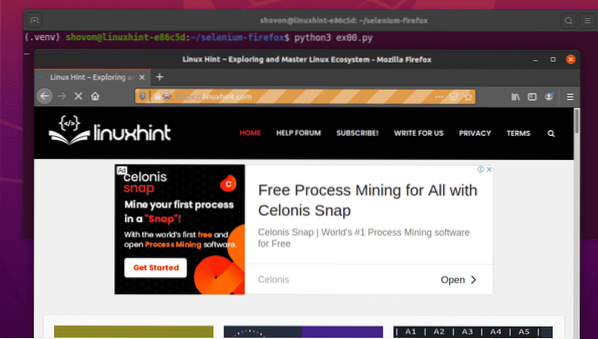
Once the page loads, it should print the website title on the console, and the web browser should close automatically.

So, Selenium is working correctly with the Firefox Gecko driver.
Example 01: Running Firefox in Headless Mode using Selenium
You can also run Selenium with Firefox Gecko Driver in headless mode. Selenium Firefox headless mode does not require any graphical user interface installed on your computer. So, you will be able to run Selenium Firefox in any Linux headless servers.
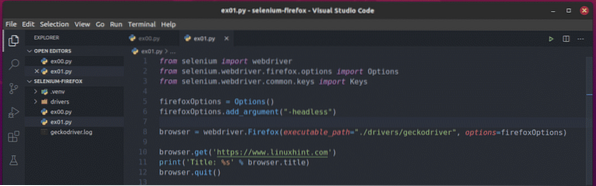
First, create a new Python script ex01.py in your project directory and type in the following lines of codes in it.
from selenium import webdriverfrom selenium.webdriver.firefox.options import Options
from selenium.webdriver.common.keys import Keys
firefoxOptions = Options()
firefoxOptions.add_argument("-headless")
browser = webdriver.Firefox(executable_path="./drivers/geckodriver", options=firefoxOptions)
browser.get('https://www.linuxhint.com')
print('Title: %s' % browser.title)
browser.quit()
Once you're done, save the ex01.py Python script.
Line 1 and line 3 are the same as line 1 and line 2 of ex00.py Python script.
Line 2 imports Firefox Options from the selenium library.

Line 5 creates a firefox Options object and stores it in the firefoxOptions variable.

Line 6 uses the firefoxOptions.add_argument() method to add the -headless Firefox command line flag to the firefoxOptions object.

On line 8, options argument is used to pass the firefoxOptions while initializing the Firefox web driver using the webdriver.Firefox() method.

The rest of the lines of the ex01.py script is the same as the ex00.py.

You can run the Python script ex01.py with the following command:
$ python3 ex01.py
As you can see, the title of the website (linuxhint.com) is printed on the console without opening any graphical version of the Firefox web browser.

As you can see, Selenium is also working on an Ubuntu headless environment where I have no graphical user interface installed.

Now that you know how to pass the -headless Firefox command-line flag/option using the Selenium Firefox Gecko driver, you can pass any other Firefox command-line flags/options as well.
You can find all the supported Firefox command-line flags/options in the Command line options - Mozilla | MDN page.
Example 02: Extracting Lorem Ipsum using Selenium
In this section, I am going to show you how to do basic web scrapping using Selenium Firefox Gecko Driver.
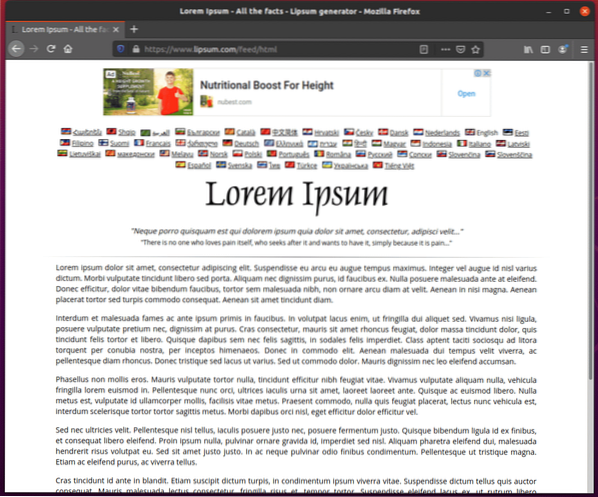
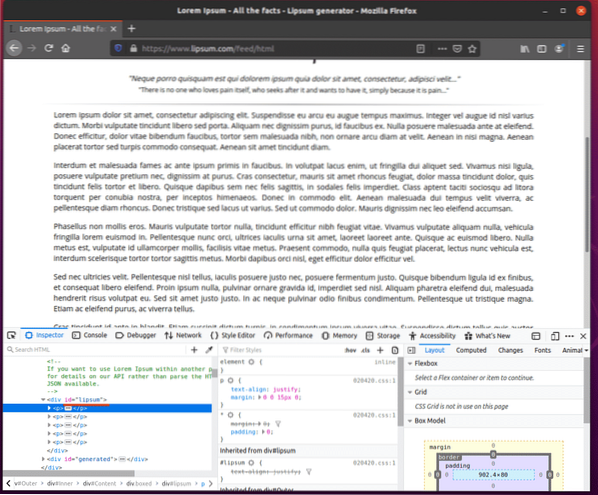
First, visit the Lorem Ipsum Generator page from the Firefox web browser. As you can see, the page generated 5 random paragraphs. Let's extract all the generated text (all 5 paragraphs) from this page.
Before you start extracting information from a web page, you must know the HTML structure of the content of the webpage.
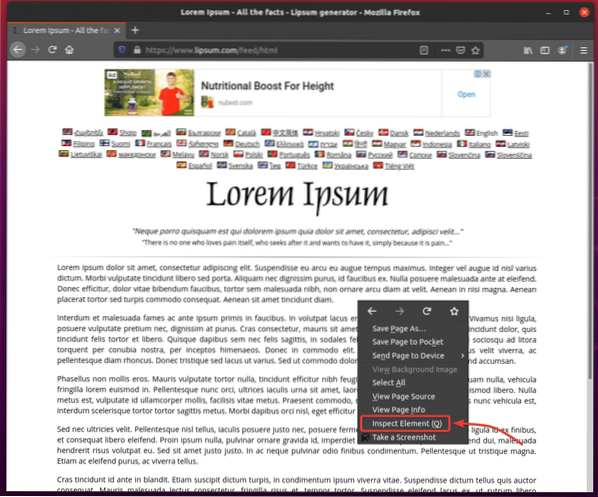
You can easily find the HTML structure of the content you want to extract using the Firefox Developer Tool. To open Firefox Developer Tool, press the right mouse button (RMB) on the page and click on Inspect Element (Q).
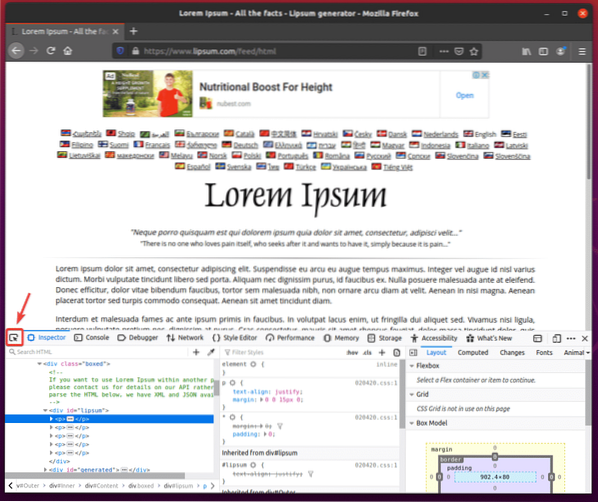
Firefox Developer Tool should be opened. Click on the Inspect icon () as marked in the screenshot below.
Hover over the first paragraph, as shown in the screenshot below. Then, press the left mouse button (LMB) to select it.
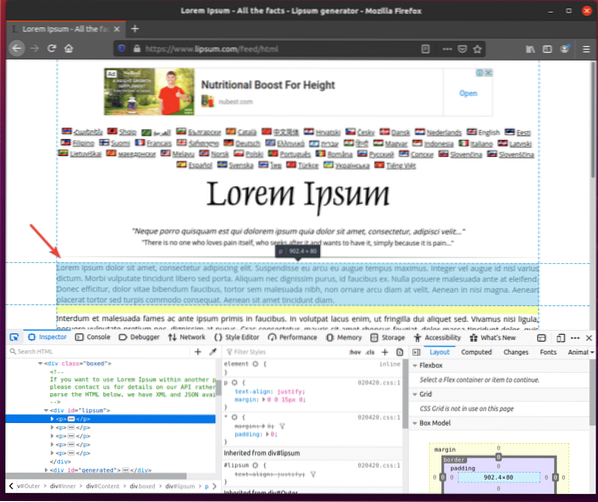
The HTML structure of the paragraphs should be displayed in the Inspect tab of the Firefox Developer Tool. As you can see, the generated lorem ipsum paragraphs are inside a div tag that has the id lipsum.
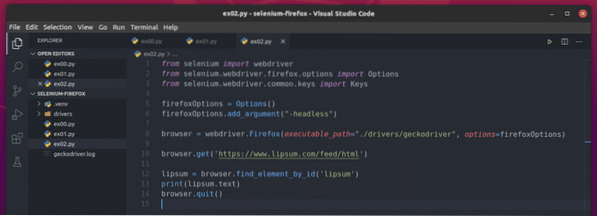
To extract the lorem ipsum paragraphs using Selenium Firefox Gecko Driver, create a new Python script ex02.py in your project directory and type in the following lines of codes in it.
from selenium import webdriverfrom selenium.webdriver.firefox.options import Options
from selenium.webdriver.common.keys import Keys
firefoxOptions = Options()
firefoxOptions.add_argument("-headless")
browser = webdriver.Firefox(executable_path="./drivers/geckodriver", options=firefoxOptions)
browser.get('https://www.lipsum.com/feed/html')
lipsum = browser.find_element_by_id('lipsum')
print(lipsum.text)
browser.quit()
Once you're done, save the ex02.py Python script.
Line 10 loads the lorem ipsum generator page using the browser.get() method.

The lorem ipsum contents are inside a div tag with the id lipsum. Line 12 uses the browser.find_element_by_id() method to select it from the webpage and store it in the lipsum variable.

Line 13 prints the generated lorem ipsum contents on the console. Here, the text property is used to access the content of the div element with the id lipsum.

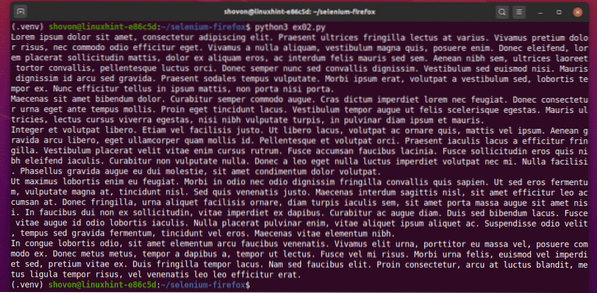
Now, run the Python script ex02.py as follows:
$ python3 ex02.py
As you can see, Selenium extracted the lorem ipsum contents from the webpage correctly.

Running the Python script ex02.py again will give you a different output, as you can see in the screenshot below.
Example 03: Extracting List Data using Selenium
In this section, I am going to show you an example of web scrapping list data from a website using Selenium Firefox Gecko driver in headless mode.
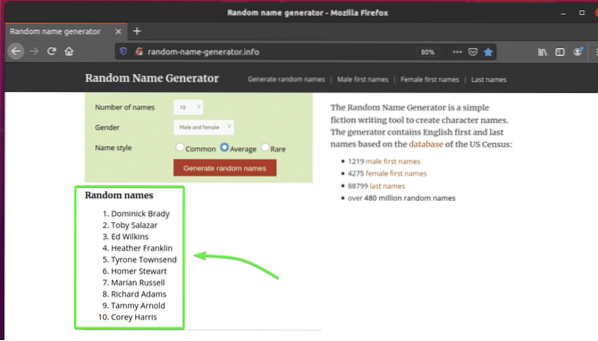
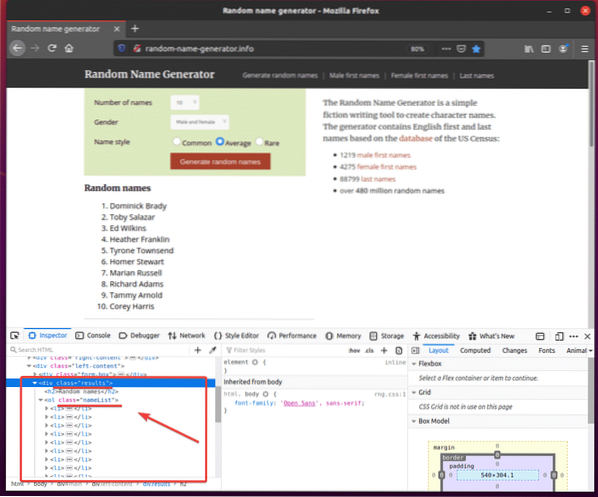
First, visit the random-name-generator.info from the Firefox web browser. This website will generate 10 random names each time you reload the page, as you can see in the screenshot below. Our goal is to extract these random names using Selenium in headless mode.
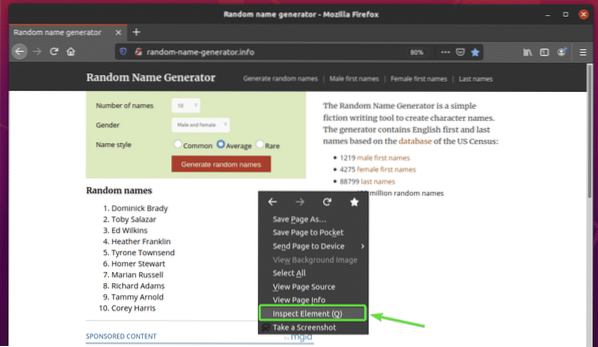
To find out the list's HTML structure, you have to open the Firefox Developer Tool. To do that, press the right mouse button (RMB) on the page and click on Inspect Element (Q).
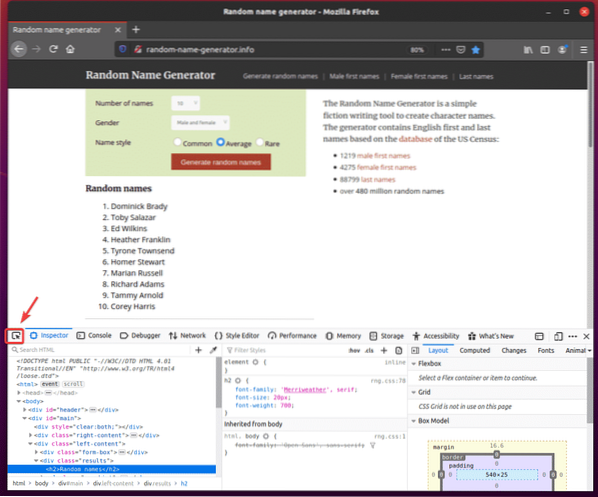
Firefox Developer Tool should be opened. Click on the Inspect icon () as marked in the screenshot below.
Then, hover over the list of Random names. The list should be highlighted as marked in the screenshot below. Then, press the left mouse button (LMB) to select the list.
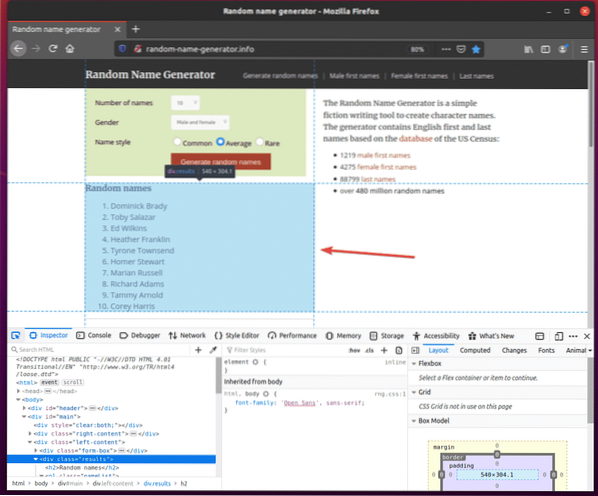
The HTML code of the list should be highlighted in the Inspector tab of the Firefox Developer Tool. Here, the list of Random names is inside a div element. The div element has the class name results. Inside it, we have an ol element with the class name nameList. Inside the ol element, each of the names is in a li element.
From this we can say that to get to the li tags, we have to follow div.results > ol.nameList > li
So, our CSS selector will be div.results ol.nameList li (just replace the > signs with whitespace)
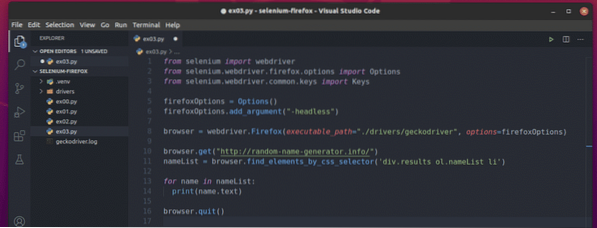
For extracting these random names, create a new Python script ex03.py and type in the following lines of codes in it.
from selenium import webdriverfrom selenium.webdriver.firefox.options import Options
from selenium.webdriver.common.keys import Keys
firefoxOptions = Options()
firefoxOptions.add_argument("-headless")
browser = webdriver.Firefox(executable_path="./drivers/geckodriver", options=firefoxOptions)
browser.get("http://random-name-generator.info/")
nameList = browser.find_elements_by_css_selector('div.results ol.nameList li')
for name in nameList:
print(name.text)
browser.quit()
Once you're done, save the ex03.py Python script.
Line 10 loads the random name generator website using the browser.get() method.

Line 11 selects the name list using the browser.find_elements_by_css_selector() method. This method uses the CSS selector div.results ol.nameList li to find the name list. Then, the name list is stored in the nameList variable.

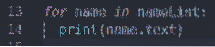
In lines 13 and 14, a for loop is used to iterate through the nameList list of li elements. In each iteration, the content of the li element is printed on the console.
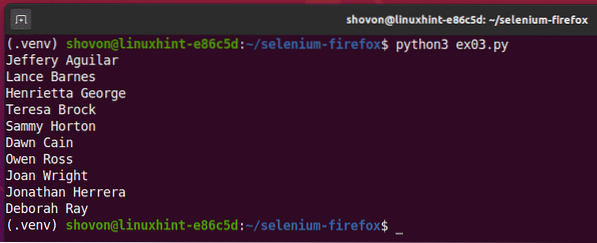
Now, run the Python script ex03.py as follows:
$ python3 ex03.py
As you can see, the Python script ex03.py fetched all the random names from the web page.
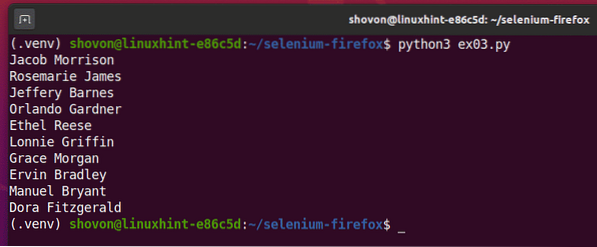
If you run the script a second time, it should return a new list of random names, as you can see in the screenshot below.
Conclusion:
This article should help you get started with Selenium using the Firefox web browser. You should be able to set up a Selenium Firefox Gecko driver project pretty easily and run your browser tests, web automation, and web scraping tasks.


