If you want to run some kind of server software on your Raspberry Pi (i.e., web server, database server, Minecraft server) and make them publicly available on the internet (hosting), then securing your Raspberry Pi server with a firewall program is very important.
There are many free and open-source firewall programs available on the Raspberry Pi OS (the official operating system of Raspberry Pi single-board computers). Among these programs, UFW and Firewalld are the most common firewall programs.
In this article, I will use the UFW firewall program to show you how to secure your Raspberry Pi. So, let's get started.
Things You Will Need:
To follow this article, you will need the following things to set up your Raspberry Pi in headless mode:
- A Raspberry Pi 3 or Raspberry Pi 4 single-board computer.
- A micro-USB (Raspberry Pi 3) or USB Type-C (Raspberry Pi 4) power adapter.
- A 16 GB or 32 GB microSD card with Raspberry Pi OS flashed.
- Network connectivity on the Raspberry Pi.
- A laptop or a desktop computer for VNC remote desktop access or SSH access to the Raspberry Pi.
If you don't want to set up your Raspberry Pi 4 in headless mode, you will also need:
- A monitor
- A HDMI or micro-HDMI cable
- A keyboard
- A mouse.
If you need any assistance on flashing the Raspberry Pi OS image on the microSD card, check my article How to Install and Use Raspberry Pi Imager.
If you're a Raspberry Pi beginner and need any assistance on installing Raspberry Pi OS on your Raspberry Pi, check my article How to Install Raspberry Pi OS on Raspberry Pi 4.
If you need any assistance on the headless setup of Raspberry Pi, check my article How to Install and Configure Raspberry Pi OS on Raspberry Pi 4 Without External Monitor.
Updating Raspberry Pi OS:
As we are trying to secure our Raspberry Pi, it's a good idea to update all the existing packages of the Raspberry Pi OS. This will make your Raspberry Pi OS more secure because it would install all the latest security updates and bug fixes.
First, update the APT package repository cache with the following command:
$ sudo apt update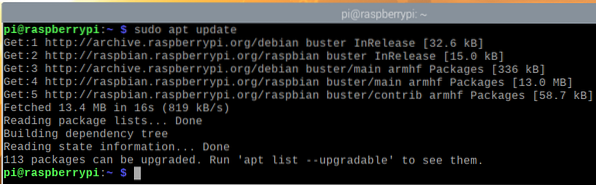
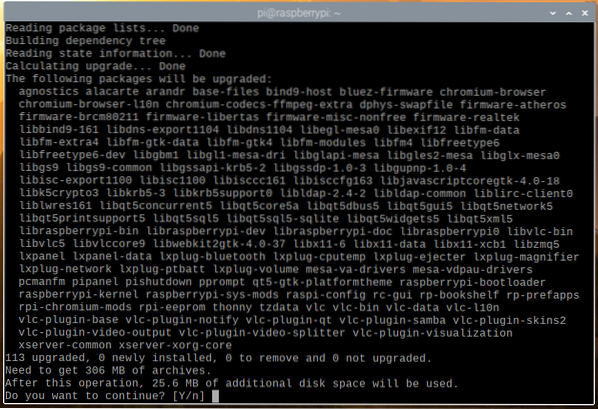
To update all the existing packages of your Raspberry Pi OS, run the following command:

To confirm the installation of the updates, press Y and then press <Enter>.
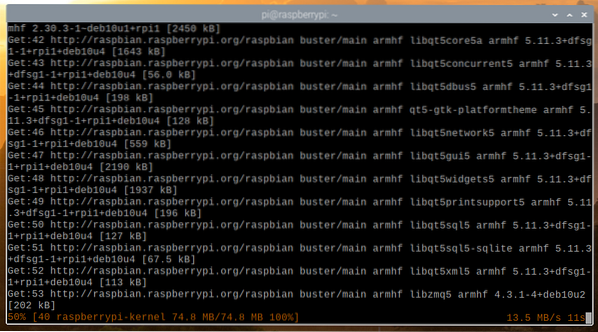
The APT package manager will download all the required packages from the internet. It may take a while to complete.
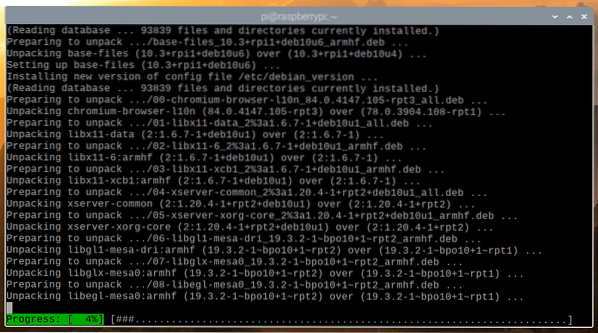
Once the packages are downloaded, the APT package manager will install them one by one. It may take a while to complete.
At this point, all the updates should be installed.

For the changes to take effect, reboot your Raspberry Pi with the following command:
$ sudo reboot
Installing UFW - Uncomplicated Firewall:
Once your Raspberry Pi boots, you can install the UFW firewall program with the following command:
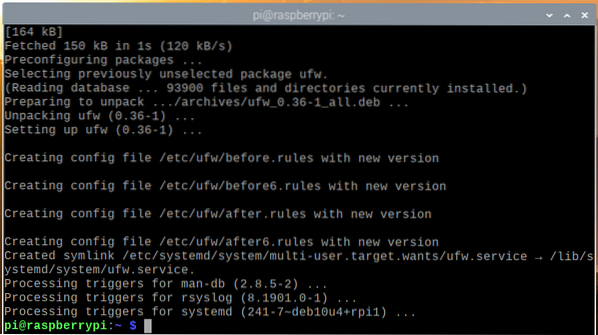
$ sudo apt install ufw -y
UFW should be installed.
For the changes to take effect, reboot your Raspberry Pi with the following command:

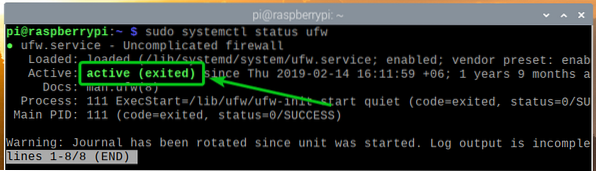
Once your Raspberry Pi boots, the ufw systemd service should be active, as you can see in the screenshot below.
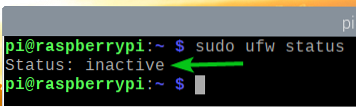
You can check whether UFW is enabled with the following command:

As you can see, UFW is not enabled by default.
To enable UFW, run the following command:
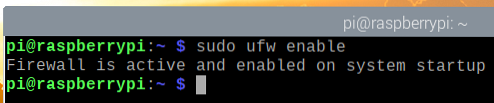
As you can see, UFW is now enabled.

Allowing Access to the Ports using App Profiles:
UFW has some default app profiles. Each of the app profiles has some predefined ports that you can allow/deny access to.
To list all the available app profiles, run the following command:
$ sudo ufw app list
All the installed app profiles should be listed.
If you're connected to your Raspberry Pi via SSH or VNC (like me), you must allow access to the OpenSSH and VNC app profiles. Otherwise, the next time you boot your Raspberry Pi, you won't be able to access it remotely as the firewall will block all ports, including the SSH and VNC ports. So, this is very important.

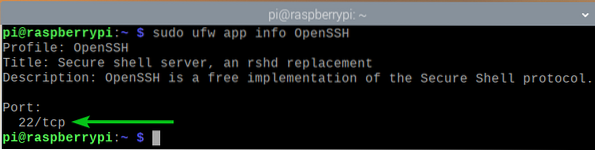
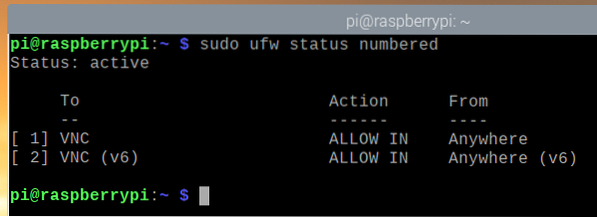
You can see what ports are defined in an app profile (i.e., OpenSSH) with the following command:

As you can see, TCP port 22 is defined in the app profile OpenSSH.
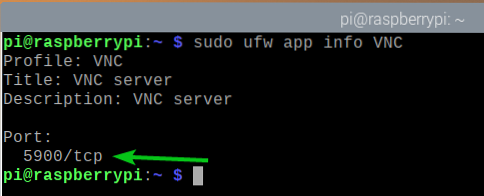
In the same way, the TCP port 5900 is defined in the VNC app profile.
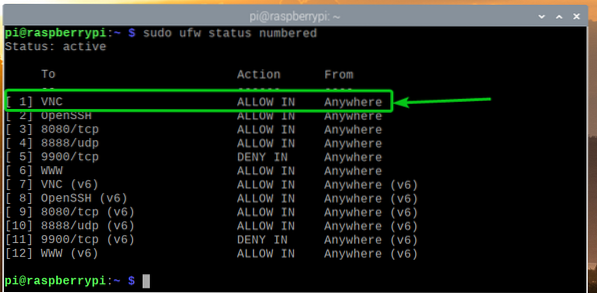
To allow access to the ports defined in the VNC app profile, run the following command:
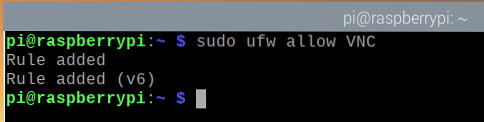
As you can see, the VNC app profile is allowed through the firewall.
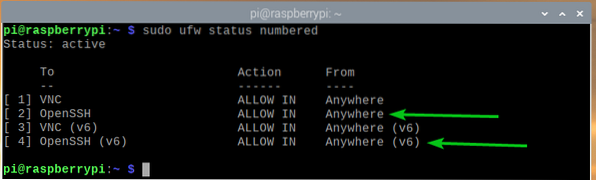
In the same way, allow access to the ports defined in the OpenSSH app profile with the following command:
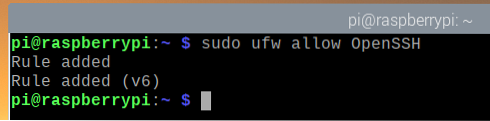
As you can see, the OpenSSH app profile is allowed through the firewall.
Allowing Access to the Ports using Port Number:
At times, the port you want to allow/deny access to will not be defined in any available app profiles. So, you will need to allow/deny access to these ports using the port number.
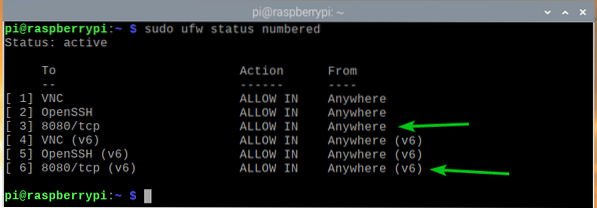
For example, you can allow access to the TCP port 8080 with the following command:
$ sudo ufw allow 8080/tcp
As you can see, the TCP port 8080 is allowed access through the firewall.
In the same way, you can allow access to the UDP port 8888 with the following command:
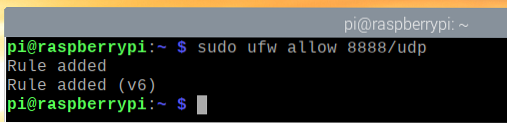
As you can see, the UDP port 8888 is allowed access through the firewall.
Denying Access to Ports:
The default behavior of the UFW firewall program is to deny everything that is not allowed. So, you don't need to do anything to deny access to any ports.
For the sake of competition, I will show you how to deny ports in UFW anyway.
For example, to deny access to the TCP port 9900, run the following command:
$ sudo ufw deny 9900/tcp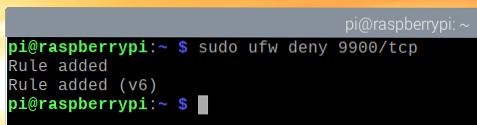
As you can see, the TCP port 9900 is denied access through the firewall.
In the same way, you can deny the ports defined in an app profile (i.e., WWW) as follows:

Denying Specific IP Addresses Access to the Server:
At times you may need to deny access to a specific IP address or IP subnet to protect your Raspberry Pi server from DDoS (Distributed Denial of Service) attacks. You can do that with UFW.
To experiment with denying IP addresses, I will use the Apache webserver.
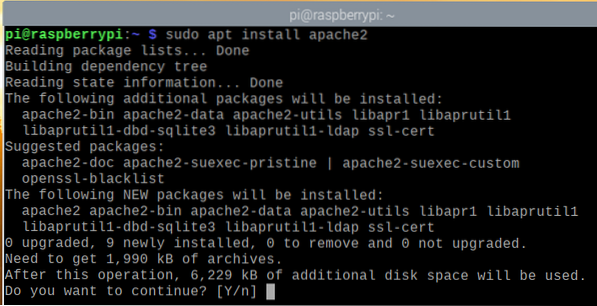
You can install the Apache webserver on your Raspberry Pi with the following command:
$ sudo apt install apache2
To confirm the installation, press Y and then press <Enter>.
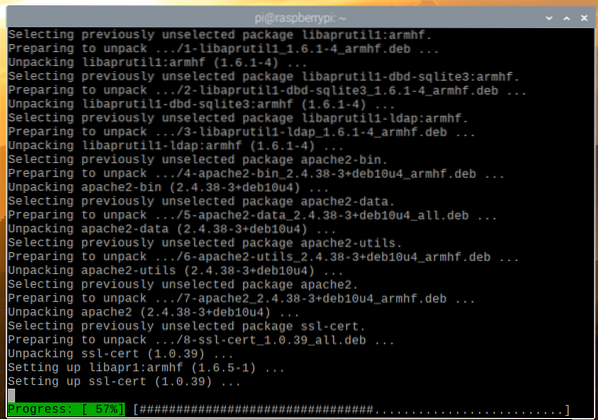
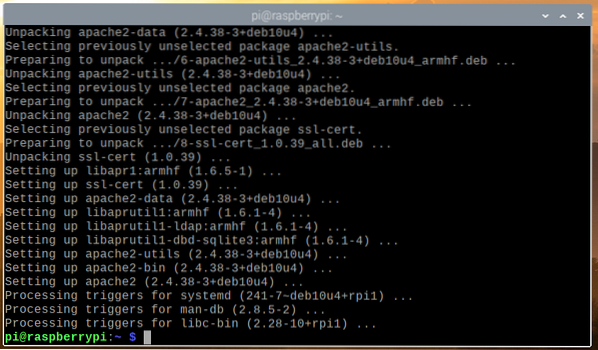
The APT package manager will download all the packages from the internet and install them one by one. It may take a while to complete.
At this point, the Apache webserver should be installed.
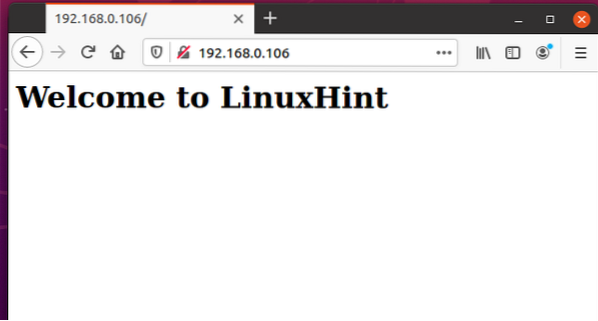
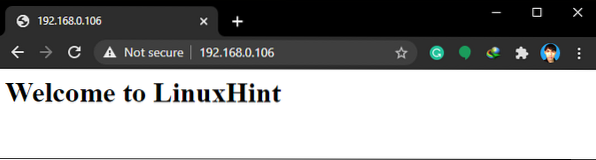
Once the Apache webserver is installed, create a simple index page with the following command:
Welcome to LinuxHint
" | sudo tee /var/www/html/index.html
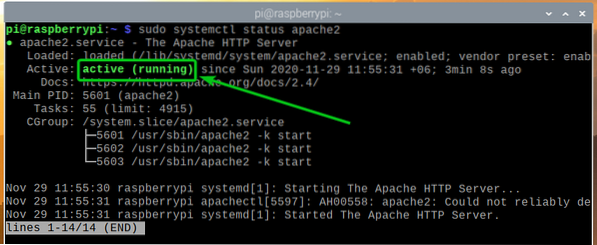
The apache2 systemd service should be running, as you can see in the screenshot below.
Allow access to the Apache webserver port (TCP port 80) using the app profile WWW as follows:
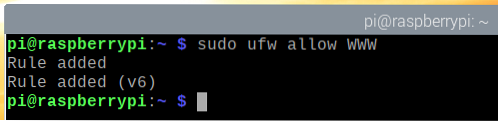
As you can see, the ports defined in the app profile WWW is allowed access through the firewall.
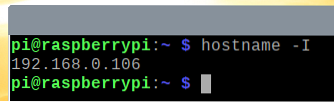
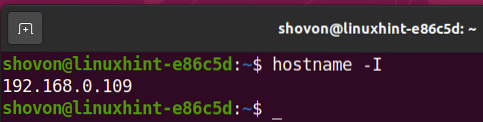
Find the IP address of your Raspberry Pi with the following command:

As you can see, the IP address of my Raspberry Pi is 192.168.0.106. It will be different for you. So, make sure to replace it with yours from now on.
You should access the Apache webserver from other devices, as you can see in the screenshot below.
The computer I am using to access the Apache webserver has the IP address 192.168.0.109.
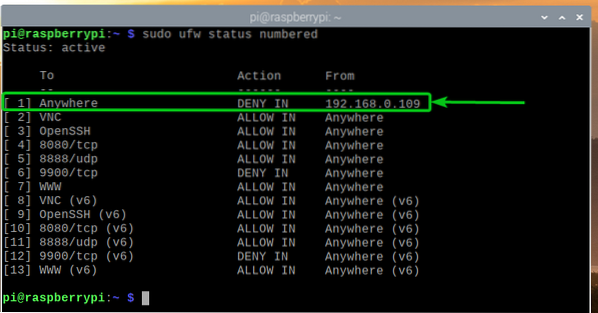
To deny the IP address 192.168.0.109 access to your Raspberry Pi server, you must add the firewall rule at the top (position 1). The order of the UFW rules matters a lot. The most restrictive rules should go first.
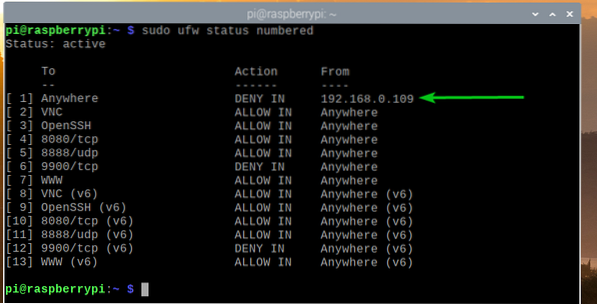
To deny the IP address 192.168.0.109 access to the Raspberry Pi server, run the following command:

The UFW rule to deny the IP address 192.168.0.109 access to the Raspberry Pi server should be the topmost rule, as shown in the screenshot below.
You won't be able to access the Apache webserver running on your Raspberry Pi from the computer with the IP address 192.168.0.109 anymore, as you can see in the screenshot below.
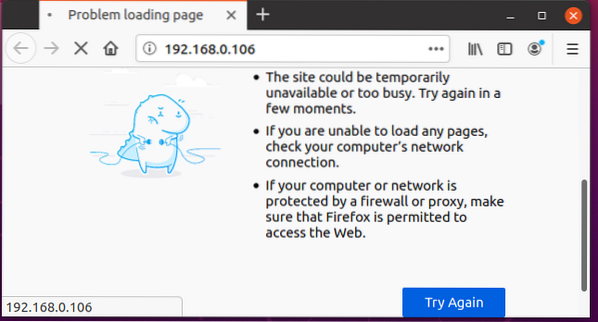
But, you can access the Apache webserver running on your Raspberry Pi from other computers.
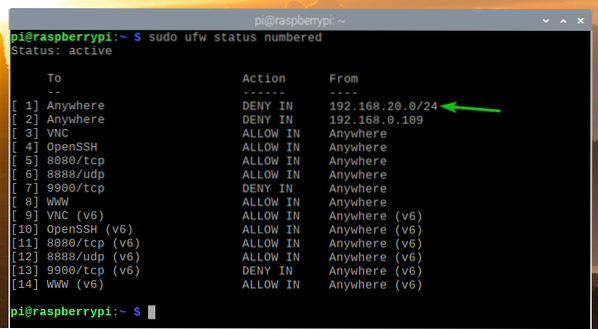
If you want to deny access to an IP subnet, you must add the required UFW rule before the rule you have added earlier, as it is a more restrictive rule.
For example, to deny access to every computer in an IP subnet 192.168.20.0/24, run the following command:

The UFW rule should be added in the correct position, as shown in the screenshot below. Now, no computer from the IP subnet 192.168.20.0/24 should be able to access your Raspberry Pi server.
Removing UFW Rules:
At times, you may need to remove some UFW rules. It is very easy to do so.
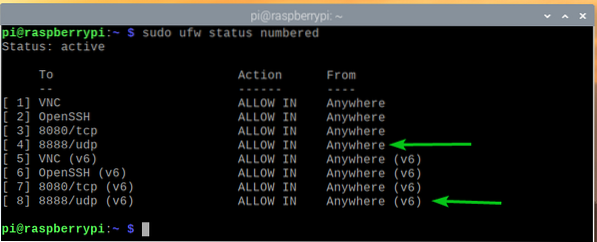
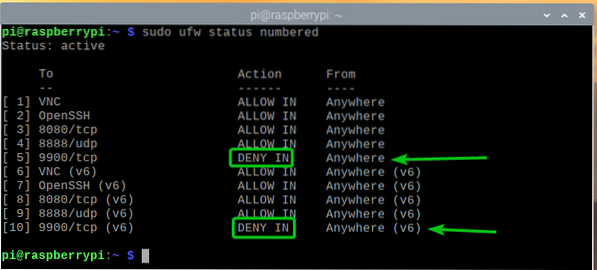
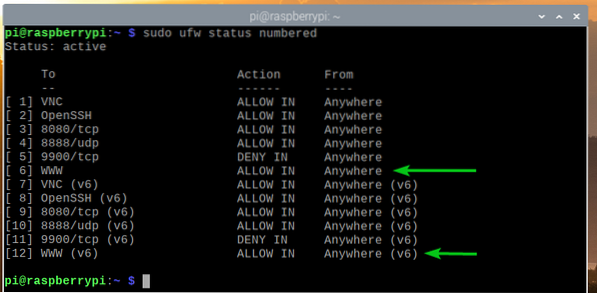
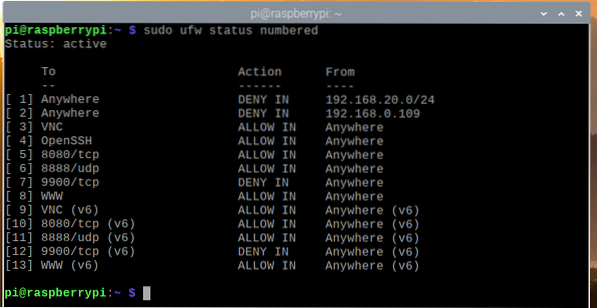
You can list all the available UFW rules with the following command:
$ sudo ufw status numbered
All the available UFW rules should be listed. Let's say you want to remove the UFW rule number 10 (rule at the 10th position).
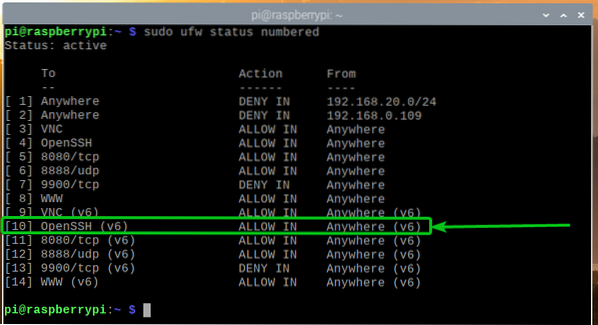
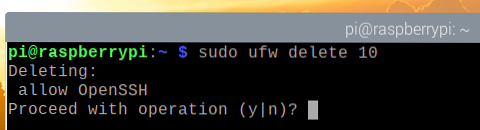
To remove the UFW rule number 10, run the following command:

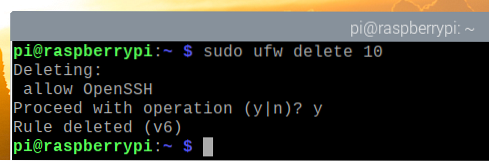
To confirm the remove operation, press Y and then press <Enter>.
The UFW rule number 10 should be removed.
As you can see, the UFW rule is removed, and the rules are reordered (The UFW rule that was in position 11 is now in position 10).
Conclusion:
In this article, I have shown you how to install the UFW firewall program on your Raspberry Pi (running the Raspberry Pi OS). I have also shown you how to allow/deny ports using the UFW firewall program. I have shown you how to deny a specific IP address or an IP subnet from accessing the Raspberry Pi using the UFW firewall program as well.


