Luckily, you can configure Selenium to run the Chrome web browser in headless mode. In this mode, the Chrome web browser will run without any graphical user interface. So, Selenium can do web automation, web scrapping, browser tests, etc. using the Chrome web browser in Linux servers where you don't have any graphical desktop environment installed.
In this article, I am going to show you how to run Selenium with the Chrome web browser in headless mode. I will use the Selenium Python library and write the Selenium scripts using the Python 3 programming language. So, let's get started.
Prerequisites:
To try out the commands and examples from this article, you must have,
1) A Linux distribution (preferably Ubuntu) installed on your computer.
2) Python 3 installed on your computer.
3) PIP 3 installed on your computer.
4) Google Chrome installed on your computer.
You can find many articles on these topics on LinuxHint.com. Be sure to check them out if you need any assistance.
Preparing Python 3 Virtual Environment for the Project:
Python Virtual Environment is used to create an isolated Python project directory. The Python modules you install using PIP will be installed in the project directory only, not globally.
Python virtualenv module is used to manage Python virtual environments.
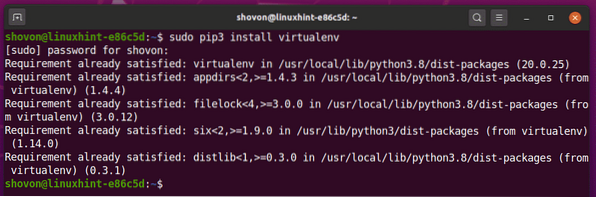
You can install Python virtualenv module globally using PIP 3 as follows:
$ sudo pip3 install virtualenv
Python virtualenv should be installed.
Create a project directory chrome-headless/ in your current working directory as follows:
$ mkdir -pv chrome-headless/drivers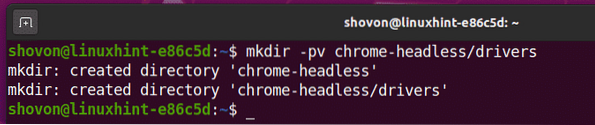
Navigate to your newly created project directory chrome-headless/ as follows:
$ cd chrome-headless /
Create a Python virtual environment in your project directory with the following command:
$ virtualenv .venv
Python virtual environment should be created in the .venv/ directory in your project directory.

Activate the Python virtual environment of your project directory with the following command:
$ source .venv/bin/activate
Installing Selenium Python Library:
Selenium library is available in the official Python PyPI repository.
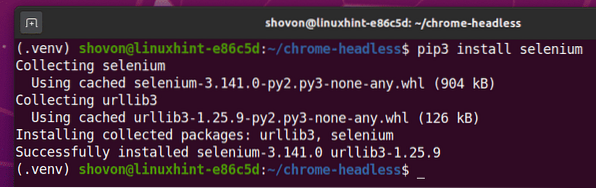
You can install Selenium Python library using PIP 3 as follows:
$ pip3 install selenium
Selenium Python library should be installed.
Installing Chrome Web Driver:
Chrome Web Driver will let you control or automate the Google Chrome web browser from Selenium.
In this section, I am going to show you how to install the Chrome Web Driver.
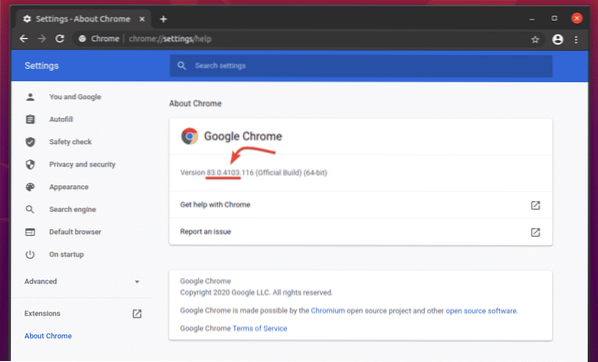
First, open Google Chrome and visit chrome://settings/help.
Once the page loads, you should find the Google Chrome version number in the About Chrome section. Note the first 3 sections of the version number as marked in the screenshot below.
To download Chrome Web Driver, visit the official Chrome Driver download page.
In the Current Releases section, Chrome Web Driver for the most current releases of the Google Chrome web browser should be available, as you can see in the screenshot below. One of the current Chrome Web Driver releases should have a matching version number with your Google Chrome web browser. The first 3 sections of the version number of Chrome Web Driver and Google Chrome web browser must match.
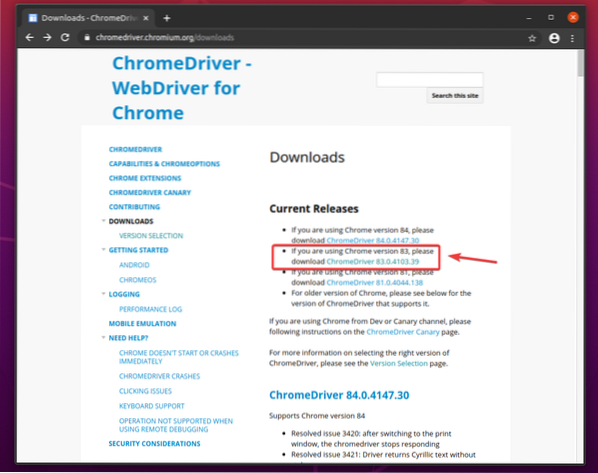
If the version you're looking for is not in the Current releases section, scroll down a little bit, and you should be able to find it.

Once you click on the version number of Chrome Web Driver, it should take to its download page. Click on the chromedriver_linux64.zip file from here.
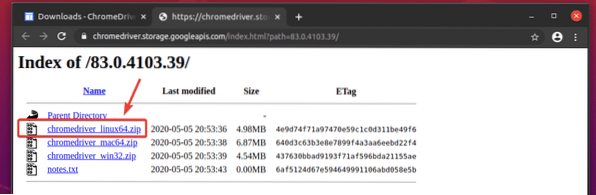
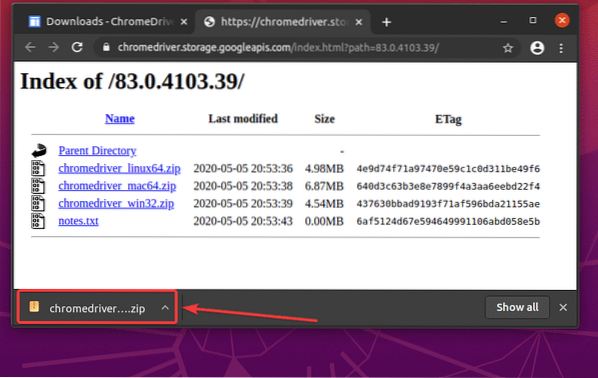
The Chrome Web Driver archive should be downloaded.
The downloaded chromedriver_linux64.zip file should be in your ~/Downloads directory.
$ ls -lh ~/Downloads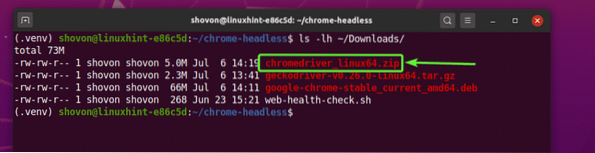
Extract the chromedriver_linux64.zip archive from the ~/Downloads directory to the drivers/ directory of your project as follows:
$ unzip ~/Downloads/chromedriver_linux64.zip -d drivers/
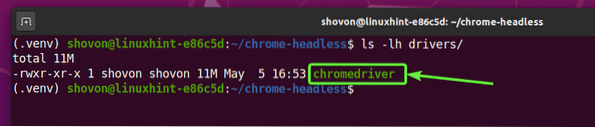
A new file chromedriver should be created in the drivers/ directory of your project once the Chrome Web Driver archive is extracted, as you can see in the screenshot below.
Testing Chrome Web Driver in Headless Mode:
In this section, I am going to show you how to run Selenium using Chrome Driver in headless mode.
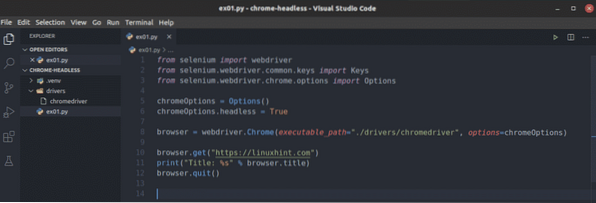
First, create a new Python script ex01.py in your project directory and type in the following lines of codes in it.
from selenium import webdriverfrom selenium.webdriver.common.keys import Keys
from selenium.webdriver.chrome.options import Options
chromeOptions = Options()
chromeOptions.headless = True
browser = webdriver.Chrome(executable_path="./drivers/chromedriver", options=chromeOptions)
browser.get("http://linuxhint.com")
print("Title: %s" % browser.title)
browser.quit()
Once you're done, save the ex01.py Python script.
These lines import all the required stuff from the selenium library.

As I have said earlier, by default, the Chrome driver tries to run Google Chrome in graphical mode. To run Google Chrome in headless mode, we have to tell the Chrome driver to pass some extra options. This line creates an Options object which we can pass on to the Chrome web driver later.

You can run Google Chrome in headless mode simply by setting the headless property of the chromeOptions object to True.

Or, you can use the add_argument() method of the chromeOptions object to add the -headless command-line argument to run Google Chrome in headless mode using the Selenium Chrome web driver.

You can use a webdriver.Chrome() method to initialize/run a Google Chrome web browser from Selenium. The executable_path argument is used to tell Selenium to use the chromedriver binary from the drivers/ directory of the project. The options argument tells Selenium to use our custom options chromeOptions.
Once Selenium runs a Google Chrome web browser using the Selenium Chrome Web Driver, it returns a browser object. We can use it to control the Google Chrome instance later.

The browser.get() method loads the linuxhint.com website in the Google Chrome web browser in the background (in headless mode).

Once the page loads, browser.title property will have the title of the website. The Python print() method prints the title of the website on the console.
Then, the browser.quit() method closes the Google Chrome web browser.

To test whether Selenium can work in headless mode, run the Python script ex01.py as follows:
$ python3 ex01.py
It should print the title of the website on the console without opening the Google Chrome web browser in graphical mode.

Just to show you that it works from Linux headless servers (where no graphical user interface is installed), I have run the Python script ex01.py on Ubuntu Server 20.04 LTS. As you can see, the script is working just fine.

Web Scraping with Selenium in Headless Mode using the Chrome Web Driver:
In this section, I am going to show you an example of web scrapping in Selenium using the Chrome web driver in headless mode.
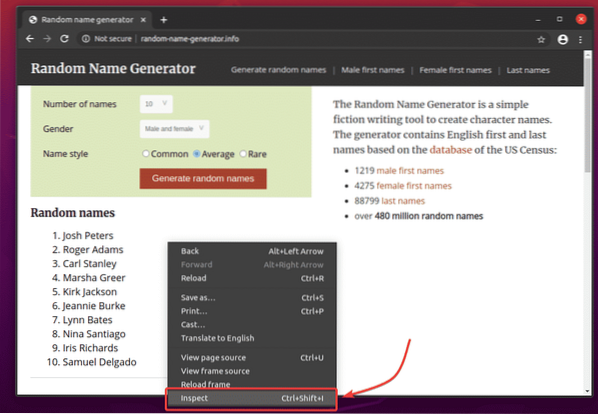
First, visit the random-name-generator.info from Google Chrome or any other web browser. This website will generate 10 random names each time you reload the page, as you can see in the screenshot below. Our goal is to extract these random names using Selenium in headless mode.

To find out the list's HTML structure, you have to open the Chrome Developer Tool. To do that press the right mouse button (RMB) on the page and click on Inspect or press
Chrome Developer Tool should be opened. Click on the Inspect icon () as marked in the screenshot below.
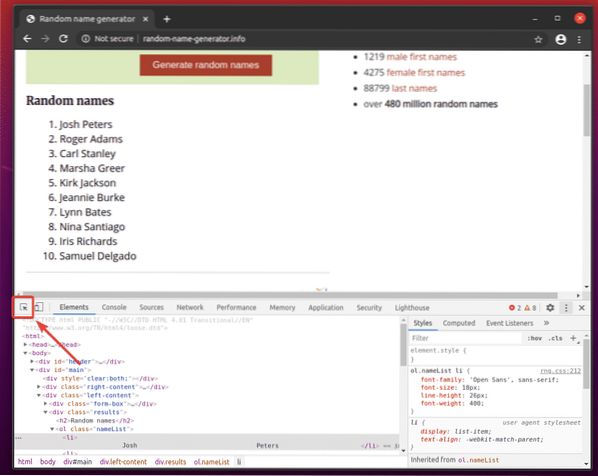
Then, hover over the list of Random names. The list should be highlighted as marked in the screenshot below. Then, press the left mouse button (LMB) to select the list.
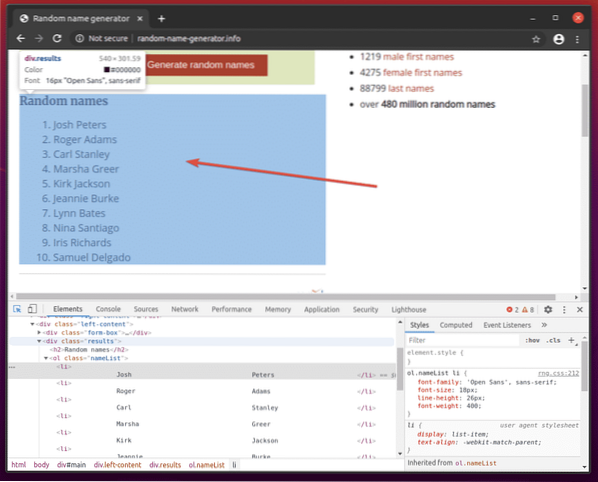
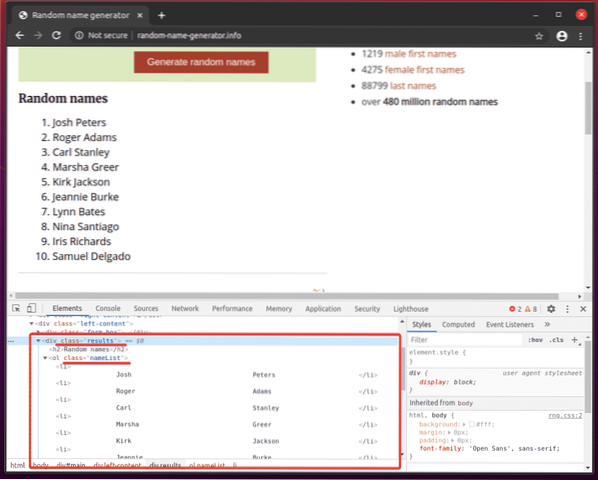
The HTML code of the list should be highlighted in the Elements tab of the Chrome Developer Tool. Here, the list of Random names is inside a div element. The div element has the class name results. Inside it, we have an ol element with the class name nameList. Inside the ol element, each of the names is in a li element.
From this we can say that to get to the li tags, we have to follow div.results > ol.nameList > li
So, our CSS selector will be div.results ol.nameList li (just replace the > signs with whitespace)
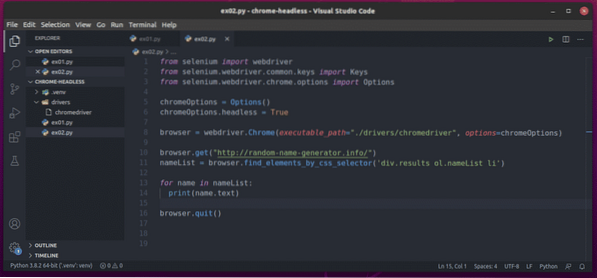
For extracting these random names, create a new Python script ex02.py and type in the following lines of codes in it.
from selenium import webdriverfrom selenium.webdriver.common.keys import Keys
from selenium.webdriver.chrome.options import Options
chromeOptions = Options()
chromeOptions.headless = True
browser = webdriver.Chrome(executable_path="./drivers/chromedriver", options=chromeOptions)
browser.get("http://random-name-generator.info/")
nameList = browser.find_elements_by_css_selector('div.results ol.nameList li')
for name in nameList:
print(name.text)
browser.quit()
Once you're done, save the ex02.py Python script.
I have explained the lines 1-8 in the earlier section of this article. These are the same as in ex01.py.

Line 10 loads the random name generator website using the browser.get() method.

Line 11 selects the name list using the browser.find_elements_by_css_selector() method. This method uses the CSS selector div.results ol.nameList li to find the name list. Then, the name list is stored in the nameList variable.

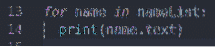
In lines 13 and 14, a for loop is used to iterate through the nameList list of li elements. In each iteration, the content of the li element is printed on the console.
Now, run the Python script ex02.py as follows:
$ python3 ex02.py
As you can see, the Python script ex02.py fetched all the random names from the web page.

If you run the script a second time, it should return a new list of random names, as you can see in the screenshot below.

Problems You May Face Running Selenium in Headless Mode:
You have seen earlier that running Selenium in headless mode using the Chrome driver is as easy as setting the chromeOptions.headless flag to True.
This solution may not work for you on some Linux distributions. In this section, I am going to talk about some of the problems you may face while running Selenium in headless mode using the Chrome web driver.
By default, the Google Chrome web browser does a lot of sandboxing (runs many things in an isolated environment). This may cause issues when running Selenium in headless mode using the Chrome web driver. You can disable sandboxing for Google Chrome by using the -no-sandbox flag.
To add the -no-sandbox flag, add the following line before initializing the Selenium Chrome driver using webdriver.Chrome() method (line 8 in ex01.py Python script).
chromeOptions.add_argument("--no-sandbox")You may have problems doing certain stuff in the Google Chrome web browser from Selenium like taking screenshots of the website and so on. This may happen because, in headless mode, Google Chrome may set incorrect virtual screen resolution. So, your website may not look right. You can set your desired virtual screen resolution for Google Chrome web browser in headless mode using the -window-size command-line option.
For example, to set the virtual screen width to 1280 px and height to 720 px, add the -window-size command line option before initializing the Selenium Chrome driver using webdriver.Chrome() method (line 8 in ex01.py Python script) as follows:
chromeOptions.add_argument("--window-size=1280,720")Your server may not have a GPU installed, or it may have a GPU which the Google Chrome web browser won't know how to use. By default, Google Chrome should automatically disable GPU acceleration if a GPU is not available or if an unsupported GPU is available. In some cases, it may fail to do so. In that case, Selenium may not be able to run the Google Chrome web browser in headless mode. To solve this problem, you have to disable GPU acceleration using the -disable-gpu flag.
To add the -disable-gpu flag, add the following line before initializing the Selenium Chrome driver using webdriver.Chrome() method (line 8 in ex01.py Python script).
chromeOptions.add_argument(“-disable-gpu”)
Conclusion:
In this article, I have shown you how to set up Selenium in headless mode using the Chrome web driver. I have covered the basics, which will help you get started with headless Selenium browser automation, web testing, and web scraping.
I have also covered some of the Google Chrome command line arguments/flags which you can use to solve some of the problems you may have while running Selenium in headless mode using the Chrome web driver.
There are many more Google Chrome command-line options available, which I did not cover in this article. These command-line options may be useful for your project. You can find all the supported Google Chrome command-line options in the List of Chromium Command Line Switches by Peter Beverloo page.


