Getting VirtualBox:
If you don't have VirtualBox download and install it, first add VirtualBox to your repositories
"echo "deb http://download.virtualbox.org/virtualbox/debian stretch contrib" |sudo tee /etc/apt/sources.list.d/virtualbox.list"
Then run:
apt updateapt upgrade
apt install virtualbox
Getting started with Red Hat:
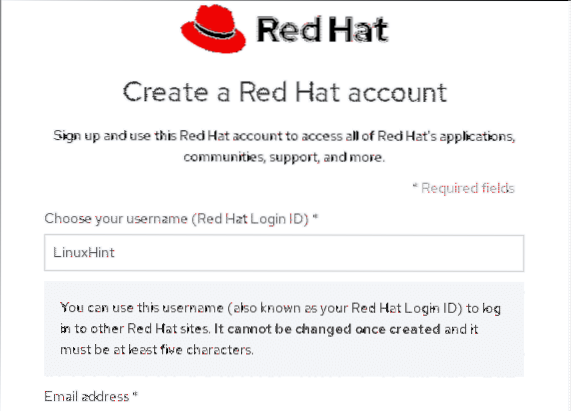
To get RedHat visit the following link and fill all the information requested in the formulary to register on Red Hat.
https://developers.redhat.com/auth/realms/rhd/login-actions/registration?client_id=download-manager-client
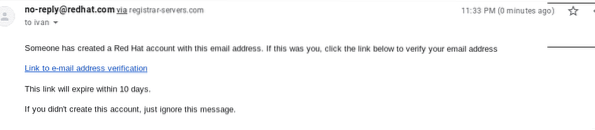
After ending the registration process (2 small forms) visit your inbox to confirm your e-mail and download the ISO image.
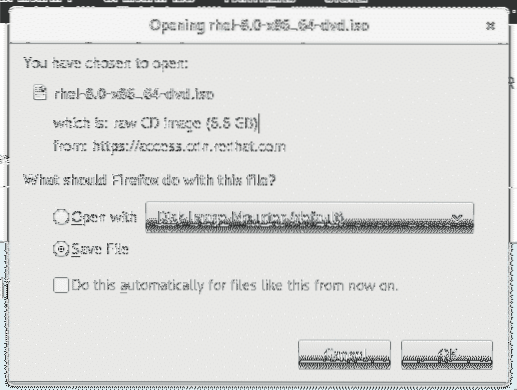
When opening the confirmation link a download dialog box will prompt, save the ISO image.
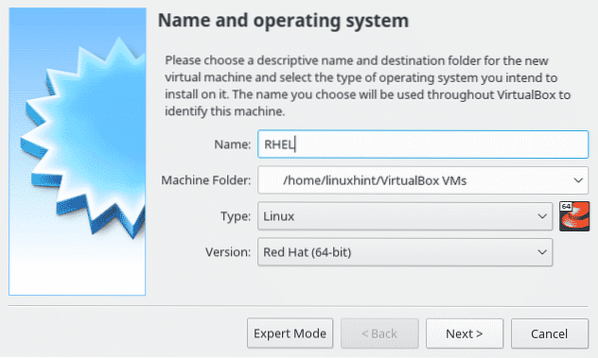
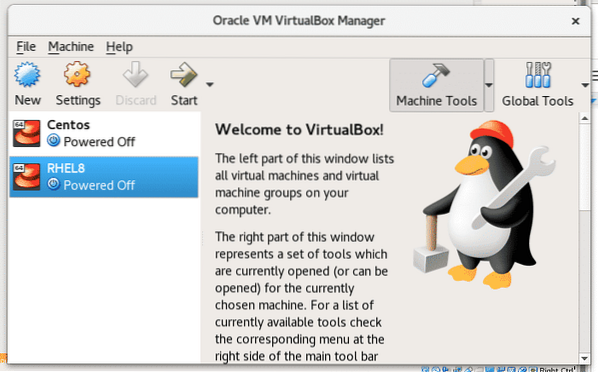
Once we have the Red Hat ISO open VirtualBox and on it's main screen click on the first icon “New” to create a new virtual device.
Set RHEL as name and Virtualbox will detect it automatically. Then press Next>
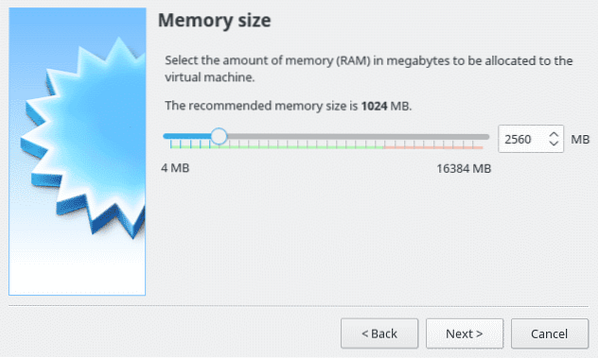
Here you can assign your virtual pc the memory you want, this resource is important for your virtual computer and will be used only while it is working.
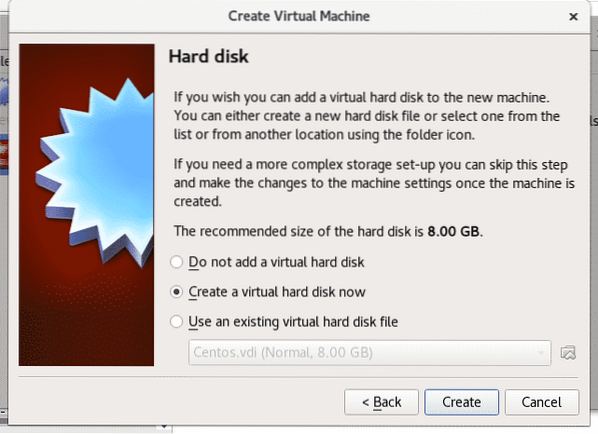
Select the option “Create hard disk now” and press Continue.
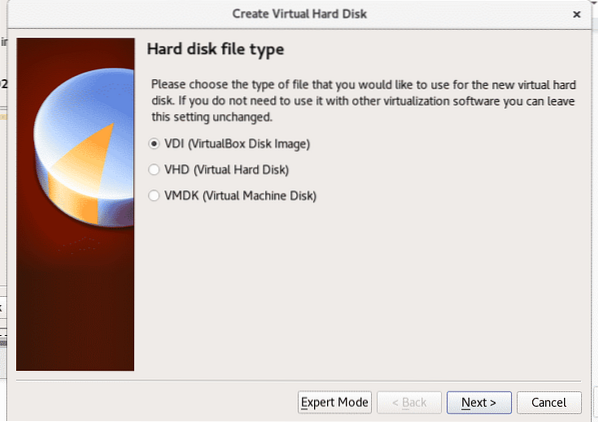
Here set the setting unchanged and press Next.
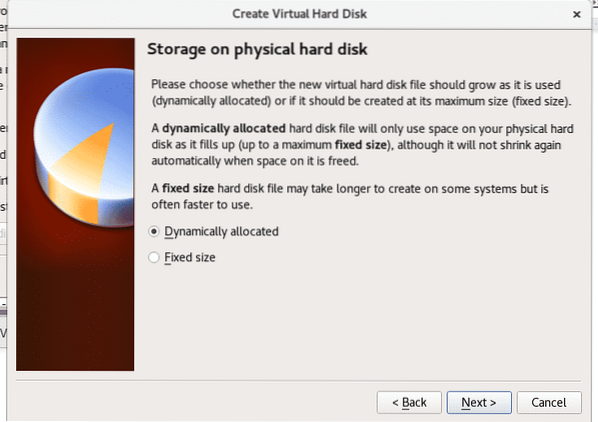
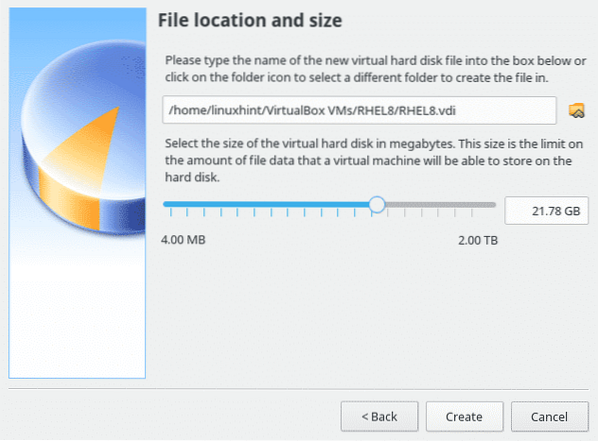
In this step we need to assign space to our virtual pc, Red Hat requires a minimum of 19 GB to be installed. Give the space you want and press Create.
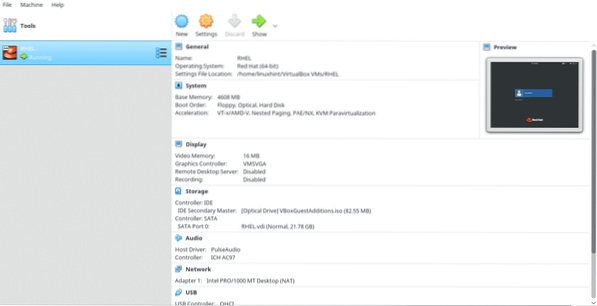
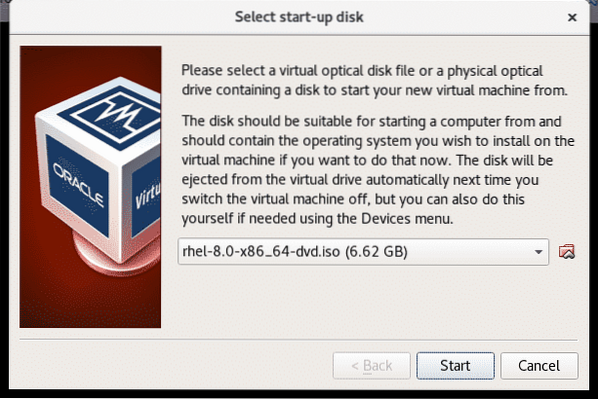
Once created, on VirtualBox click on the green arrow icon “Start” to turn on the virtual device.
A Virtual Box dialog box will prompt asking for a media to boot, click on the folder icon and select the Red Hat ISO you've downloaded before.
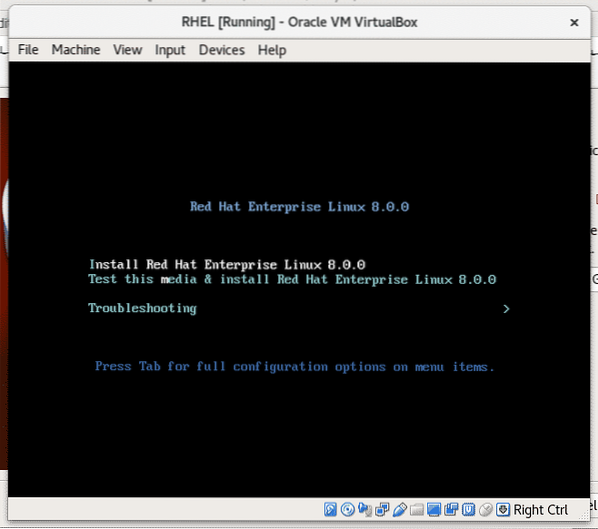
Red Hat installation will start, Red Hat was among the firsts Linux distributions with a friendly user interface from it's installation, it is pretty intuitive, press “Install Red Hat Enterprise Linux 8.0.0” to continue.
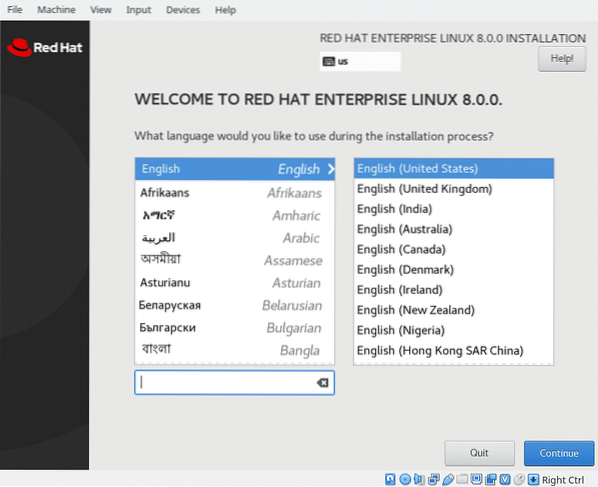
Select the language for the installation process only, it won't be the default OS language.
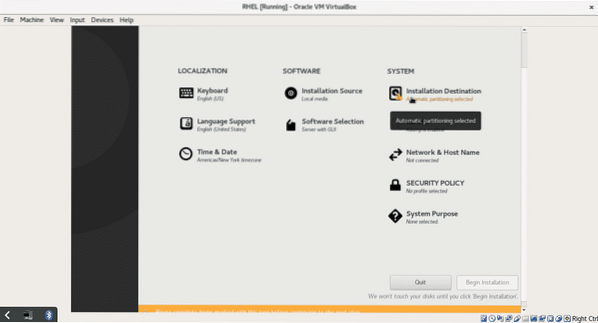
Scroll down and press on the blue button “DONE”
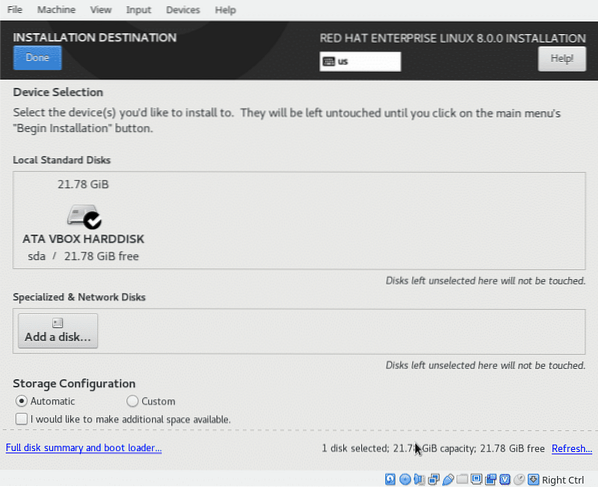
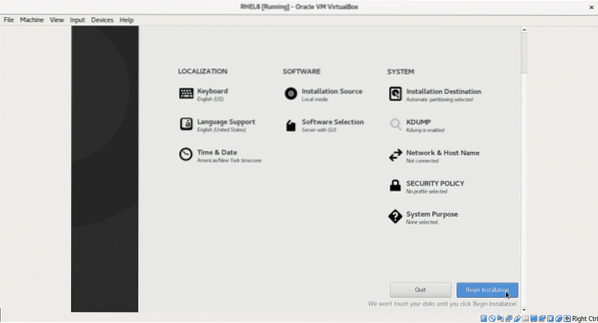
Here before continuing click in “Installation Destination” to confirm the allocated space.
At this step we can partition our disk, I won't go deeper on partitioning but you can set partitions if you want. For this tutorial click on the “DONE” button to confirm and go back to the main screen.
In this screen you can select your language and keyboard input methods, network and hostname among other configurations you can explore, after choosing your settings (that's optional, the only mandatory is the “Installation Destination”)
click on “Begin installation” to start copying files.
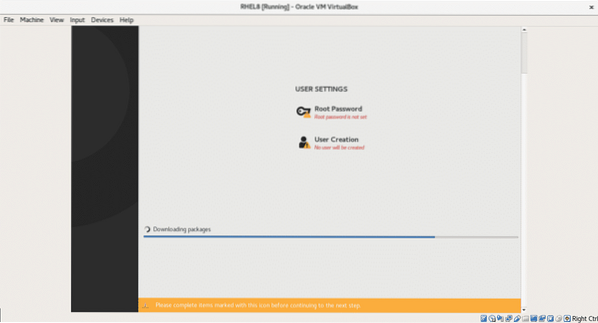
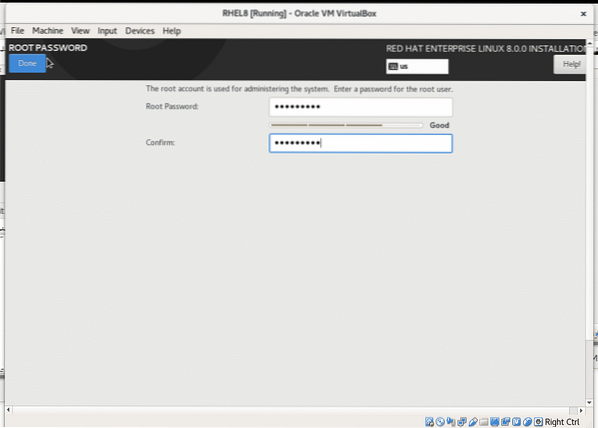
During the installation process you can set your root password and create an additional user. Press on “Root Password”
Type your password and then on the blue button “DONE” to go back.
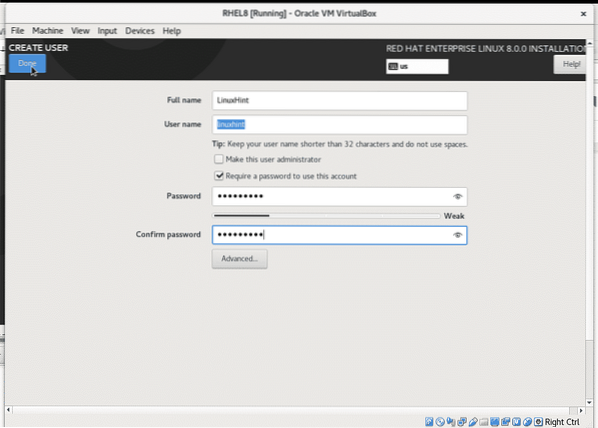
You can repeat the step above to create a new user.
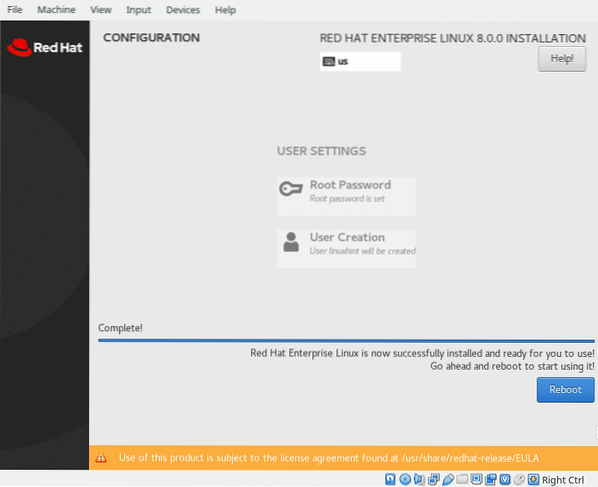
Once the installation process ends click on the blue button “Reboot” to restart your virtualbox computer.
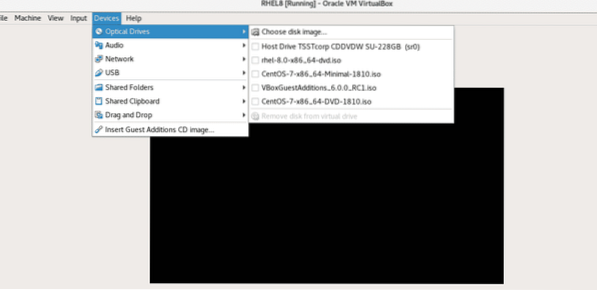
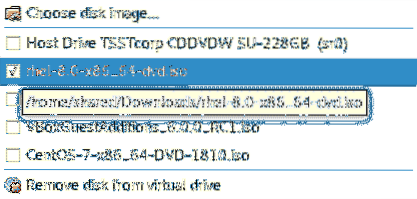
Once you reboot you need to disable the iso image as boot device,on the OS's Vbox window click on “Devices” > “Optical Drives” and uncheck the virtual device for Red Hat to boot.
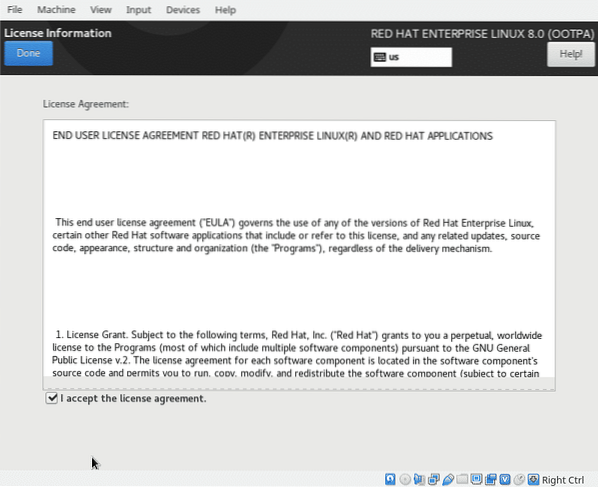
After unmounting the ISO image reboot your system to boot Red Hat. When you boot it first time it will request License validation, press on LICENSING (License Information):
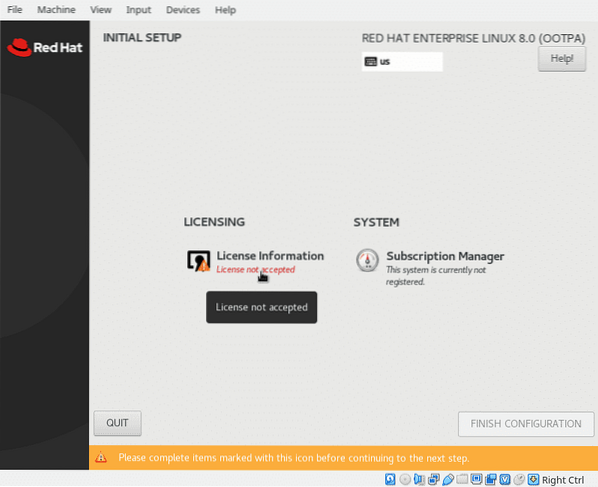
Check “I accept the license agreement” and press on the blue button “DONE”
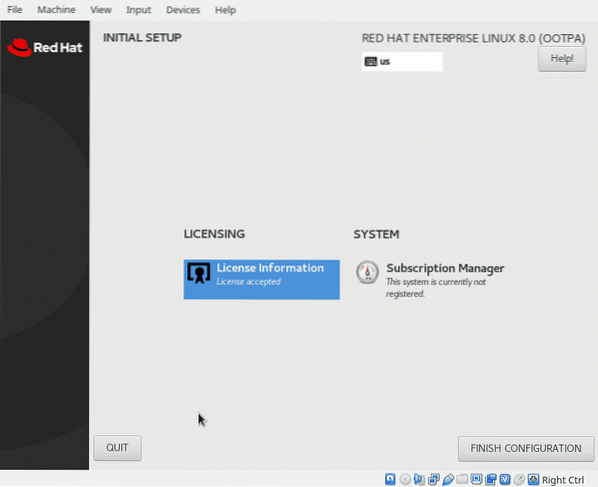
Once finished click “FINISH CONFIGURATION”
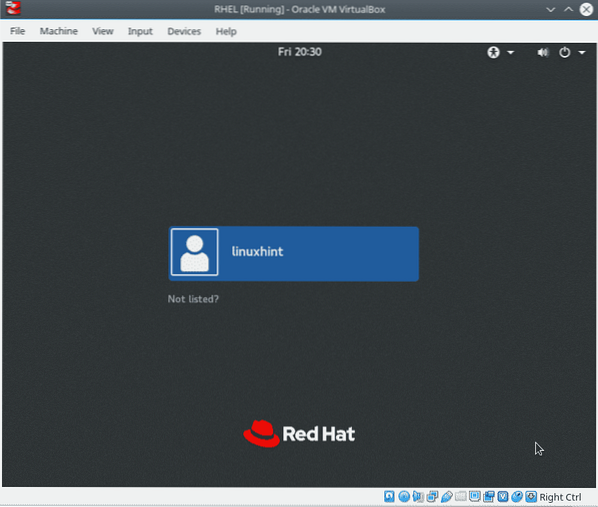
And your Red Hat should boot…
You have Red Hat installed, yet you won't be able to install packets using the yum package manager.
Open a terminal and as root run:
subscription-manager register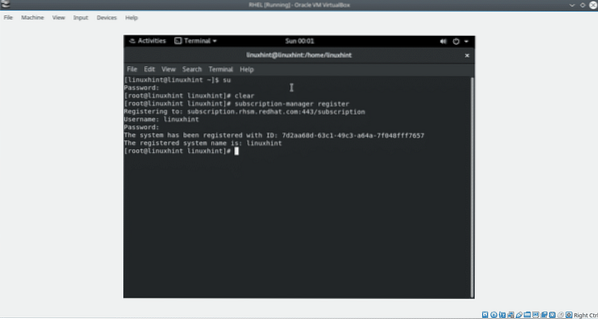
Fill your user and password and run:
subscription-manager list --available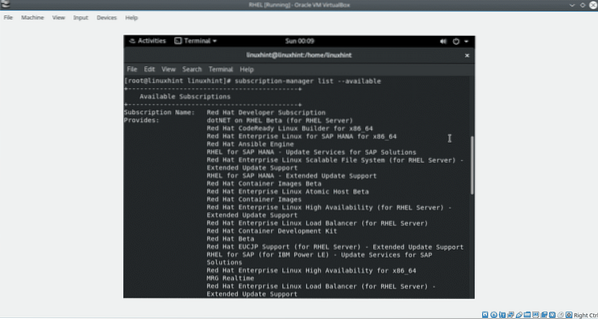
Find the Pool ID.
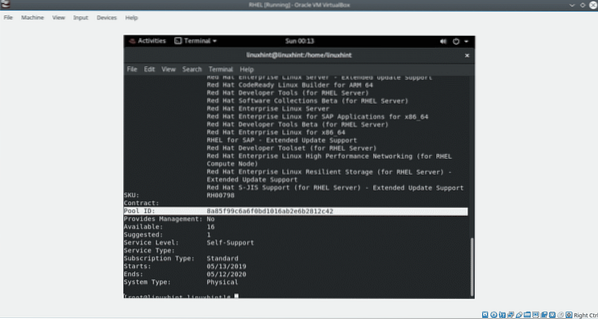
Then run:
subscription-manager attach --pool=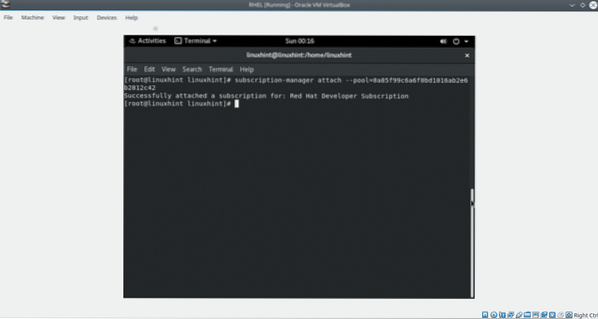
Note: Replace
To end update the repositories by running:
dnf repolist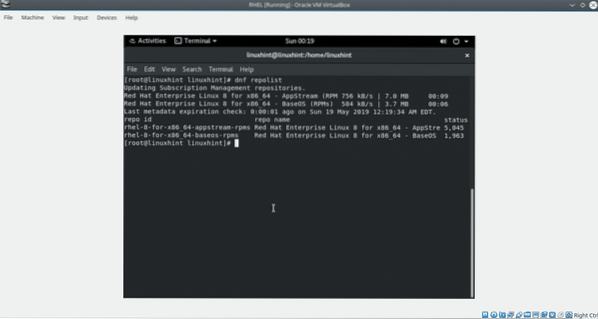
Now Red Hat 8 is ready.
I hope you found useful this tutorial to install Red Hat on VirtualBox. Frankly while I wrote it I found some problems with VirtualBox which I omitted in this tutorial assuming they were product of my system configuration. If you find any inconvenient while installing Red Hat don't hesitate to contact us through our support site


