Install Nvidia Optimus Graphics Drivers on Ubuntu 17.10
In this article, I will show you how to install Nvidia Optimus drivers on Ubuntu 17.10. Nvidia Optimus is a technology that enables a device to use 2 graphics card at once. One of the graphics card is not as powerful as the other. The benefit is that, it saves energy and increases battery life. The programs that don't need much GPU processing can use the less powerful graphics card, like Intel HD Graphics. The high performance graphics card is only used when you run softwares that needs the GPU, like Blender. It's also known as Hybrid graphics. Most of the Nvidia graphics card used on laptops/notebooks or any other mobile devices these days support Nvidia Optimus technology. So if you have one of these devices, this article is for you. Let's get started.
First click on “Show Applications” icon in the bottom left corner of the panel and search for “software”
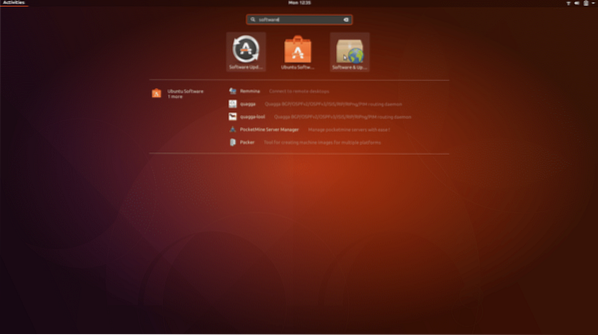
Then click on “Software & Updates” icon to open “Software & Updates”
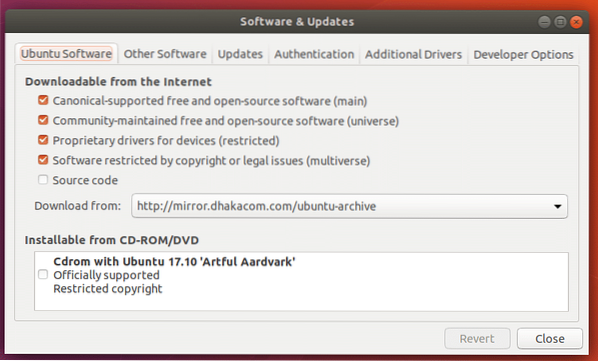
Note: Make sure all of these checkboxes are marked.
Then click on “Additional Drivers” tab.
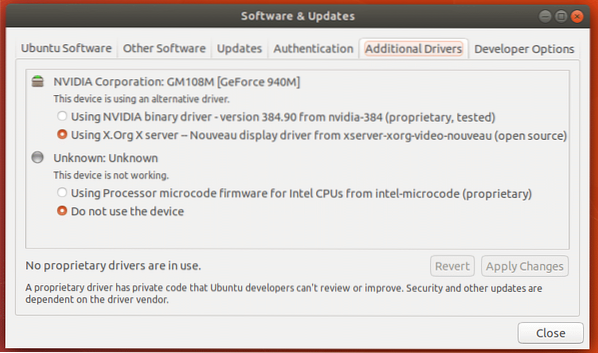
Here you can see that currently I am using open source nouveau drivers.
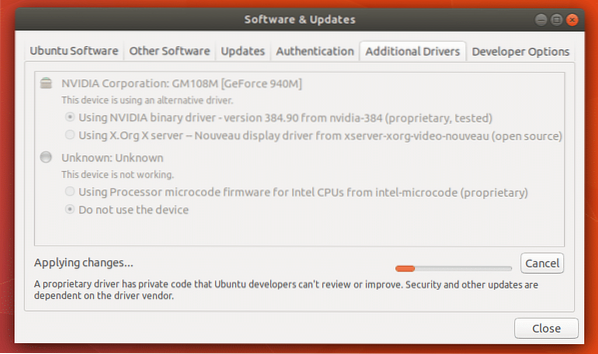
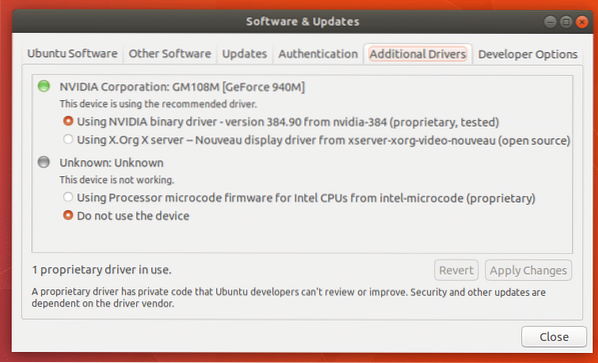
To install Nvidia drivers, check the “Using Nvidia binary driver” and click on “Apply Changes”
It should take a while to install Nvidia drivers. Please wait till it's complete.
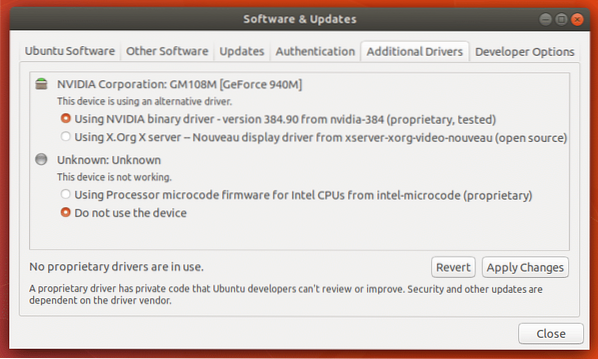
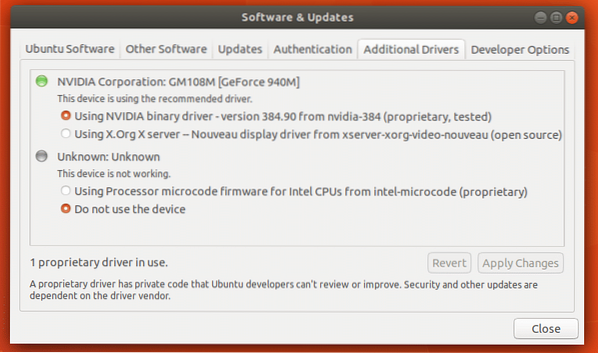
Once the installation is complete, you should see a green mark right beside Nvidia Corporation and also notice the “1 proprietary driver in use” in the bottom of the window.
Now restart your computer.
Once your computer boots, click on “Show Applications” and search for 'nvidia'
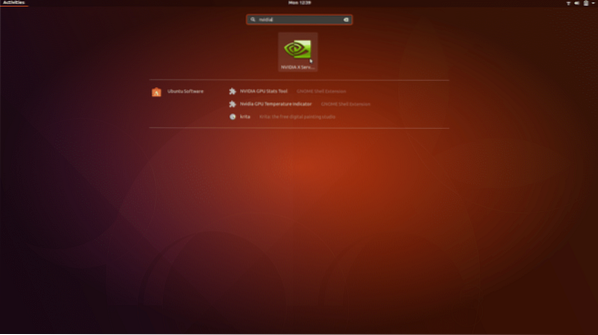
Click on “Nvidia Settings” and you should see the following window:
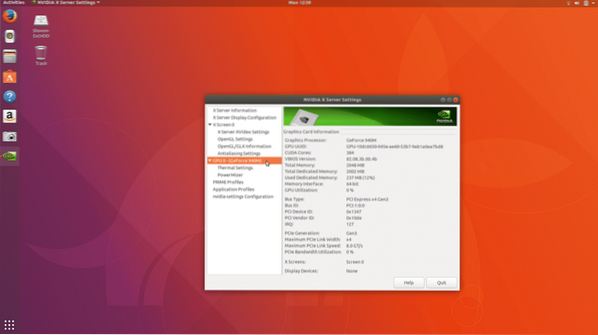
So Nvidia Graphics driver installation was successful.
If you want to switch to open source nouveau drivers, open “Software & Updates” like before.

Go to “Additional Drivers” tab
Select “Using X.Org X server - Nouveau display driver… ”
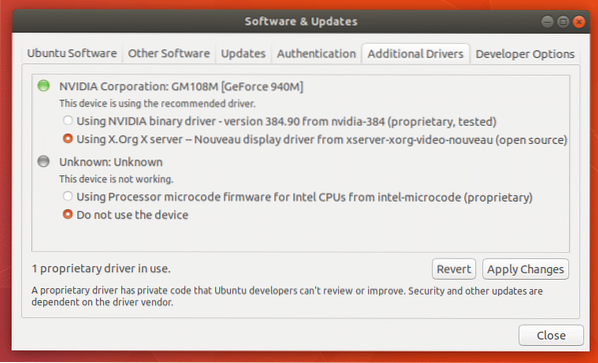
Then click on “Apply Changes”. It should take a while for the changes to take effect.

Now restart your computer and nouveau drivers will be used again.
If you want to completely remove Nvidia drivers, open your terminal (Ctrl+Alt+T) and run the following command:
“sudo apt-get remove --purge nvidia-*”

Press 'y' and then press
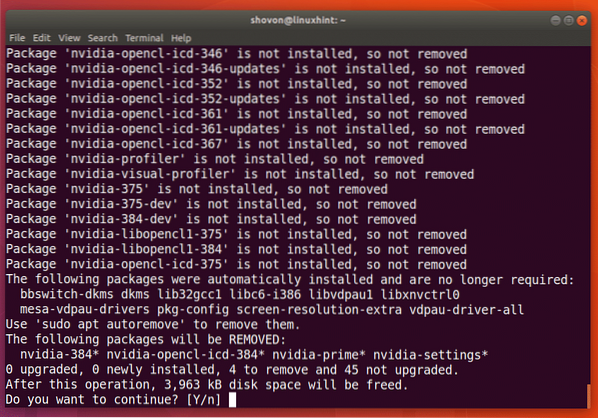
It should take a minute or two. Once the command completes, Nvidia drivers will be completely uninstalled from your computer. Now restart your computer and you're good to go.
There are other packages that you don't need anymore as nvidia packages are removed, you can remove these packages with the following command:
“sudo apt-get autoremove --purge”
That's how you install and uninstall Nvidia drivers on Ubuntu 17.10. Thanks for reading this article.


