
Have you ever fancied having a portable Linux Mint system fully installed on a USB drive ready to use on any random computer? If the answer is 'Yes,' then read this complete guide on installing a complete Linux Mint System on a USB drive.
Previously, we had written posts on how to use a Live Linux USB drive and even how to create a bootable Linux USB drive with Etcher. However, that is very different from what we will do in this tutorial. Instead of creating a bootable Linux Mint USB drive, we will install the Linux Mint system on a USB drive as we would do on a Hard drive, which means the Linux Mint will be updatable just like it would on a regular PC installation.
Install updatable Linux Mint on a USB drive
Requirements
- A 4GB size or more USB drive where we will install our Linux mint system
- Another USB drive which we will use as our bootable Linux mint media
- Linux Mint ISO that can be downloaded here
- A working PC
Step 1: Create a Bootable USB Drive
Once you have downloaded the Linux Mint ISO file on your computer, we need to create a bootable USB drive. If you are on a Linux system, you can use Etcher, Startup Disk Creator, or the MultiBootUSB utility. If you are on a Windows system, use applications like PowerISO, YUMI, etc…
Step 2: Partition your USB Drive
Now that we have a bootable USB drive, we need to partition our second USB drive for installation purposes. This process can be done in two ways; Using a third-party tool like Gparted or during the installation process.
If you are just getting started with Linux systems, use the GParted method as described below. If this is not your first time installing a Linux system, you can partition your USB drive during Linux mint installation.
Partition with GParted
Gparted is a free and opensource tool you can use to format and partition your drives. You can easily install it on Linux from the software center or download it from the official GParted website.
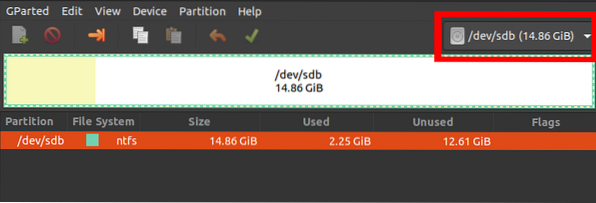
i) Insert your USB drive and launch GParted.
ii) Select your USB drive at the top right corner, as shown below. In my case, I have a 16GB size pen drive.
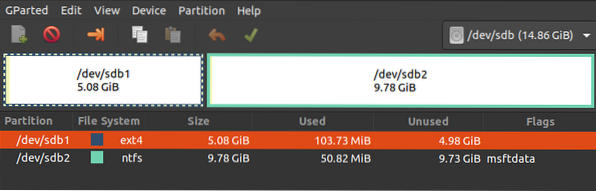
iii) Right-click on it and select the 'Resize/ Move' option. Create two partitions; An ext4 partition and NTFS/FAT, which you can use to store your files and access any operating system.
Step 3: Install Linux Mint on USB Drive
1. To get started, boot your laptop with the bootable USB drive containing Linux Mint. If you are working with a Linux image using the UEFI boot mode, I recommend you disable 'Secure boot' from the BIOS / UEFI setup screen. Read our master guide on How to Boot your Windows or Linux PC from a USB Drive. Ensure you insert your other USB drive too.
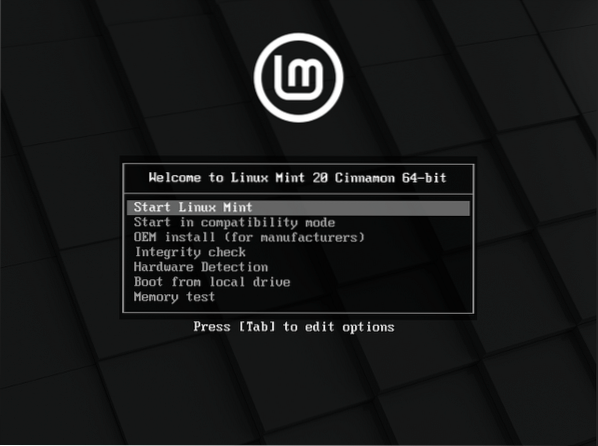
2. You will see the Linux Mint boot screen listed with several options. Choose “Start Linux Mint,” which is the first option.
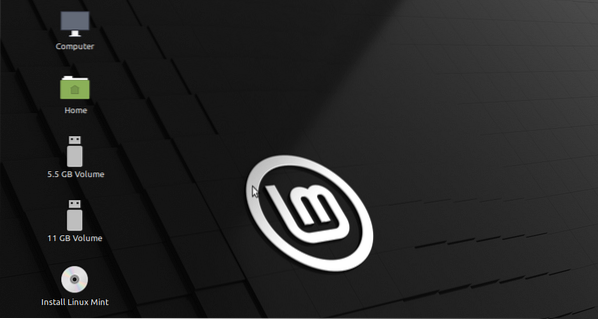
3. The Linux Mint Desktop window will open with several icons. Click on the “Install Linux Mint” option to start the installer.
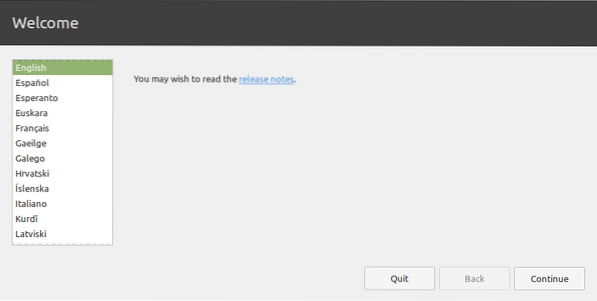
4. You will see the Linux Mint 'Welcome' screen. Select the language you want to use during the installation process. Click 'Next.'
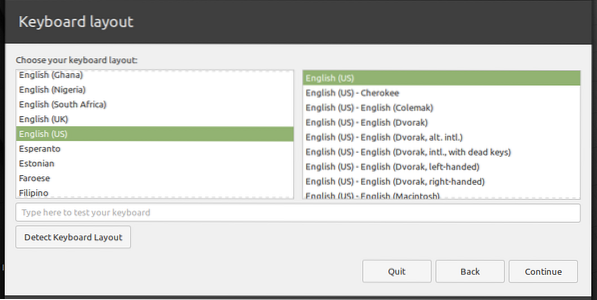
5. On the next screen, select the keyboard layout and click 'Continue.'
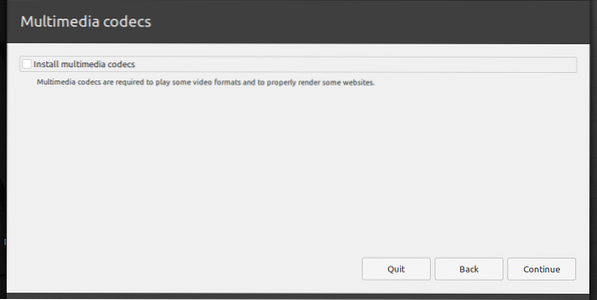
6. The next screen will give you the option of installing 'Multimedia codecs' for playing different video formats. Click 'Continue.'
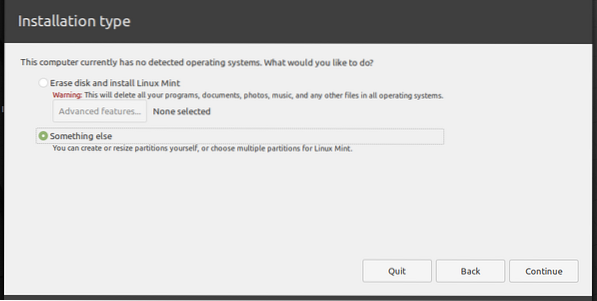
7. On the next screen, we will need to select the installation type. Select the option 'Something else' and click 'Continue.'
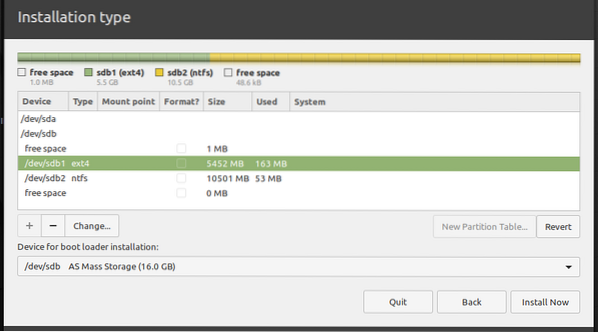
8. A window will open listing the drives connected to your PC. Your USB drive will probably be /dev/sdb. From the image below, I want to install Linux Mint on /dev/sdb1. Select your partition and click the 'Change' button below.
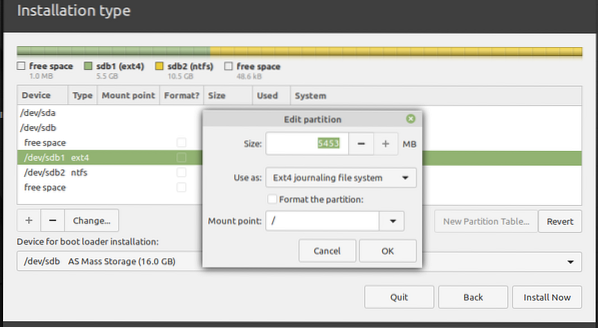
You will see a pop-up window where you can edit the partition settings. On the 'Use as' tab, select the 'Ext4 journaling file system' from the drop-down menu. That will reveal the 'Mount point' tab. Select the root option from the drop-down menu. It is represented with the '/' sign. Click 'Ok' when done.
9. Once done, click the 'Install Now' button to start the installation process. You might see several warning messages depending on how you partition your disks. Click 'Continue' if you are sure.
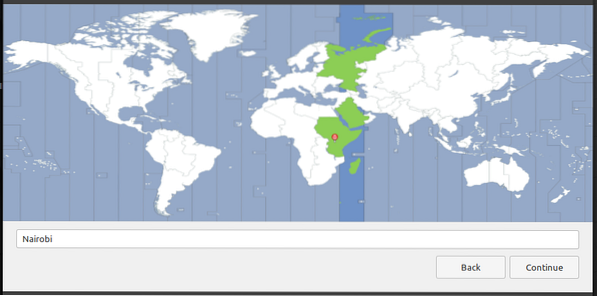
10. On the location screen, select the capital city of the state you are currently in. Click 'Continue.'
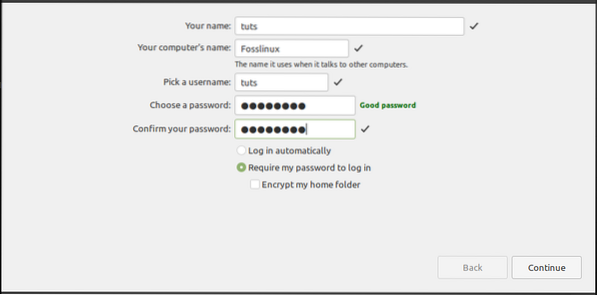
11. On the next screen, enter the username and password. Click 'Continue.'
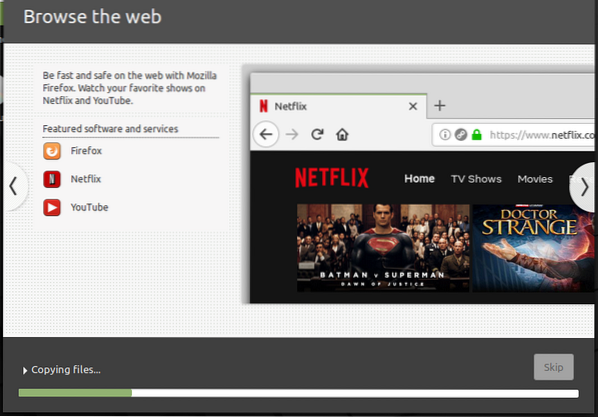
The installation process will start. That might take some time.
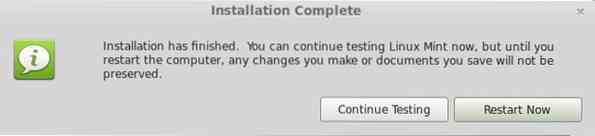
12. Once the installation is complete, you will see the option to 'Restart' or 'Continue Testing' the Live system. Click on Restart and eject your USB drives.
Conclusion
Congratulations! You have successfully installed Linux Mint on a USB drive. You can now insert it and use it on any computer by selecting the USB drive from the boot options. Your Linux Mint USB drive is now a completely working and updatable! I hope this guide was useful to you. If you are interested in creating an updatable Ubuntu too, we have it covered here.


