Different web browsers use different rendering engines to render web pages. So, the same frontend code may not render the same way in all web browsers. To fix this issue, you may need to add some browser-specific frontend codes on your website. However, that is not the only hard part when designing a website compatible with different browsers and devices. Manually checking how the website looks in each of your targeted browsers can be time-consuming. You would have to open all of your targeted web browsers, visit the webpage, wait for the page to load, and compare the rendered pages to each other. To save time, you can use the Selenium screenshot feature to automatically take screenshots of your website in each of your targeted browsers, and compare the images yourself. That is much faster than the manual method. This article will show you how to take screenshots of browser windows using Selenium.
Prerequisites
To try out the commands and examples discussed in this article, you must have:
1) A Linux distribution (preferably Ubuntu) installed on your computer.
2) Python 3 installed on your computer.
3) PIP 3 installed on your computer.
4) The Python package virtualenv installed on your computer.
5) Mozilla Firefox and Google Chrome web browsers installed on your computer.
6) Knowledge of how to install the Firefox Gecko Driver and Chrome Web Driver on your system.
To fulfill the requirements 4, 5, and 6, you can read my article Introduction to Selenium with Python 3 at Linuxhint.com.
You can find many other articles on the required topics at LinuxHint.com. Be sure to check these articles out if you need any additional assistance.
Setting Up a Project Directory
To keep everything organized, create the new project directory selenium-screenshot/, as follows:
$ mkdir -pv selenium-screenshot/images,drivers
Navigate to the selenium-screenshot/ project directory, as follows:
$ cd selenium-screenshot/
Create a Python virtual environment in the project directory, as follows:
$ virtualenv .venv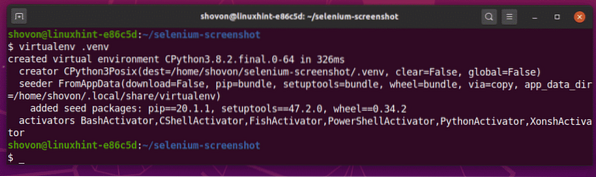
Activate the virtual environment, as follows:
$ source .venv/bin/activate
Install Selenium using PIP3, as follows:
$ pip3 install selenium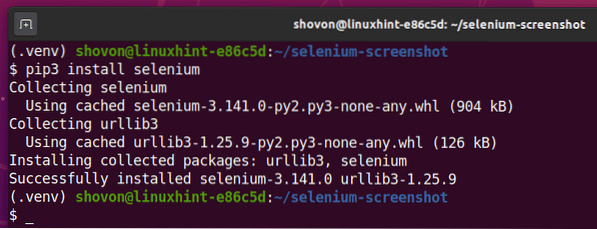
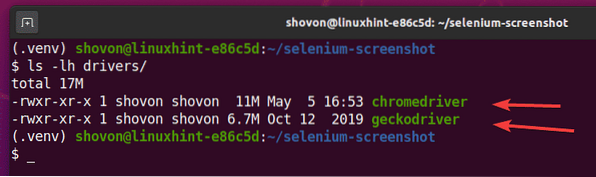
Download and install the required web driver in the drivers/ directory of the project. I explained the process of downloading and installing web drivers in the article Introduction to Selenium with Python 3. If you need any assistance on this subject, search LinuxHint.com for this article.
Basics of Taking Screenshots with Selenium
This section will give you a very simple example of taking browser screenshots with Selenium.
First, create a new Python script ex01_google-chrome.py and type the following lines of codes in the script.
from selenium import webdriverfrom selenium.webdriver.common.keys import Keys
googleChromeOptions = webdriver.chrome.options.Options()
googleChromeOptions.headless = True
googleChromeOptions.add_argument('--window-size=1280,720')
googleChrome = webdriver.Chrome(executable_path="./drivers/chromedriver",
options=googleChromeOptions)
pageUrl = "https://www.w3schools.com";
googleChrome.get(pageUrl)
googleChrome.save_screenshot('images/w3schools_google-chrome.png')
googleChrome.close()
Once you are done, save the ex01_google-chrome.py Python script.
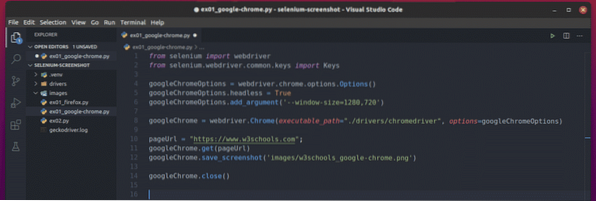
Line 4 creates an Options object for the Google Chrome web browser.

Line 5 enables headless mode for Google Chrome.

Line 6 sets the window size to 1280×720 pixels.

Line 8 creates a browser object using the Chrome driver and store it in the googleChrome variable.

Line 10 defines a pageUrl variable. The pageUrl variable holds the URL of the webpage that Selenium will screenshot.

Line 11 loads the pageUrl in the browser.

Line 12 uses the save_screenshot() method to save a screenshot of the browser window to the file w3schools_google-chrome.png in the images/ directory of the project.

Finally, Line 14 closes the browser.

Next, run the ex01_google-chrome.py Python script, as follows:
$ python3 ex01_google-chrome.py
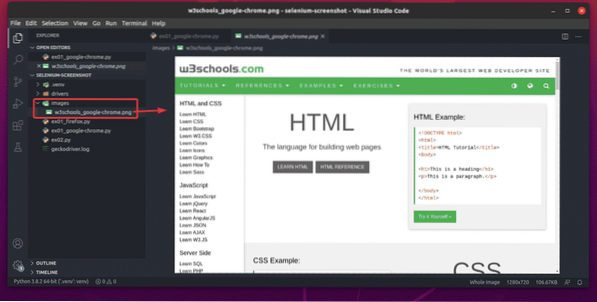
On successful execution of the script, the screenshot will be saved to the image file w3schools_google-chrome.png in the images/ directory of the project, as you can see in the screenshot below.
To take a screenshot of the same website but in the Firefox web browser, create the new Python script ex01_firefox.py and type the following lines of codes in the script.
from selenium import webdriverfrom selenium.webdriver.common.keys import Keys
firefoxOptions = webdriver.firefox.options.Options()
firefoxOptions.headless = True
firefoxOptions.add_argument('--width=1280')
firefoxOptions.add_argument('--height=720')
firefox = webdriver.Firefox(executable_path="./drivers/geckodriver", options=firefoxOptions)
pageUrl = "https://www.w3schools.com";
firefox.get(pageUrl)
firefox.save_screenshot('images/w3schools_firefox.png')
firefox.close()
Once you are done, save the ex01_firefox.py Python script.
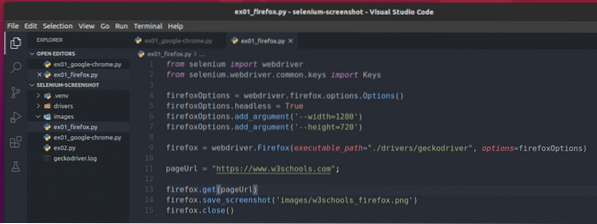
Line 4 creates an Options object for the Firefox web browser.

Line 5 enables headless mode for Firefox.

Line 6 sets the browser window width to 1280 pixels, and line 7 sets the browser window height to 720 pixels.

Line 9 creates a browser object using the Firefox Gecko driver and stores it in the firefox variable.

Line 11 defines a pageUrl variable. The pageUrl variable holds the URL of the webpage that Selenium will screenshot.

Line 13 loads the pageUrl on the browser.

Line 14 uses the save_screenshot() method to save a screenshot of the browser window to the file w3schools_firefox.png in the images/ directory of the project.

Finally, Line 15 closes the browser.

Next, run the ex01_firefox.py Python script, as follows:
$ python3 ex01_firefox.py
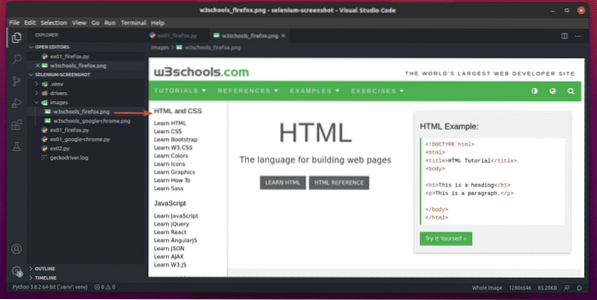
On successful execution of the script, the screenshot should be saved to the image file w3schools_firefox.png in the images/ directory of the project, as you can see in the screenshot below.
Taking Screenshots of Different Screen Resolutions
This section will show you how to take screenshots of the same webpage in different screen resolutions. In this section, I will be using the Google Chrome web browser, but you can use Firefox or any other browser for this section.
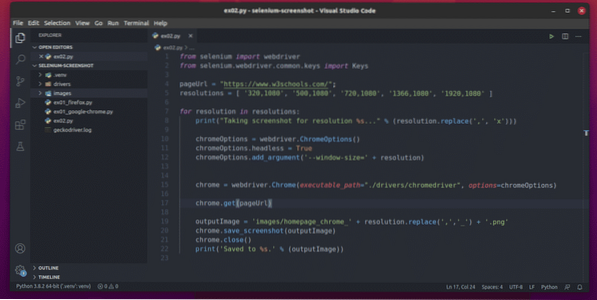
First, create the new Python script ex02.py and type the following lines of code in the script.
from selenium import webdriverfrom selenium.webdriver.common.keys import Keys
pageUrl = "https://www.w3schools.com/";
resolutions = [ '320,1080', '500,1080', '720,1080', '1366,1080', '1920,1080' ]
for resolution in resolutions:
print("Taking screenshot for resolution %s… " % (resolution.replace(',', 'x')))
chromeOptions = webdriver.ChromeOptions()
chromeOptions.headless = True
chromeOptions.add_argument('--window-size=' + resolution)
chrome = webdriver.Chrome(executable_path="./drivers/chromedriver", options=chromeOptions)
chrome.get(pageUrl)
outputImage = 'images/homepage_chrome_' + resolution.replace(',','_') + '.png'
chrome.save_screenshot(outputImage)
chrome.close()
print('Saved to %s.' % (outputImage))
Once you are done, save the ex02.py Python script.
Line 4 defines a pageUrl variable that holds the webpage URL I would like to take screenshots of in different screen resolutions.

Line 5 defines a resolutions list that holds a list of the resolutions I would like to take screenshots of.

Line 7 iterates through each of the resolutions in the resolutions list.

Inside the loop, Line 8 prints a meaningful message on the console.

Lines 10-15 create a browser object with the resolution of the current loop iteration and stores it in the chrome variable.

Line 17 loads the pageUrl in the browser.

Line 19 generates an image path, where the screenshot will be saved, and stores the image in the outputImage variable.

Line 20 takes a screenshot of the browser window and stores it in the path outputImage.

Line 21 closes the browser.

Line 22 prints a meaningful message on the console and ends the loop.

Then, the loop starts again with the next screen resolution (i.e., the next list item).
Next, run the ex02.py Python script, as follows:
$ python3 ex02.py
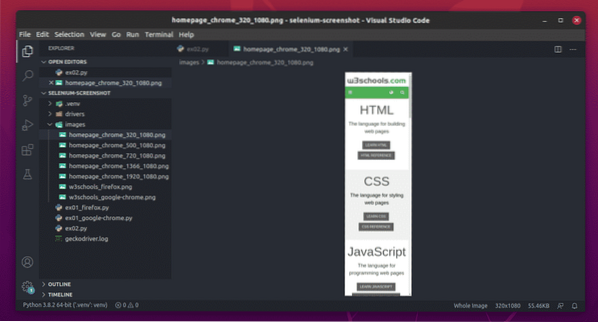
The Python script ex02.py should take screenshots of the given URL in each of the chosen screen resolutions.

Screenshot of w3schools.com in 320 pixels width.
Screenshot of w3schools.com in 500 pixels width.

Screenshot of w3schools.com in 720 pixels width.

Screenshot of w3schools.com in 1366 pixels width.

Screenshot of w3schools.com in 1920 pixels width.

If you compare the screenshots, you should see that the UI changes with the width of the browser window. Using the Selenium screenshot feature, you can see how your website looks on different screen resolutions quickly and easily.
Conclusion
This article showed you some of the basics of taking screenshots using Selenium and the Chrome and Firefox web drivers. The article also showed you how to take screenshots in different screen resolutions. This should help you get started with the Selenium screenshot feature.


