Installing vsftpd:
Vsftpd is available in the official package repository of Ubuntu. So, you can easily install it on your Ubuntu machine with the APT package manager.
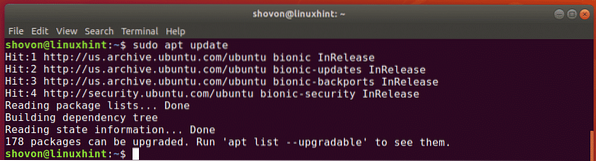
First, update the APT package repository cache with the following command:
Now, install vsftpd with the following command:
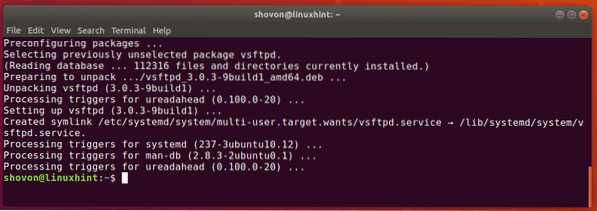
$ sudo apt install vsftpd
vsftpd should be installed.
vsftpd Configuration File:
The vsftpd configuration file is /etc/vsftpd.conf.
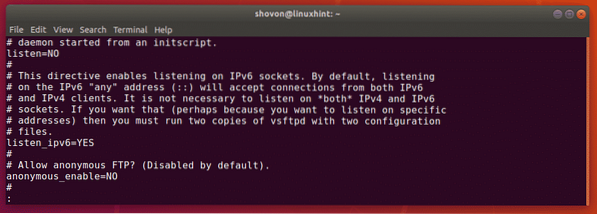
The original vsftpd configuration file has all the supported options (most of them are commented out) with a lot of documentation to help you easily understand what these options do. So, I prefer keeping a backup of the original configuration file and creating a new blank configuration file. Then, put all the configuration options that you want to apply to the new configuration file. That way, if you need any help, you can always take a look at the backup configuration file. The configuration file will also be very small and simple.
To create a backup of the original configuration file /etc/vsftpd.conf, run the following command:
$ sudo mv -v /etc/vsftpd.conf /etc/vsftpd.conf.bk
Now, create a new blank configuration file with the following command:
$ sudo touch /etc/vsftpd.conf
Now, you can access the original backed up configuration file as follows:
$ less /etc/vsftpd.conf.bk
If you need any help, you can always take a look at the original backup copy of the configuration file.
Configuring vsftpd:
In this article, I will configure a very simple FTP server where you will be able to log in as any user on the server and upload files in their respective home directories.
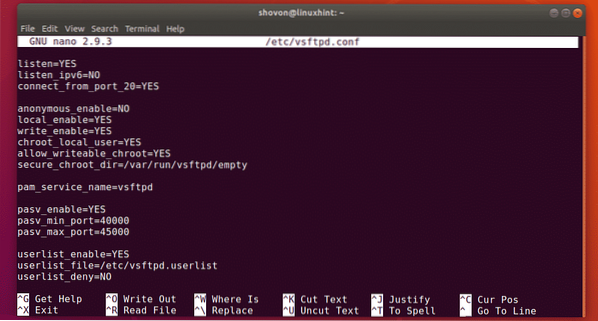
First, open the vsftpd configuration file /etc/vsftpd.conf with the following command:
$ sudo nano /etc/vsftpd.conf
Now, type in the following lines in the configuration file and save the file by pressing
listen_ipv6=NO
connect_from_port_20=YES
anonymous_enable=NO
local_enable=YES
write_enable=YES
chroot_local_user=YES
allow_writeable_chroot=YES
secure_chroot_dir=/var/run/vsftpd/empty
pam_service_name=vsftpd
pasv_enable=YES
pasv_min_port=40000
pasv_max_port=45000
userlist_enable=YES
userlist_file=/etc/vsftpd.userlist
userlist_deny=NO
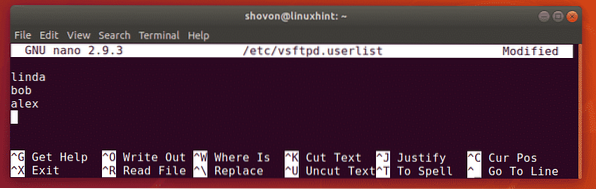
Now, let's say, you want to let only the users linda, alex and bob access their home directories via FTP. To do that, you have to add these usernames to a list /etc/vsftpd.userlist.
Now, open the file /etc/vsftpd.userlist with nano as follows:
$ sudo nano /etc/vsftpd.userlist
Now, type in the usernames that you want to allow access to their HOME directories via FTP here. Then, save the file by pressing
Now, restart the vsftpd service with the following command:
$ sudo systemctl restart vsftpd
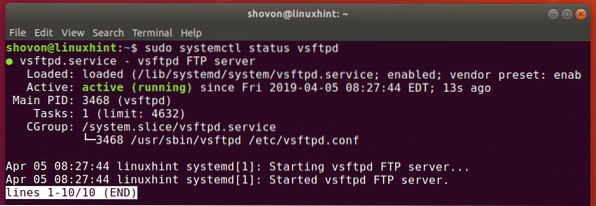
Now, run the following command to check whether the vsftpd service is running:
$ sudo systemctl status vsftpdAs you can see, the vsftpd service is running. So, we configured it correctly.
Adding FTP Users:
Now, you have to add new users (let's say linda, bob, alex) on your operating systems. Then, these users will be able to login to the FTP server and upload files.
You can create the user linda with the following command:
$ sudo useradd -m linda
You also have to set a login password for the user linda. This will also be FTP login password for the user linda.
Now, set a login password for the user linda with the following command:
$ sudo passwd linda
Now, type in a password for linda and press

Re-type the same password for linda and press

The same way, create the user bob and alex.
$ sudo useradd -m bob

Also set a password for the user bob and alex.
$ sudo passwd bob$ sudo passwd alex
Accessing the FTP Server:
You can easily access your FTP server using FileZilla FTP client. You can also add a FTP account on Windows as a network location. In this section, I will show you both ways of accessing the FTP server.
First, run the following command to find the IP address of your FTP server:
$ ip a | egrep "inet "As you can see, the IP address of my FTP server is 192.168.21.186. It will be different for you. So, make sure you replace it with yours from now on.

To connect using FileZilla FTP client, open FileZilla, type in the IP address in the Host section, the login username and password in the Username and Password section, Port 21, and then click on Quickconnect. You should be connected.
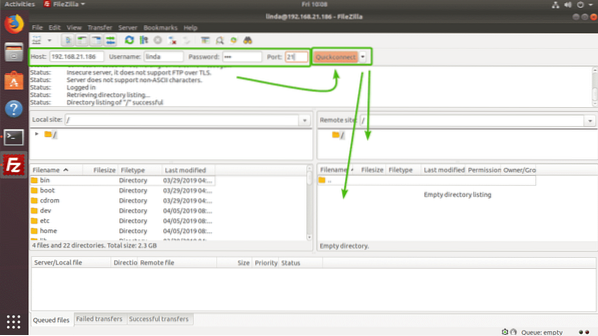
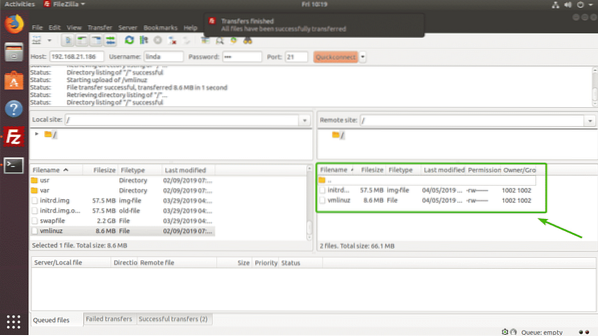
As you can see, I uploaded some files and it worked.
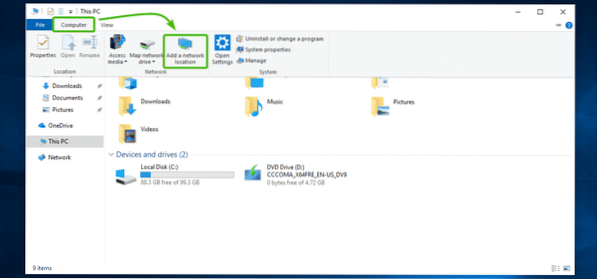
If you want to mount your FTP account as a network location on Windows, open File Explorer and click on Computer > Add a network location as marked in the screenshot below.
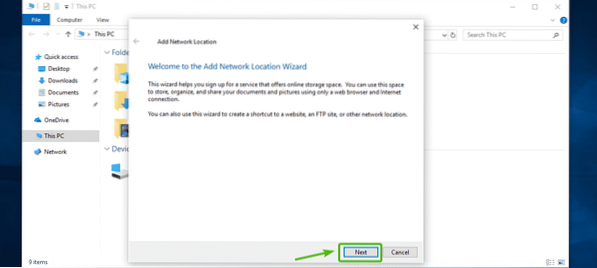
Now, click on Next.
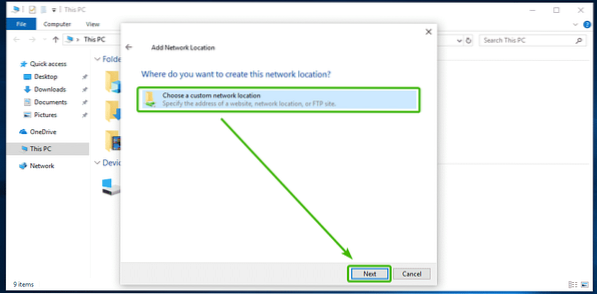
Now, select Choose a custom network location and click on Next.
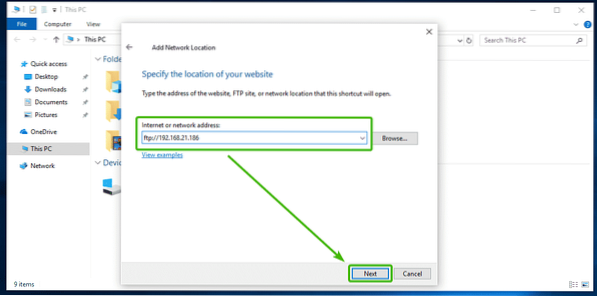
Now, type in the IP address of your FTP server (ftp://192.168.21.186) as marked in the screenshot below and click on Next.
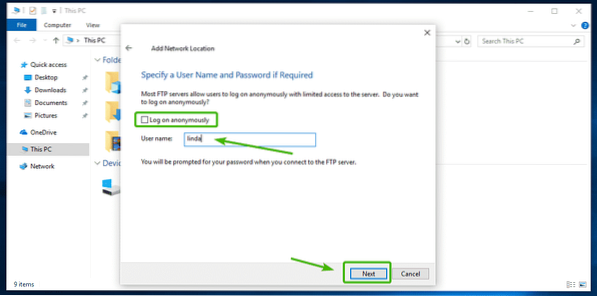
Now, make sure Log on anonymously is unchecked and type in your FTP username. Then, click on Next.
Then, type in a name for your network location. It can be anything you want. Then, click on Next.

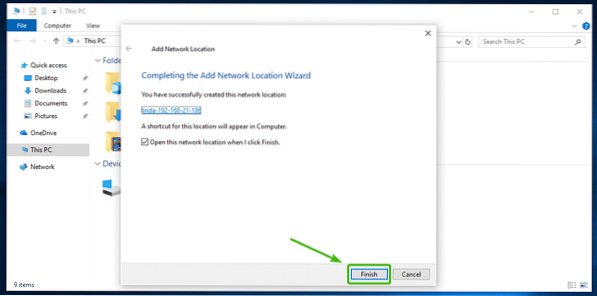
Now, click on Finish.
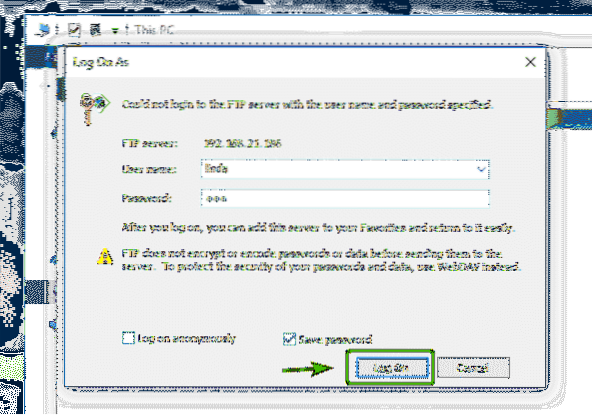
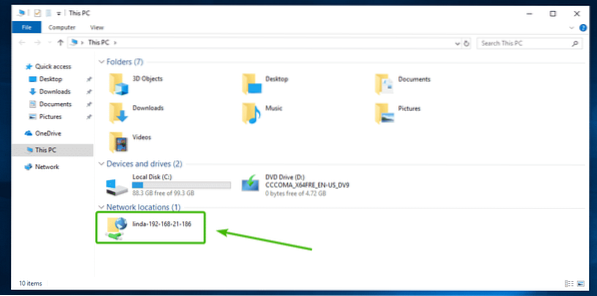
Now, type in the password of your FTP user and click on Log On.
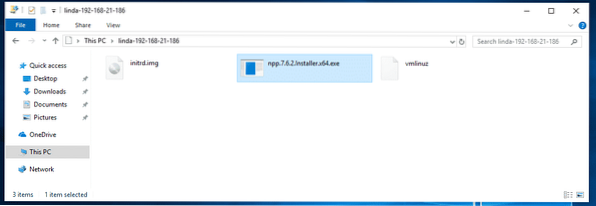
You should be logged in. As you can see, all the files I've uploaded earlier with FileZilla is there.

As you can see, I uploaded another file and it works.
Now that you're connected, you can access your FTP account whenever you want from the File Explorer of Windows.
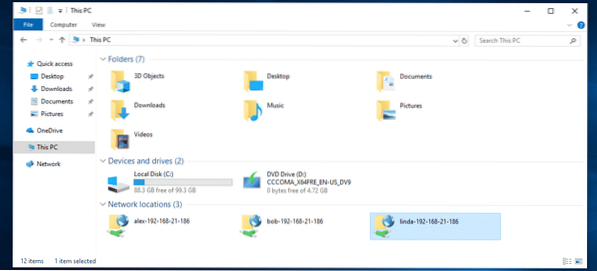
As you can see, I've added 2 more FTP accounts on Windows. I can simultaneous work with all of them now.
So, that's how you install and setup an FTP server on Ubuntu 18.04 LTS with vsftpd.


