In this article, I will show you how to install and setup SeaHorse encryption on Ubuntu. Let's get started.
Installing SeaHorse on Ubuntu 18.04
SeaHorse is available in the official package repository of Ubuntu 18.04. It should be installed by default on Ubuntu 18.04 LTS. But in case you don't have it installed, this is how you install it.
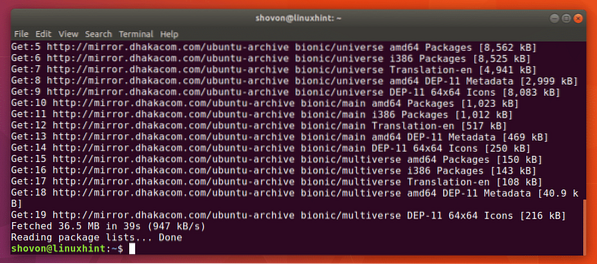
Before you install SeaHorse, update the apt package repository cache with the following command:
$ sudo apt-get update
The package repository cache should be updated.
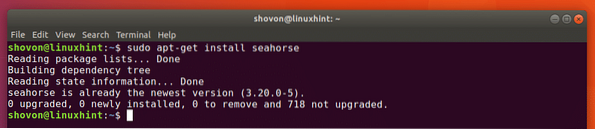
Now install SeaHorse with the following command:
$ sudo apt-get install seahorse
Press y and then press
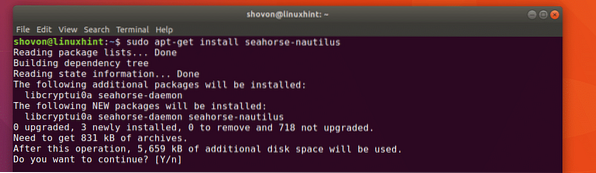
SeaHorse also has a Nautilus File Manager plugin. It may not be installed by default. You can install SeaHorse Nautilus plugin with the following command:
$ sudo apt-get install seahorse-nautilus
Now press y and then press
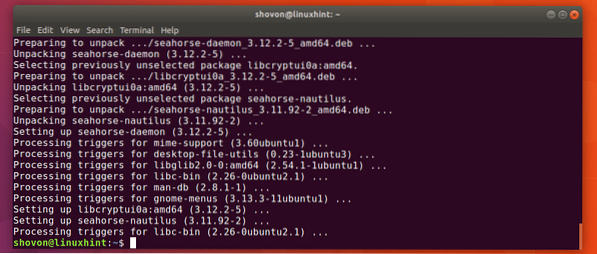
SeaHorse Nautilus plugin should be installed.
Now you can run the following command to verify whether SeaHorse is working correctly:
$ seahorse --versionAs you can see, SeaHorse 3.20.0 is installed.

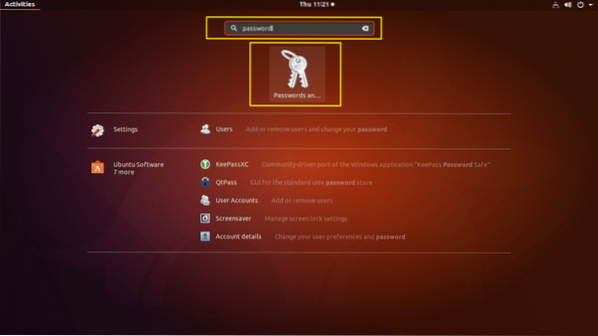
Now you can go to the Application Menu and search for Password and Keys or SeaHorse. You should see Password and Keys icon as marked in the screenshot below. Click on the Password and Keys icon.
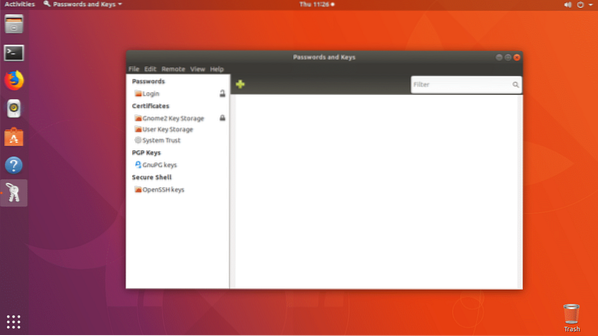
SeaHorse should start as you can see in the screenshot below.
Now that you know how to install and open SeaHorse, let's see how to use it.
Creating Keys
The first thing you must do before you can encrypt files with SeaHorse is generate a Public and Private key pair. You can easily do it with SeaHorse graphical front end. No more complex commands, yeah!
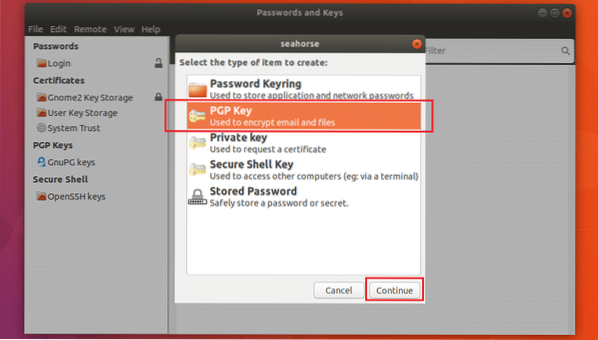
To create a new Public & Private key pair, go to File and then click on New… as marked in the screenshot below.

Now select PGP Key and click on Continue as marked in the screenshot below.
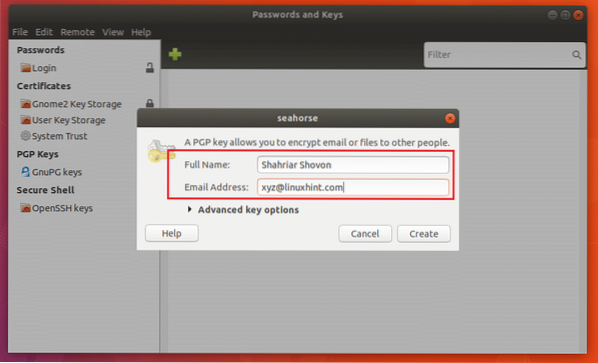
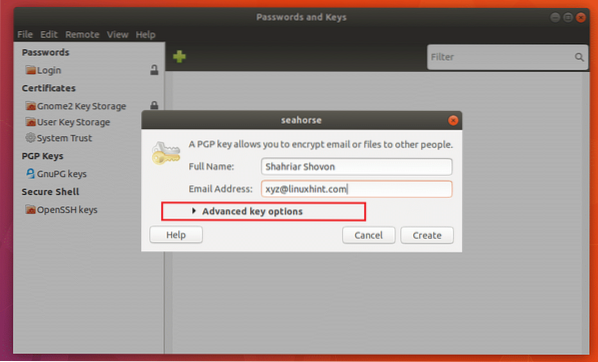
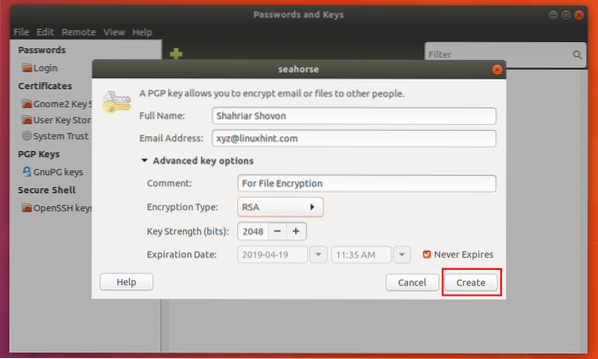
Type in your Full Name and Email Address. You can click on Create to continue at this point. Of course there are other options.
You can click on Advanced key options as marked in the screenshot below to reveal them.
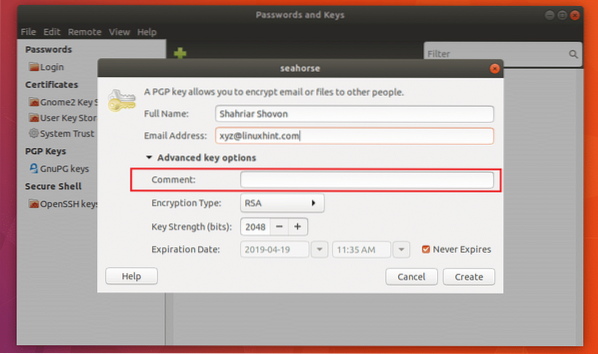
You may add a Comment here. It may be useful if you need to generate multiple key pairs. That way it will be easier for you to figure out which key you generated for what purpose.
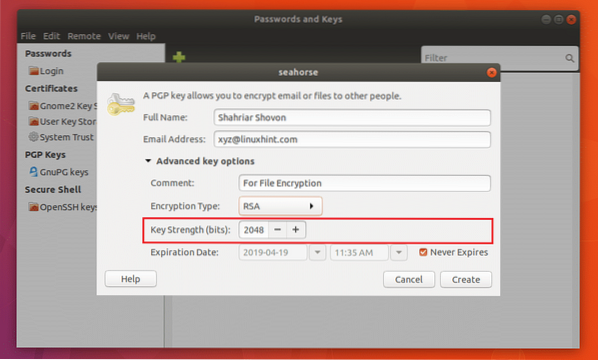
You may also click on Encryption Type to change the Encryption key type. The default is RSA. DSA ElGamal, DSA (sign only), RSA (sign only) encryption type is also available. If you don't know what that is, just leave the default.

You can change the Key Strength as well. The default is 2048 bits, which is good enough. The more bits it is, the more secure it will be. But increasing the bits will also result in slower encryption and decryption speed.
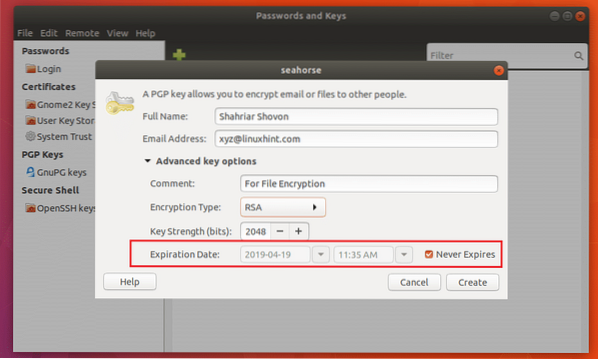
You can also set an Expiration Date for the key. But for File encryption, the default Never Expires is a good enough. You don't want your key to expire while you still have encrypted files. You probably won't be able to decrypt it then.
Once you're done, click on Create.
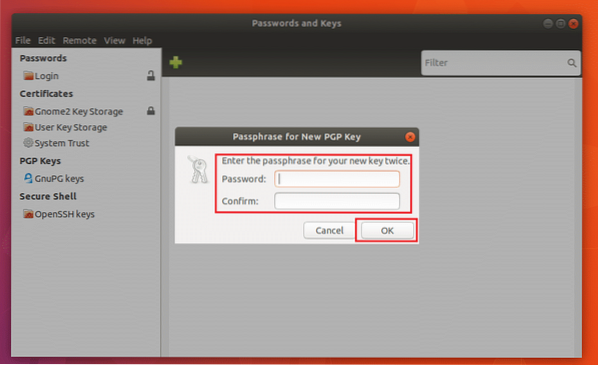
Now type in your secret Password and click on OK.
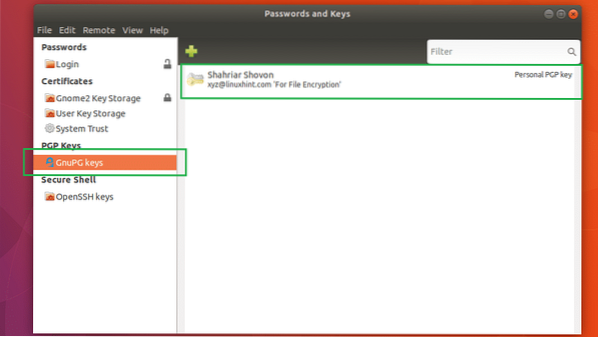
The key should be created as you can see in the screenshot below.
Exporting the Key
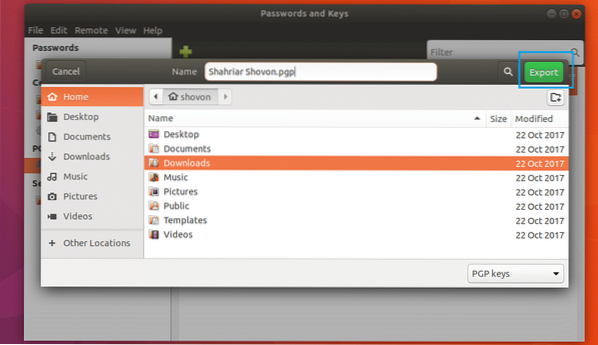
You may select the key and click on File and then click on Export to export the key. It's a good idea to keep a backup of your key.
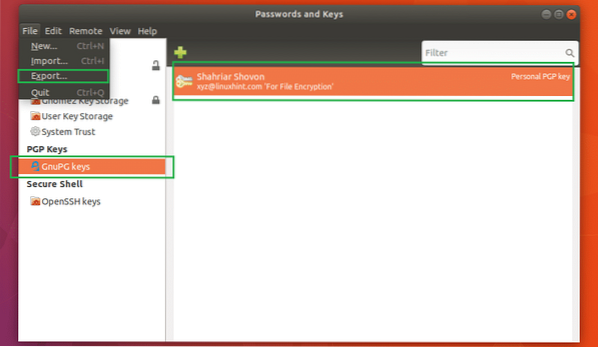
Select a location and name and then click on Export. The GPG key should be exported to the desired location.
Encrypting and Decrypting Files and Folders
Now you can open Nautilus file manager and encrypt files and folders.
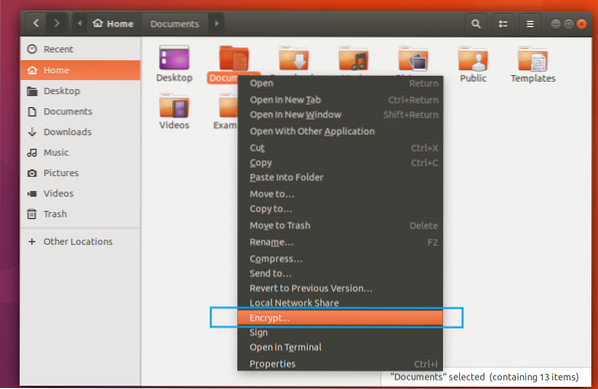
To encrypt a file or folder, right click on it and click on Encrypt… as marked in the screenshot below.
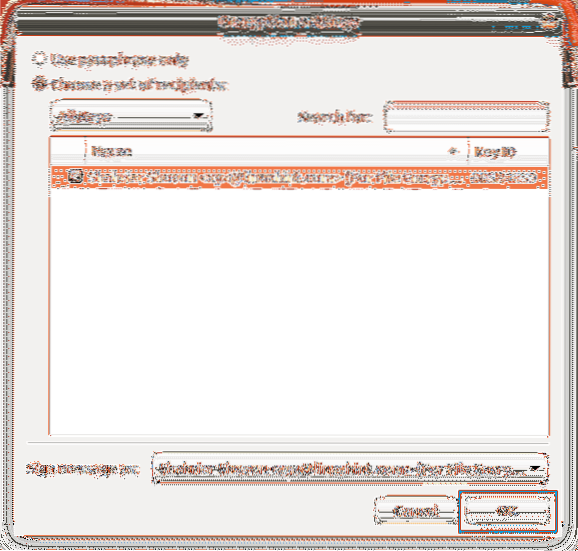
You should see the following window. Select the keys from the list that you want to be able to decrypt the file and folder. Select your own key if you only want yourself to decrypt the files and folders.
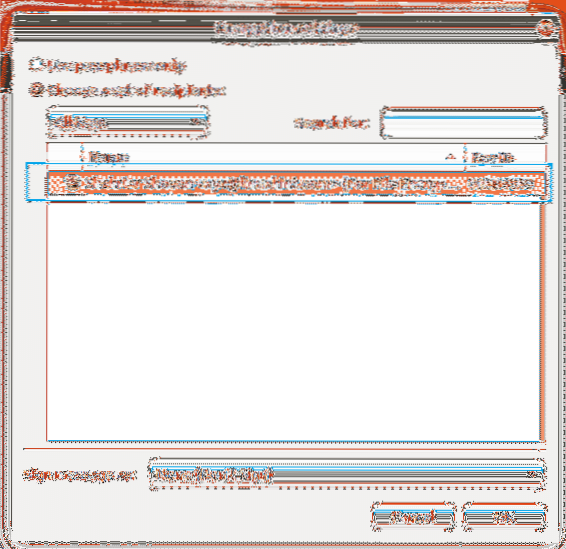
Now click on Sign message as drop down menu and select your key from the list.
Now click on OK.
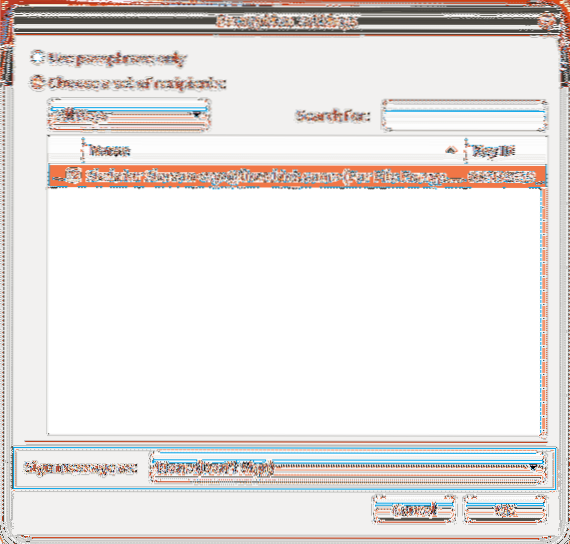
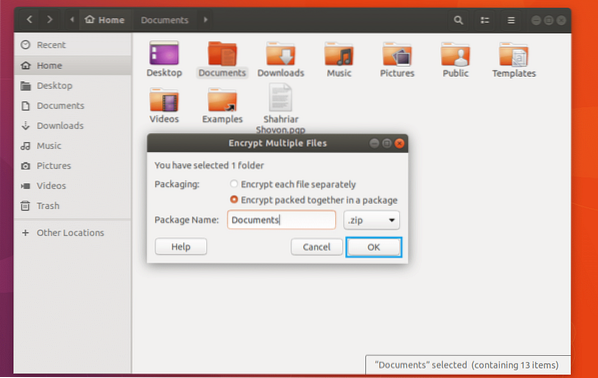
You should see the following window. You can select one of the radio buttons to encrypt each file separately or encrypt everything and generate a single compressed file. I will select the later.
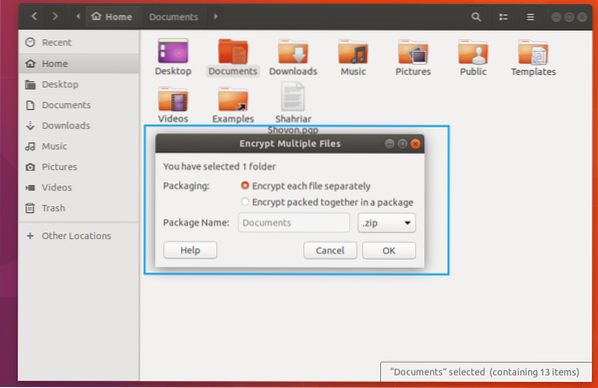
Once you're done, click on OK.
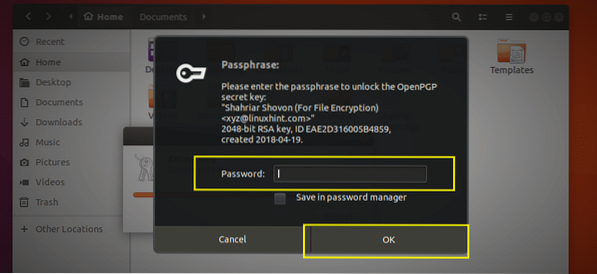
Now enter your key password and click on OK.
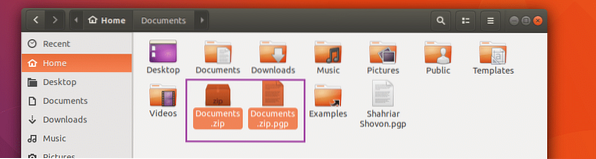
The file should be encrypted and two new file should be generated as you can see in the screenshot below. The file ending in .pgp is the encrypted file.
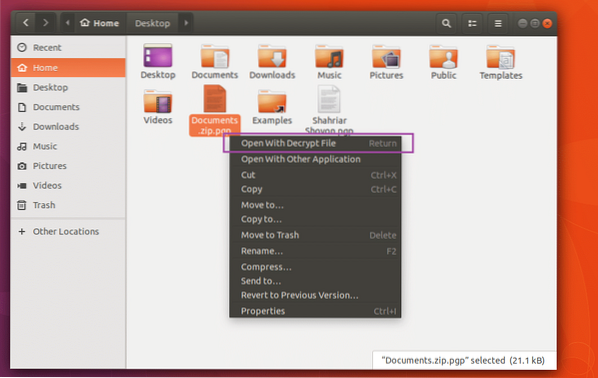
Now to decrypt the .pgp file, right click on it and click on Open With Decrypt File. It should ask you to enter the password. In my case it didn't. Because I have the public and private key pair configured on my computer with SeaHorse. Otherwise, it would've.
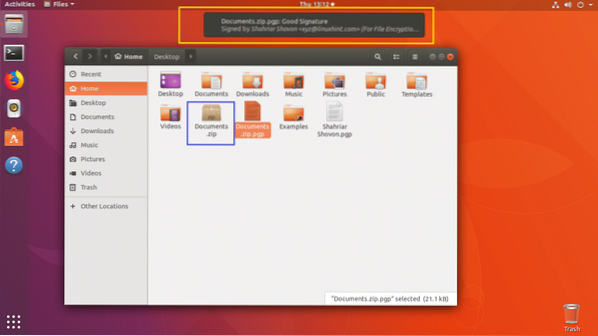
I deleted the Documents.zip file. As you can it re-appeared.
That's how you install and setup SeaHorse encryption on Ubuntu. Thank you for reading this article.


