System Requirements:
As OpenMediaVault is based on Debian, you can install it where you can install Debian. So, it supports a wide range of hardware.
You need at least 4 GB of disk space in order to install OpenMediaVault, 1GB of RAM (memory) and another hard drive or SSD for storing your files.
I recommend you install OpenMediaVault in a 4 GB USB thumb drive and use your hard drive or SSD as data drive.
Downloading OpenMediaVault ISO File:
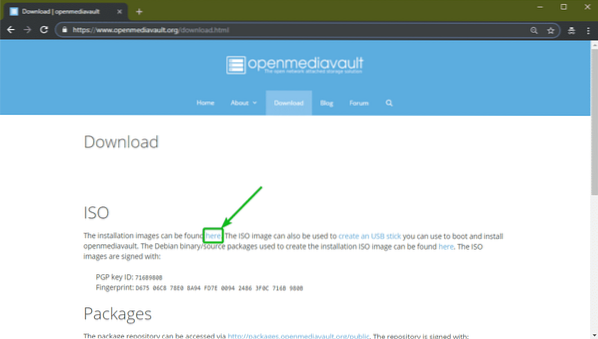
You can download the ISO file of OpenMediaVault for free from the official website of OpenMediaVault at https://www.openmediavault.org/download.html
Once the page loads, click on the link as marked in the screenshot below.
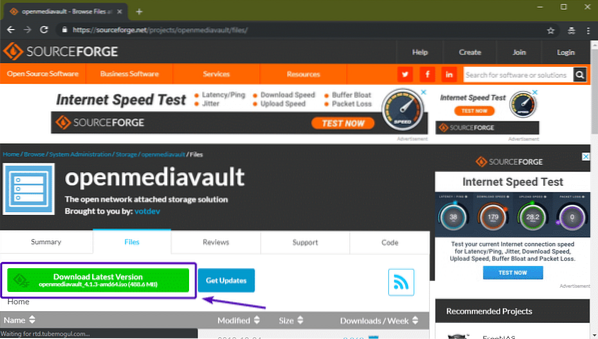
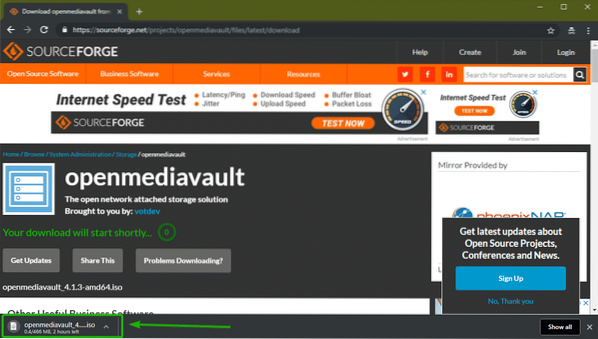
The OpenMediaVault ISO file should start downloading as you can see in the screenshot below. It may take a while to complete.
Making a Bootable USB Thumb Drive of OpenMediaVault:
Now, you have to make either a bootable USB thumb drive of OpenMediaVault from the ISO file or burn the ISO file in a CD/DVD in order to install OpenMediaVault on your computer.
In this section, I am going to show you how to make a bootable USB thumb drive of OpenMediaVault from the ISO image on Windows and Linux.
On Linux, you can easily make a bootable USB thumb drive of OpenMediaVault with the following command:
$ sudo dd if=~/Downloads/openmediavault_4.1.3-amd64.iso of=/dev/sdb bs=1MNOTE: Here, sdb is the USB thumb drive. You may use the command sudo lsblk to find out what it is for you.
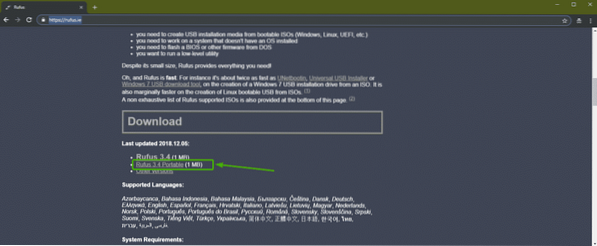
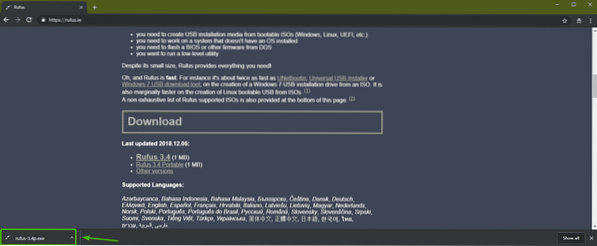
On Windows, you can use Rufus to make a USB bootable thumb drive. Rufus can be freely downloaded from the official website of Rufus at https://rufus.ie/
Once the page loads, click on Rufus Portable as marked in the screenshot below.
Rufus should be downloaded.
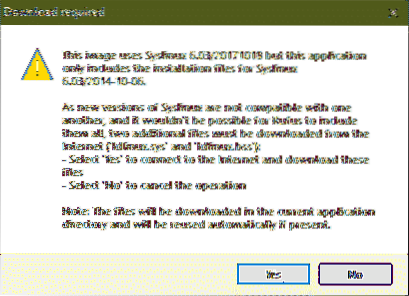
Now, run Rufus. Once you see the following window, click on No.

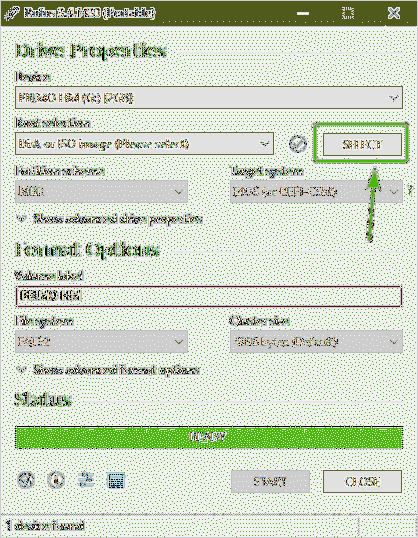
Now, click on SELECT.
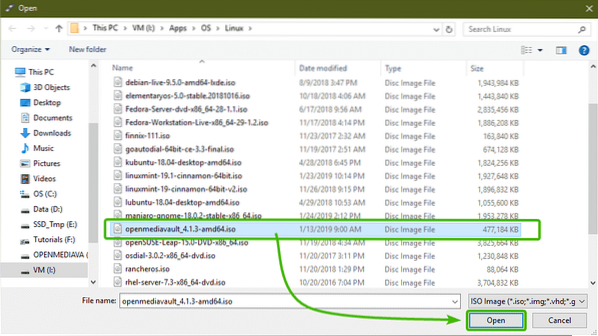
A file picker should be opened. Now, select the OpenMediaVault ISO file that you just downloaded and click on Open.
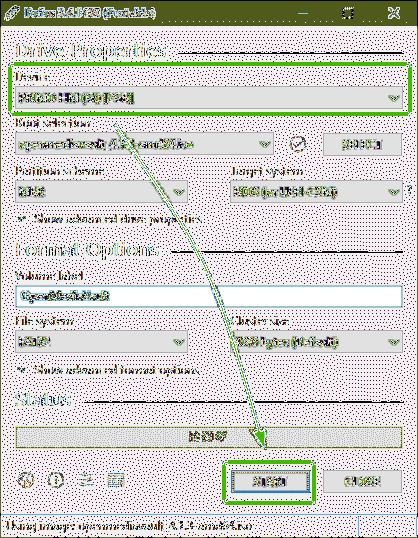
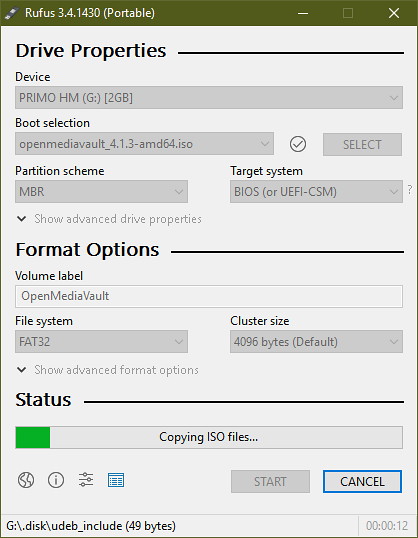
Now, make sure the right USB thumb drive is selected. Then, click on START.
Now, click on Yes.
Now, click on OK.

If you have important data on your USB thumb drive, move it somewhere safe. Then click on OK.

Rufus is copying all the necessary files to your USB thumb drive as you can see. It should take a while to complete.
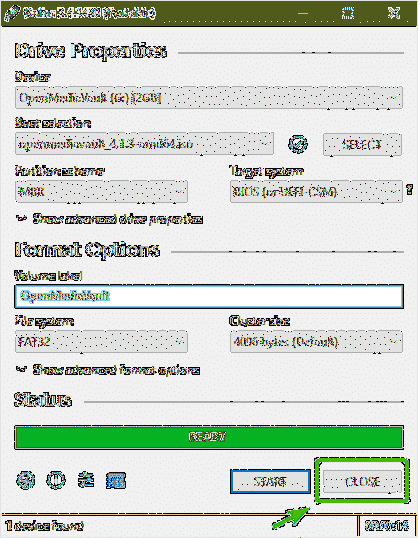
Once it's complete, click on CLOSE.
Installing OpenMediaVault:
Now, insert the bootable USB thumb drive on your computer and select it from the BIOS of your computer.
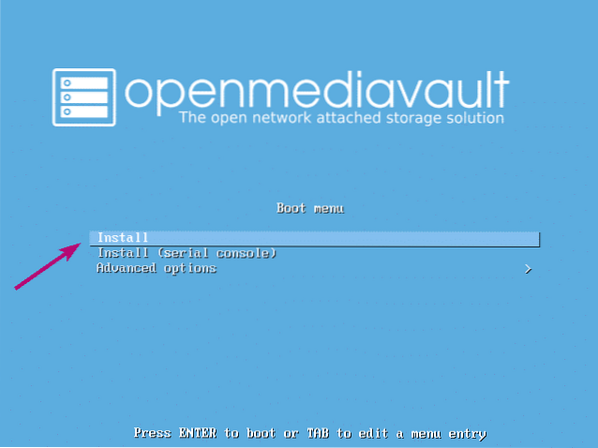
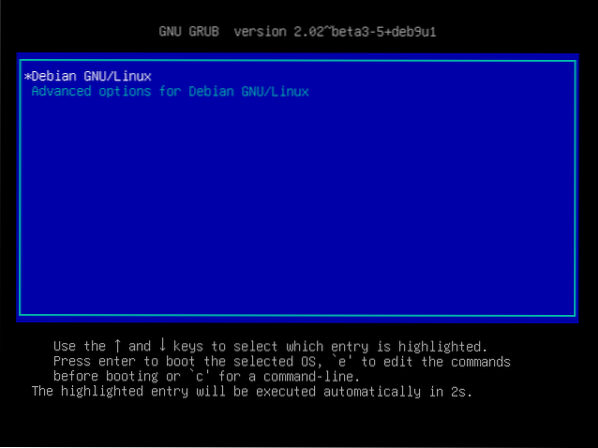
You should boot into the following GRUB menu. Select Install and press
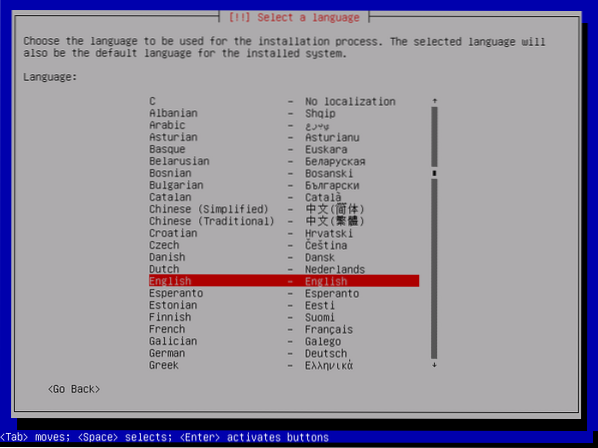
Now, select your language and press
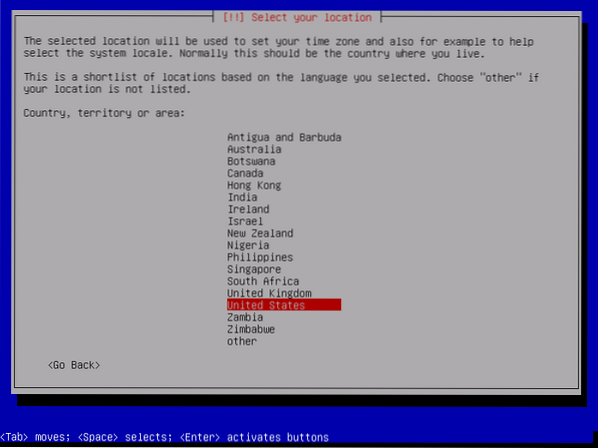
Now, select your location and press
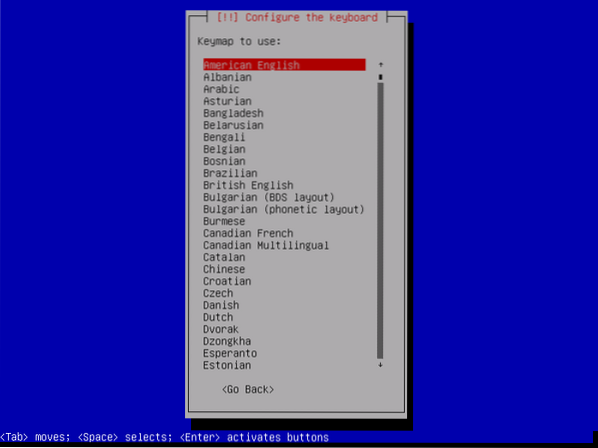
Now, select your keyboard layout and press
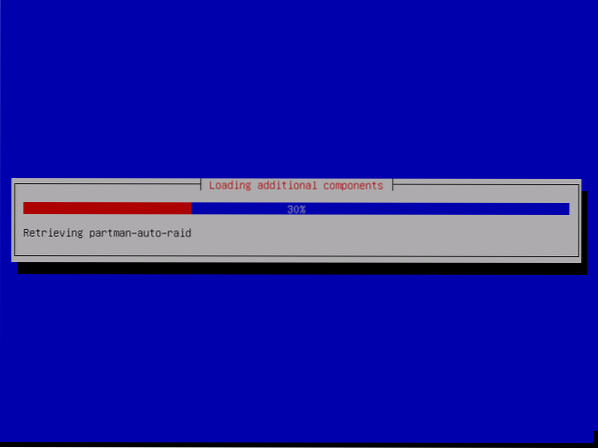
The installer should load all the required files from the USB thumb drive.
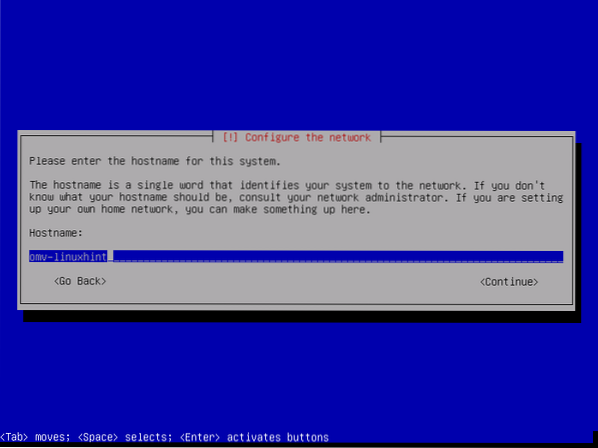
Now, type in the hostname and press
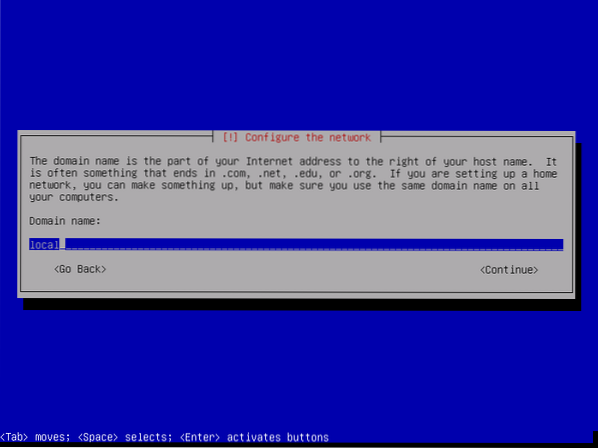
Now, type in your fully qualified domain name (FQDN) such as example.com and press
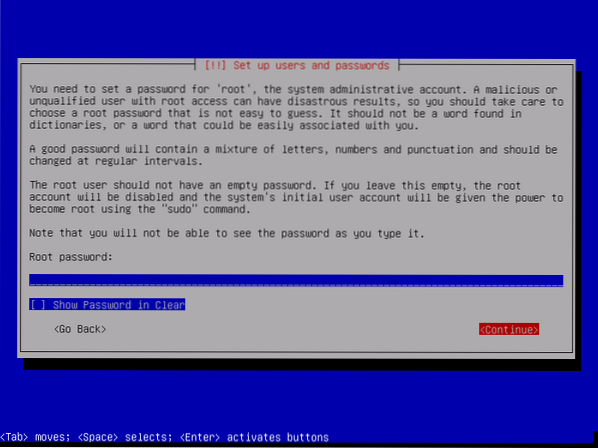
If you don't want to set up a root password for security reasons, then leave it empty and press
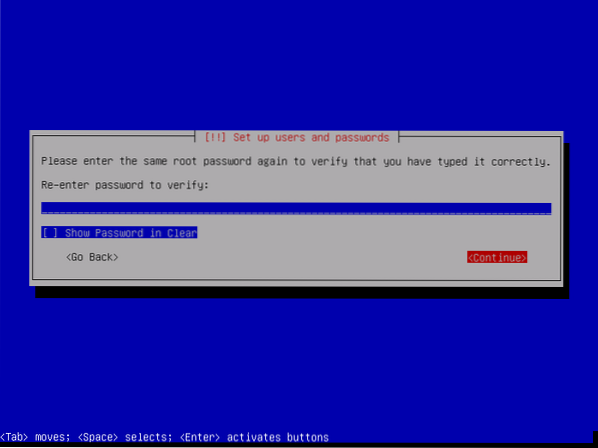
If you haven't set up a root password earlier, then leave it empty as well. Then press
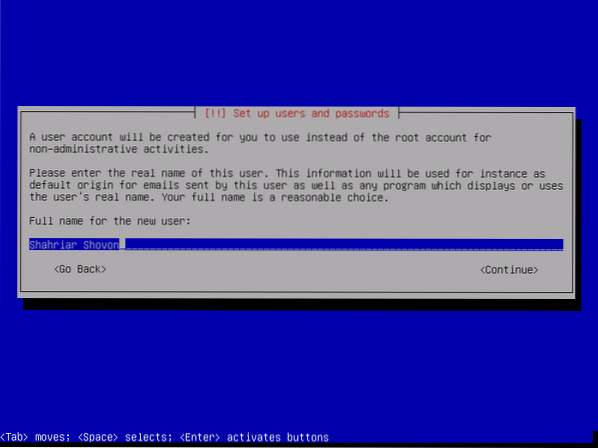
Now, type in your full name and press
Now, type in your username and press

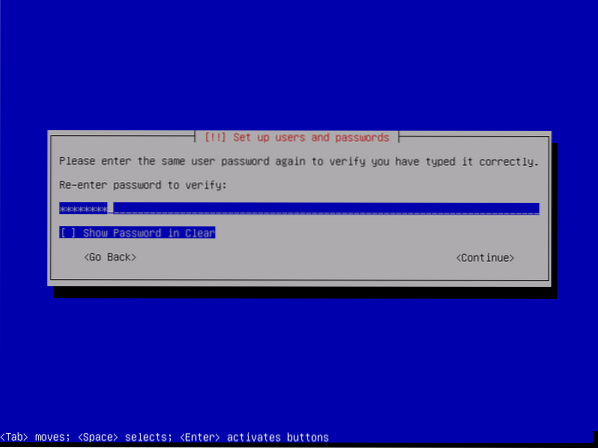
Now, type in the password of your login user and press

Now, type in the same password as you set earlier and press
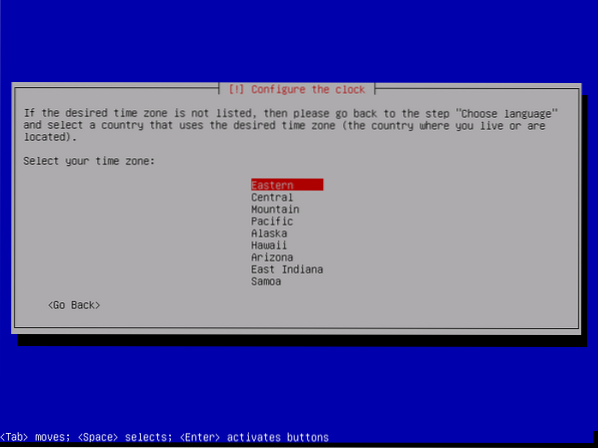
Now, select your time zone and press
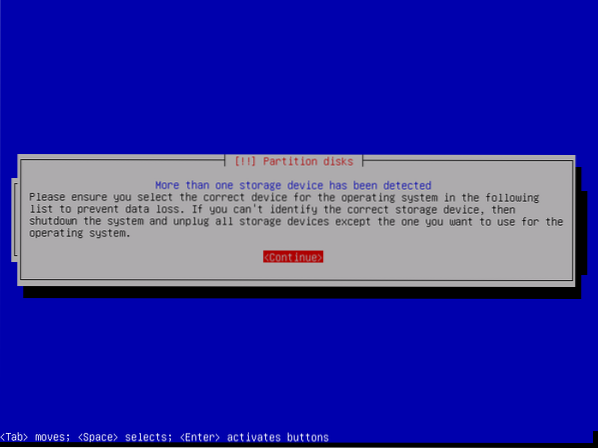
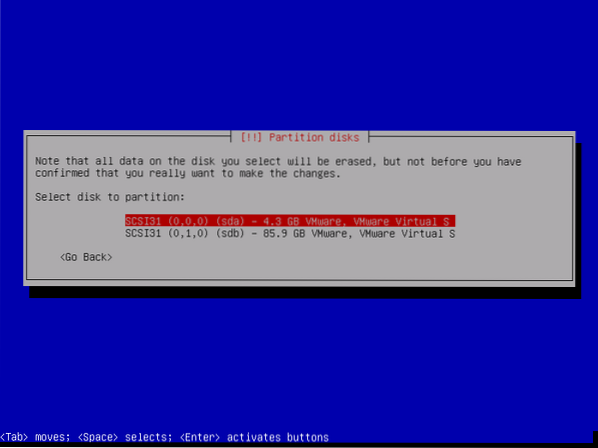
If you have more than one storage device attached to your computer, you should see the following message. Just press
Now, select the disk where you want to install OpenMediaVault and press
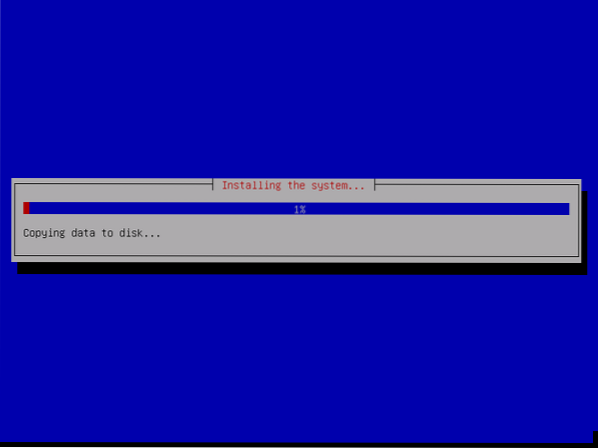
The installation should start.
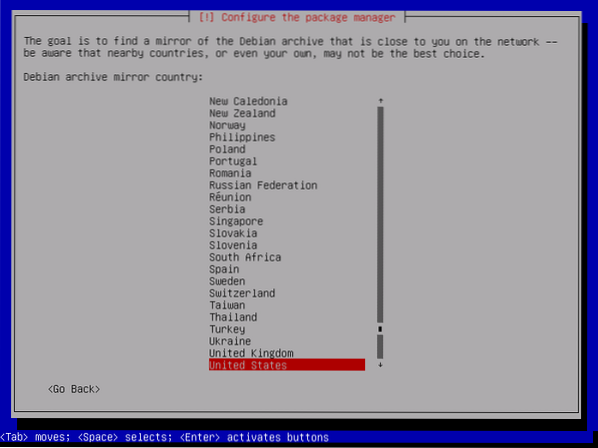
After a while, the installation will ask you to select a Debian mirror. Select your country from the list and press
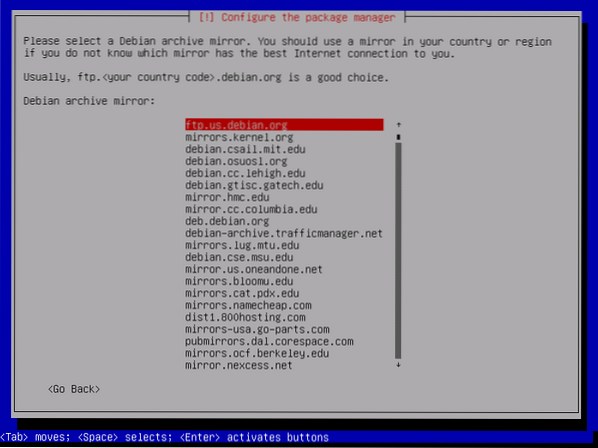
Now, select the Debian mirror and press
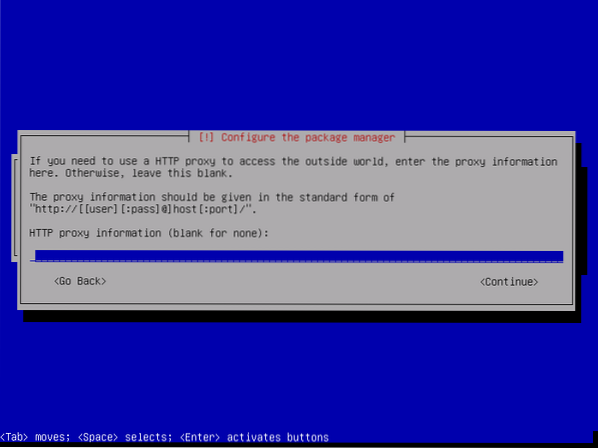
Usually, you don't need any proxy information. So, just press
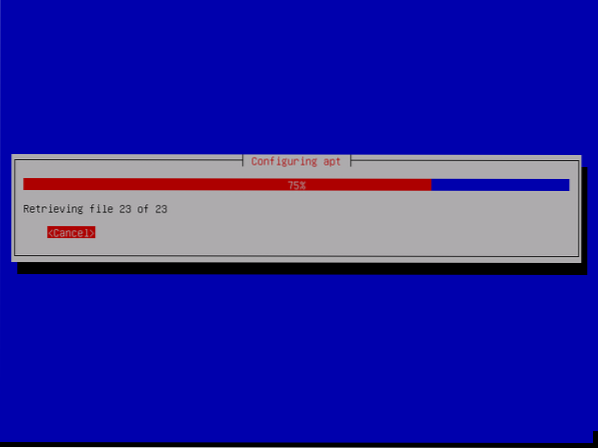
The installer should continue.
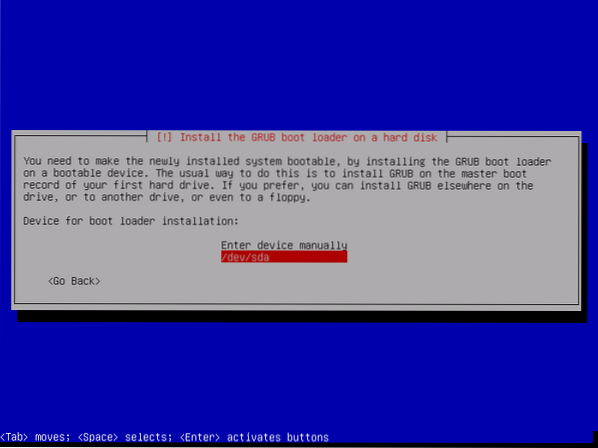
Once the installation is complete, it will ask you to select the location where you want to install GRUB bootloader. Just select the disk which you selected earlier and press
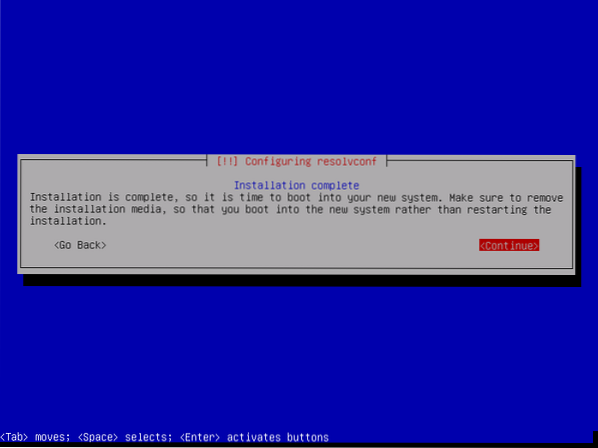
The installer should install GRUB bootloader and finish the installation. Once you see the following window, just press
Now, select Debian GNU/Linux from the GRUB menu and press
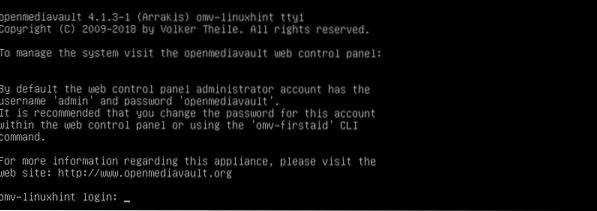
Now, you should be able to login with the username and password that you provided when you installed OpenMediaVault.
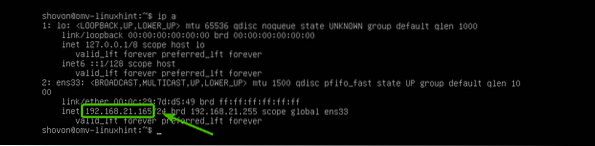
Once you're logged in, type in the following command to find out the IP address of the OpenMediaVault machine.
$ ip aAs you can see, the IP address is 192.168.21.165. It will be different in your case. So, make sure to replace it with yours from now on.
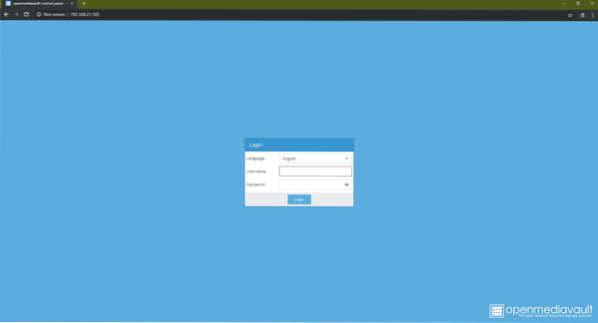
Now, from any web browser, visit http://192.168.21.165 and you should see the following page. The default username is admin and password is openmediavault. Type in the username and password and click on Login.
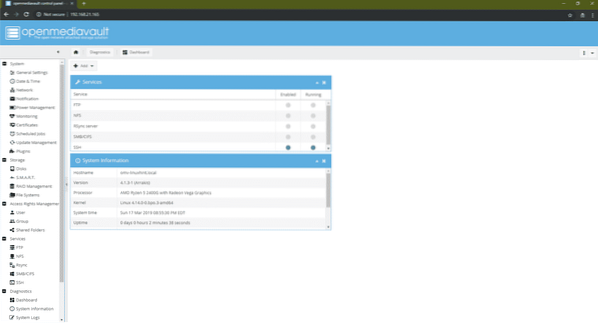
Once you're logged in, you should see the web based administration panel. From here, you can configure OpenMediaVault, manage disks, share folders, create users, and many more.
For more information on how to configure OpenMediaVault, you may take a look at my other article Setup OpenMediaVault on Raspberry Pi 3 (https://linuxhint.com/openmediavault_raspberry_pi_3/).
So, that's how you install OpenMediaVault NAS operating system. Thanks for reading this article.


