Installing Raspbian:
In this article, I will be using the Raspbian OS on my Raspberry Pi 3. It is based on Debian. It is the officially recommended operating system for Raspberry Pi devices.
I've written a dedicated article on installing Raspbian OS on Raspberry Pi 3. You can check it out at https://linuxhint.com/install_raspbian_raspberry_pi/ if you need any assistance.
Connecting to Raspberry Pi 3:
Once you have Raspbian installed on your Raspberry Pi 3, you can connect to your Raspberry Pi 3 using SSH. You will need to know the IP address of your Raspberry Pi 3 in order to do that. You should be able to find the IP address in your Routers web based administration interface.
In my case, the IP address is 192.168.2.6. Replace it with yours from now on.
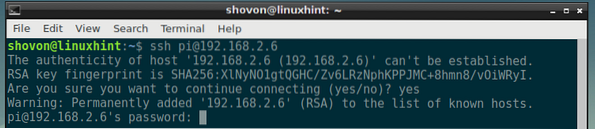
Now, connect to your Raspberry Pi 3 using SSH as follows:
$ ssh [email protected]
Now, type in yes and then press

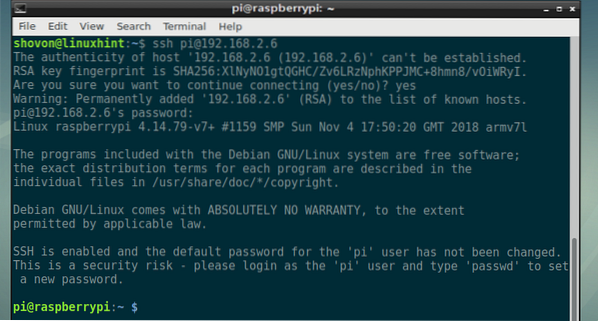
Now, type in the password of your Raspberry Pi 3 and press
You should be logged in.
Installing NextCloud on Raspberry Pi 3:
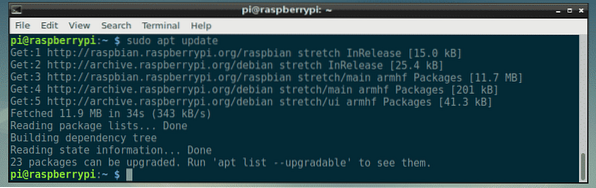
Now, update the APT package repository cache with the following command:
$ sudo apt update
The APT package repository cache should be updated.
Now, install Apache 2 web server, PHP, all the required PHP libraries and tools with the following command:
$ sudo apt install mlocate apache2 libapache2-mod-php mariadb-client mariadb-serverwget unzip bzip2 curl php php-common php-curl php-gd php-mbstring php-mysql php-xml
php-zip php-intl php-apcu php-redis php-http-request

Now, press y and then press
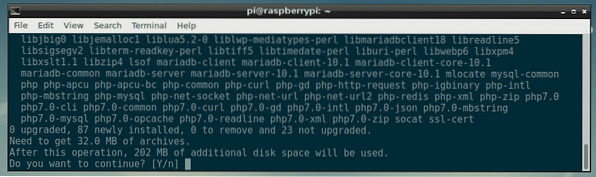
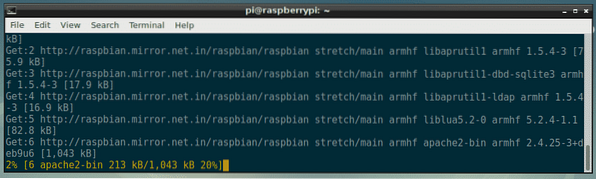
All the packages are being downloaded.
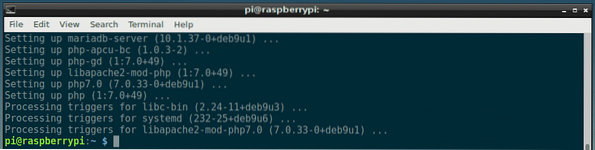
All the required packages should be installed at this point.
Now, you have to create a new Apache 2 virtual host configuration file for NextCloud.
You can create a new configuration file nextcloud.conf with the following command:
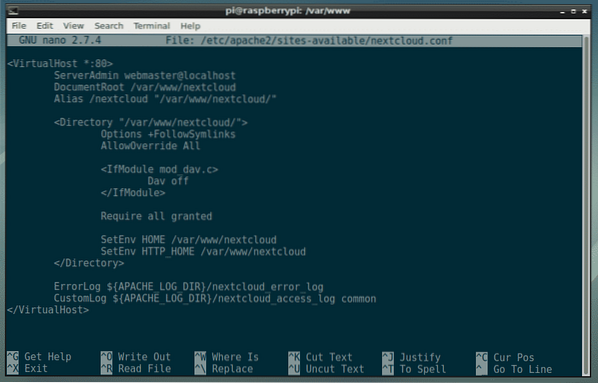
$ sudo nano /etc/apache2/sites-available/nextcloud.conf
Now, type in the following lines and save the file by pressing
ServerAdmin webmaster@localhost
DocumentRoot /var/www/nextcloud
Alias /nextcloud "/var/www/nextcloud/"
Options +FollowSymlinks
AllowOverride All
Dav off
Require all granted
SetEnv HOME /var/www/nextcloud
SetEnv HTTP_HOME /var/www/nextcloud
ErrorLog $APACHE_LOG_DIR/nextcloud_error_log
CustomLog $APACHE_LOG_DIR/nextcloud_access_log common
Now, you have to create a new MariaDB database and user for NextCloud.
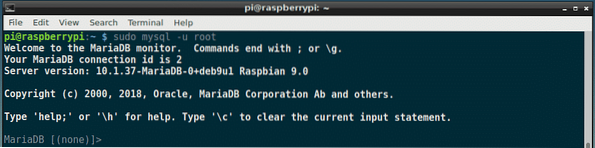
To do that, first login to your MariaDB console with the following command:
$ sudo mysql -u root
You should see be logged in.
Now, create a new MariaDB database nextcloud with the following command:
MariaDB [(none)]> CREATE DATABASE nextcloud;
Now, create a new MariaDB user nextcloud and also set a password for the new user with the following command:
MariaDB [(none)]> CREATE USER 'nextcloud'@'localhost' IDENTIFIED BY 'YOUR_PASSWORD_HERE';NOTE: Replace YOUR_PASSWORD_HERE with the password you want to set for the MariaDB user nextcloud. I will set it to nextcloud in this article for simplicity.

Now, assign all the required permissions of the database nextcloud to the MariaDB user nextcloud with the following command:
MariaDB [(none)]> GRANT ALL PRIVILEGES ON nextcloud.* TO 'nextcloud'@'localhost';
Now, run the following command to apply the changes:
MariaDB [(none)]> FLUSH PRIVILEGES;
Now, exit out of the MariaDB console with the following command:
MariaDB [(none)]> exit
Now, navigate to the /var/www directory with the following command:
$ cd /var/www
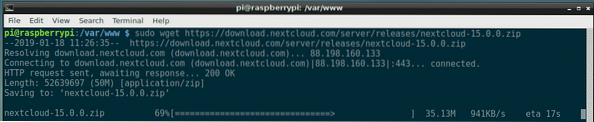
Now, download NextCloud zip archive with the following command:
$ sudo wget https://download.nextcloud.com/server/releases/nextcloud-15.0.0.zip
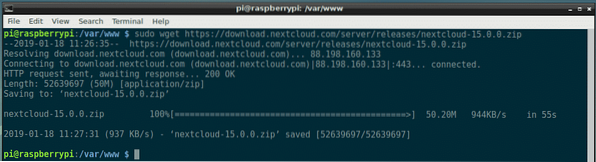
NextCloud zip archive is being downloaded.
NexCloud zip archive should be downloaded.
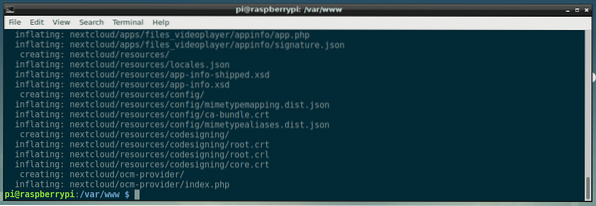
Now, run the following command to unzip the NextCloud archive:
$ sudo unzip nextcloud-15.0.0.zip
The archive should be extracted.
Now, create a new data directory for NextCloud with the following command:
$ sudo mkdir nextcloud/data
Now, change the owner and group of the files and directories inside the nextcloud/ directory to www-data with the following command:
$ sudo chown -R www-data:www-data nextcloud
Now, enable the nextcloud.conf site configuration with the following command:
$ sudo a2ensite nextcloud.conf
Now, disable the default site configuration 000-default.conf with the following command:
$ sudo a2dissite 000-default.conf
Now, restart the apache2 service with the following command:
$ sudo systemctl restart apache2
Now, add apache2 and mariadb services to the system startup with the following command:
$ sudo systemctl enable apache2 mariadb
NextCloud should be installed.
Configuring NextCloud:
Now, you have to configure NextCloud from a web browser. To do that, visit http://192.168.2.6/nextcloud from your favorite web browser. You should see the following page.
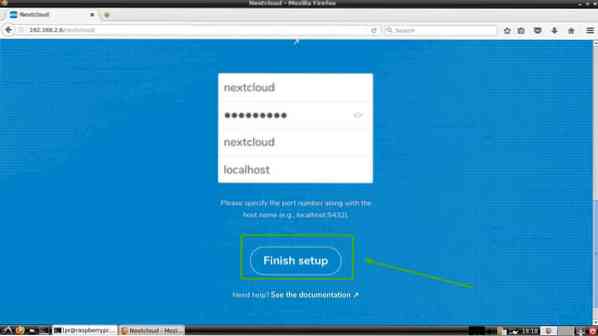
From here, you have to create an administrator account. Type in the username and password for your new administrator account and scroll down a little bit.

Now, type in your MariaDB database details. Finally, click on Finish setup as marked in the screenshot below.
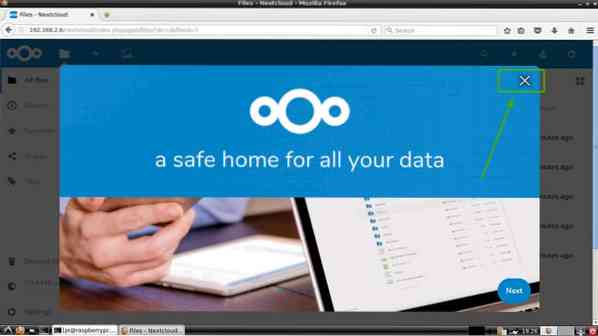
You should be logged in to your NextCloud account as administrator. Now, click on the X icon to close the popup window as marked in the screenshot below.
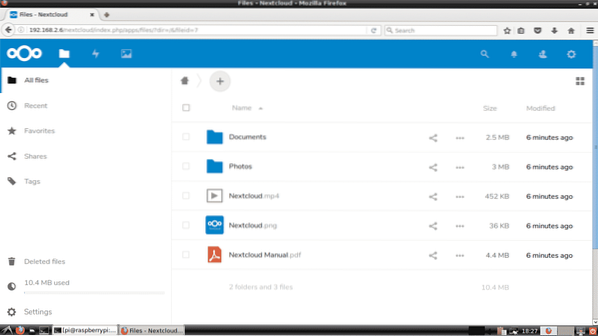
You should see the NextCloud dashboard. From here, you can create new users, upload files, and other administrative tasks.
So, that's how you install NextCloud on Raspberry Pi 3. Thanks for reading this article.


