
Minecraft is one of the most famous building games in the world developed by Microsoft Studious. In this game, you are allowed to build anything you need and explore it in a 3D world.
In this tutorial, we will walk you through the installation and configuration of the Minecraft Server on Ubuntu, that will allow playing with other players online.
Before starting the installation of the Minecraft Server, we recommend first to ensure that your Ubuntu is up-to-date using the following commands:
sudo apt update sudo apt upgrade
Setting up Minecraft Server on Ubuntu
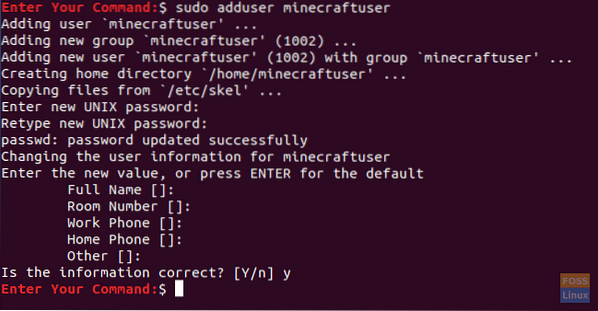
Step 1. Let's start by creating a new user for the Minecraft Server.
sudo adduser minecraftuser
Step 2. Add the new “minecraftuser” to the “sudo” group.
sudo usermod -aG sudo minecraftuser

Step 3. Now, let's switch to the newly created “minecraftuser” using the subsequent command.
su - minecraftuser

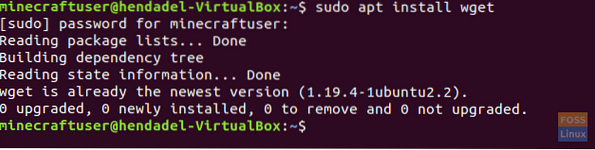
Step 4. Make sure that you have the wget package installed, if not you can install it using the following command.
sudo apt install wget
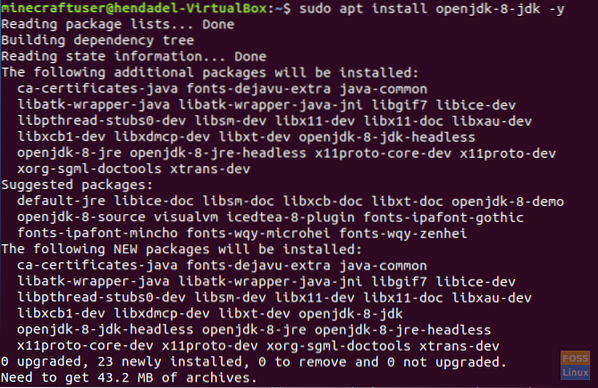
Step 5. Install the java package that will be used on the Minecraft Server.
sudo apt install openjdk-8-jdk -y
Step 6. After installing the java successfully, you can check its version to ensure that it is installed.
sudo java -version

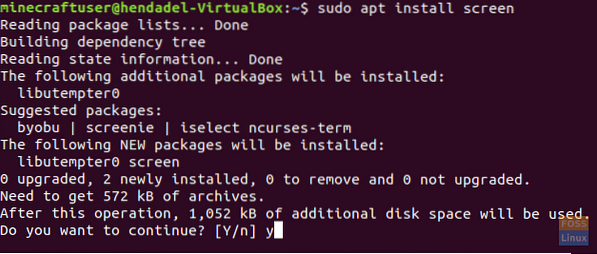
Step 7. (This is an optional step.) In case you need the Minecraft server to run in the background, download the “screen” package using the following command.
sudo apt install screen
Step 8. Next, we will create a new directory to keep our Minecraft Server files in it.
sudo mkdir minecraftdir

Step 9. Move to the newly created Minecraft directory.
cd minecraftdir

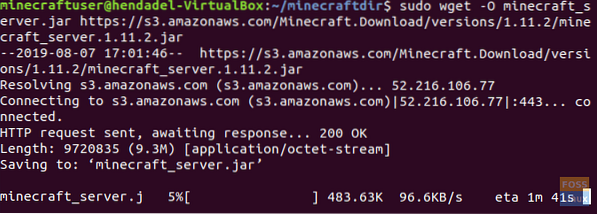
Step 10. Next, we are going to download the Minecraft Server. But be careful to replace the following URL with the latest release of Minecraft website (Click here!!)
sudo wget -O minecraft_server.jar https://s3.amazonaws.com/Minecraft.Download/versions/1.11.2/minecraft_server.1.11.2.jar
Step 11. Set permissions on the downloaded Minecraft Server to be executable.
sudo chmod +x minecraft_server.jar

Step 12. You need to create the eula.txt file and agree to the license agreement conditions.
sudo vi eula.txt

Step 13. Add the following line “eula=true” to the created “eula.txt” file. The file should look like the below screenshot.

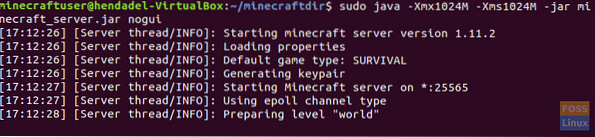
Step 14. Now you can start the Minecraft Server using the subsequent command.
sudo java -Xmx1024M -Xms1024M -jar minecraft_server.jar nogui
This command will allow you to start the Minecraft Server with an allocated memory 1024MB. In case you need to increase this allocated memory, you can change the “-Xmx” parameter with your desired value.
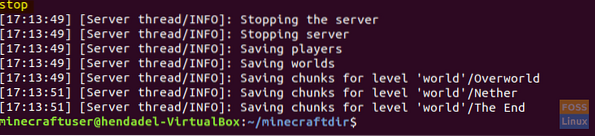
Step 15. To stop the currently running Minecraft Server you can use the stop command.
stop
Step 16. (This is an optional step.) If you need to run the Minecraft Server in the background, you can use the screen command as following:
sudo screen -S "Minecraft Server Screen"

Next, run the java command to start the Minecraft Server.
sudo java -Xmx1024M -Xms1024M -jar minecraft_server.jar nogui
To exit the screen window, you will need to press the following keys:
CTRL+A+D
The output will look like the below screenshot:

To return to the screen window, use the following command.
sudo screen -r
Congratulations you have just learned how to install the Minecraft Server on your Ubuntu.


