GNS3 supports CISCO IOS, Juniper emulation. This is one of the low cost way to set up a home lab and learn for the CISCO and Juniper certifications as well.
In this article, I will show you how to install and setup GNS3 on Linux. I will show you how to set it up on Debian 9 Stretch. But the process should be similar for other Linux distributions. Let's get started.
Adding GPG Key of GNS3 Package Repository:
The first thing you want to do is add the GPG key of GNS3 package repository on your Debian 9 machine. To do that, dirmngr package must be installed.
First update the APT package repository cache of your Debian 9 machine with the following command:
$ sudo apt update
Now install dirmngr package on Debian 9 with the following command:
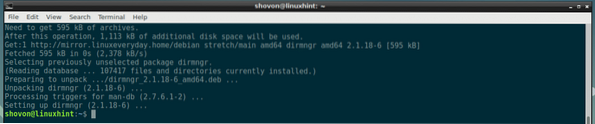
$ sudo apt install dirmngr
dirmngr should be installed.
Now add the GPG key of the GNS3 package repository on your Debian 9 machine with the following command:
$ sudo apt-key adv --keyserver keyserver.ubuntu.com --recv-keysF88F6D313016330404F710FC9A2FD067A2E3EF7B

The GPG key should be added.

Adding Package Repository:
Now add the GNS3 package repository on your Debian 9 machine with the following command:
$ echo "deb http://ppa.launchpad.net/gns3/ppa/ubuntu xenial main" |sudo tee /etc/apt/sources.list.d/gns3.list

The GNS3 package repository should be added.

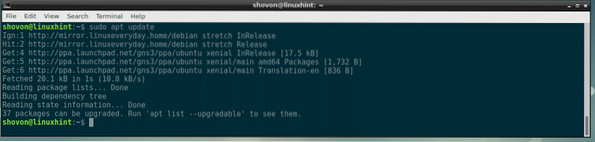
Now update the APT package repository cache with the following command:
$ sudo apt update
The APT package repository cache should be updated.
Installing GNS3 on Debian 9 Stretch:
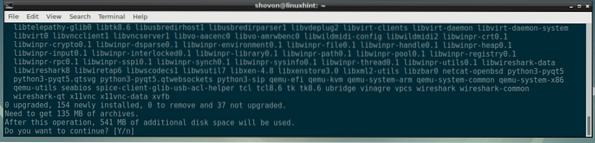
Now you can install GNS3 on your Debian 9 machine with the following command:
$ sudo apt install gns3-gui
Now press y and then press
When you see the following dialog message, select
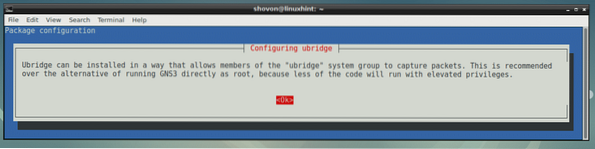
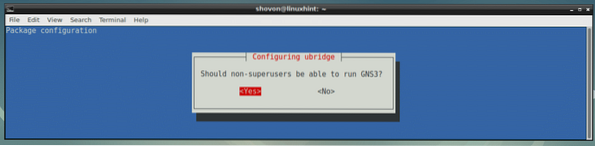
If you want ordinary users to run GNS3, then select
Now select

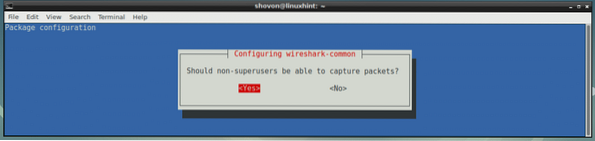
If you want ordinary users to use Wireshark to capture network packets, select
On a production environment, just select
GNS3 should be installed.

Now reboot your computer with the following command:
$ sudo rebootStarting GNS3:
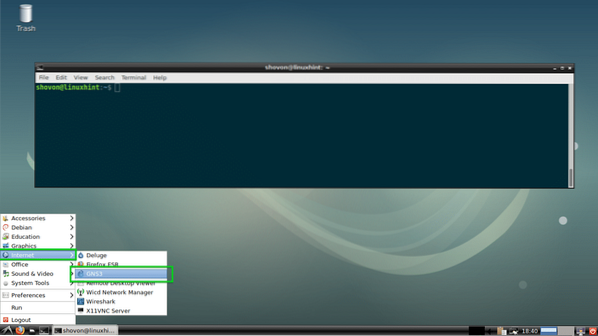
Once your computer boots, you should be able to find GNS3 on the Application Menu of your Debian 9 machine as you can see in the screenshot below. Click on the GNS3 icon.
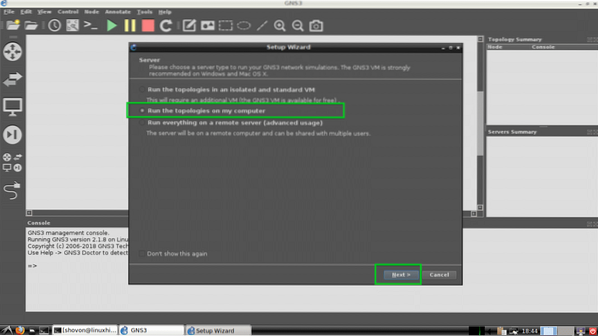
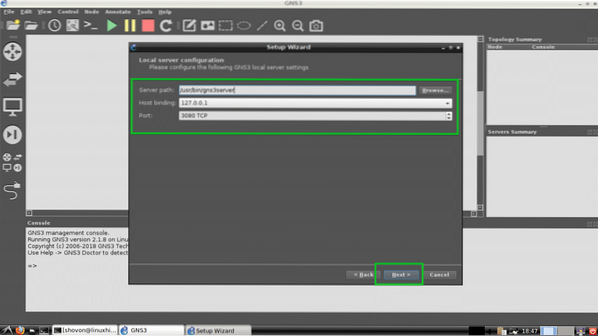
GNS3 should start. As you're running GNS3 for the first time, a Setup Wizard should start. From here you can configure GNS3. Select Run the topologies on my computer and click on Next > as marked in the screenshot below.
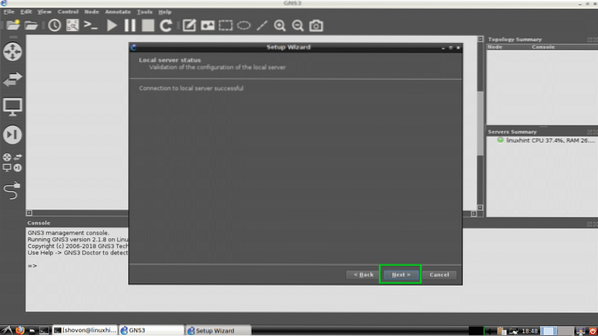
If you have no idea what these are, leave the defaults and click on Next > as marked in the screenshot below.
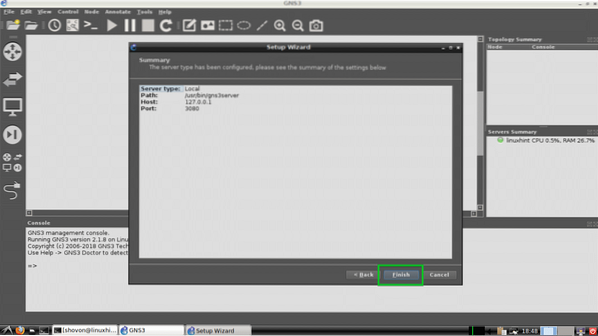
Now click on Next >.
Now click on Finish.
You can add many appliances/devices to GNS3. We are not going to add any right now. So just click on OK.

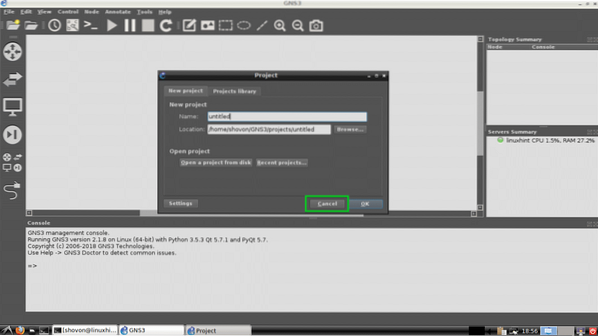
You should be asked to create a new project now. Just click on Cancel for now.
GNS3 should main window should look like this.

Changing Default Project Directory:
By default, the default project directory of GNS3 is in the ~/GNS3/ directory on your user's HOME directory. In my case, it is /home/Shovon/GNS3
If you need to, you can change it.
First create a new GNS3 directory. Let's say it's in /media/GNS3.
Now create 4 more directories inside /media/GNS3 and name them projects/ symbols/ configs/ and appliances/

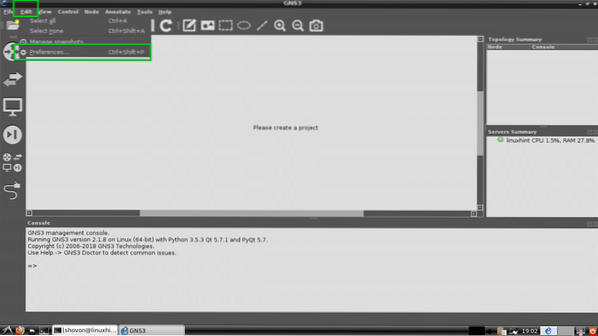
Now go to Edit > Preferences from GNS3 as marked in the screenshot below.
Now from the General section's General tab, change all 4 of these marked directories to your projects/ symbols/ configs/ and appliances/ subdirectories of your new GNS3 directory.
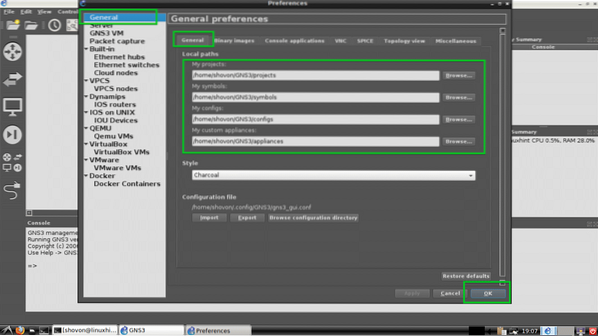
You project directory should be changed.
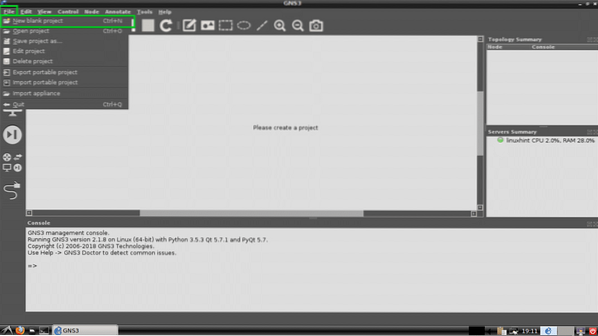
Creating a New Project:
Now to create a new GNS3 project, go to File > New blank project as marked in the screenshot below.
Now type in your project Name and click on OK.

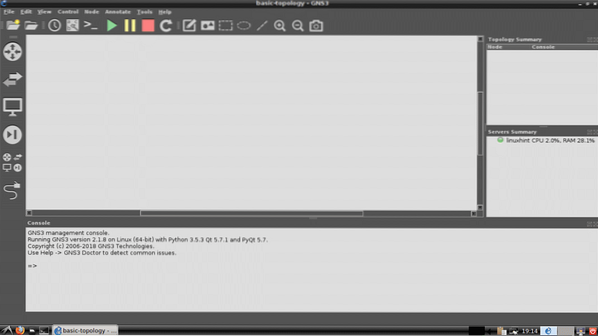
A new project should be created.
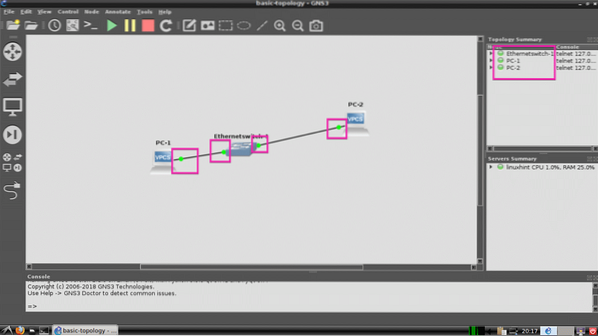
Creating a Basic Network Topology with GNS3:
Now I am going to create a basic network topology with GNS3. I will setup a basic Switch and 2 virtual PC and connect them together and see if I can communicate.
First, I will pick an Ethernet Switch. Press
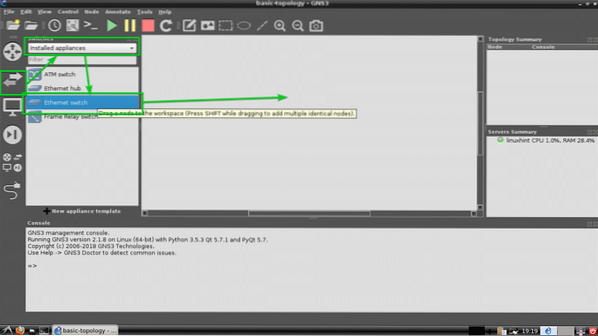
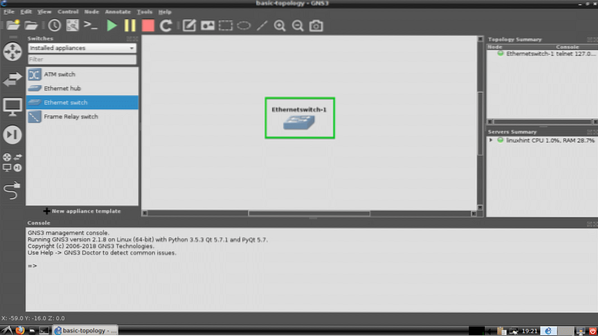
The Ethernet Switch should be added as you can see.
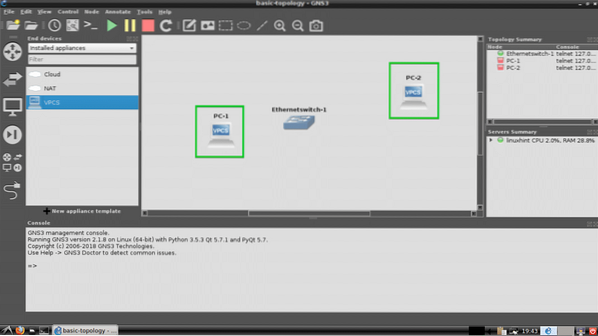
Now I am going to add 2 virtual PCs (VPCS). Just click, select, drag and drop them on the project workspace. The procedures of where to find VPCS in marked in the screenshot below.

As you can see, two VPCS PC-1 and PC-2 are added.
To select the Wire tool and then click on PC-1. Now select Ethernet0 and then click on the Switch. The procedures are marked in the screenshot below.
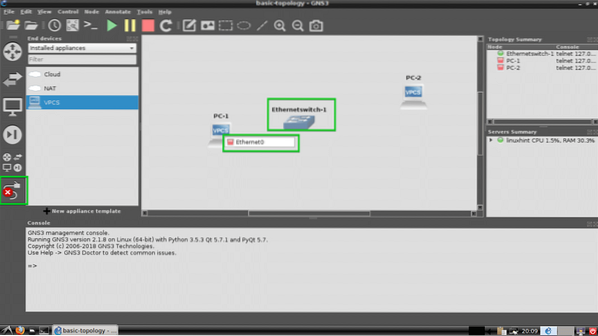
Now select an Ethernet port such as Ethernet0 on the Switch.
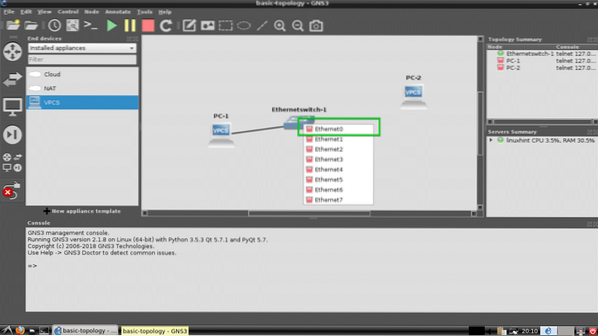
PC-1 should be connected to the Switch.
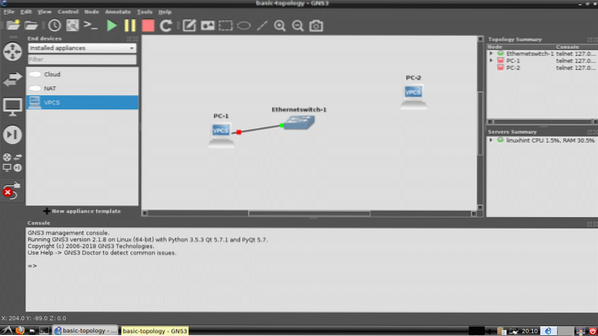
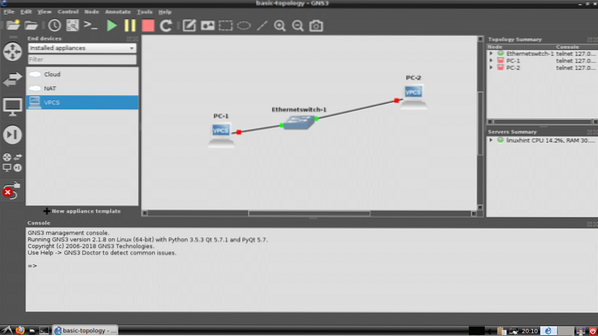
Now connect PC-2 with the Switch the same way.
Now click on the Play button to start simulation.
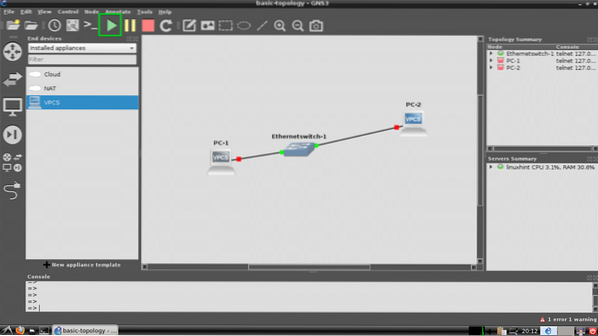
All the dots should be green.
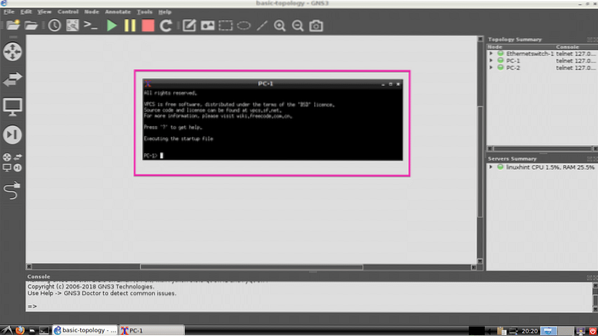
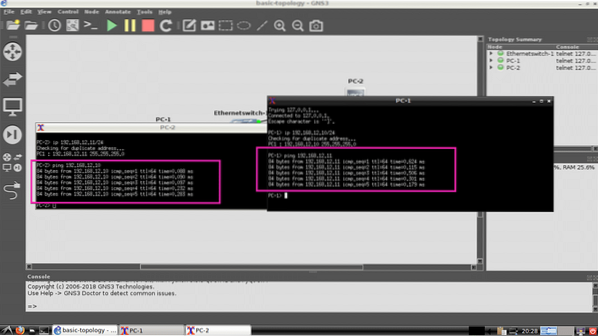
Now right click on PC-1 and select Console.
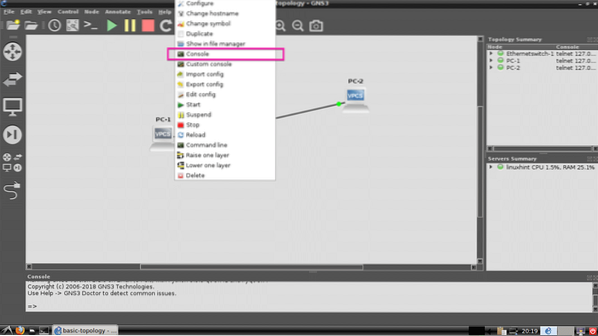
The PC-1's console should open and here you can type in simple commands to set up IP address and ping other devices.
I am going to set up IP to PC-1 and PC-2 now with the following commands:
PC-1:
PC-1> ip 192.168.12.10/24PC-2:
PC-2> ip 192.168.12.11/24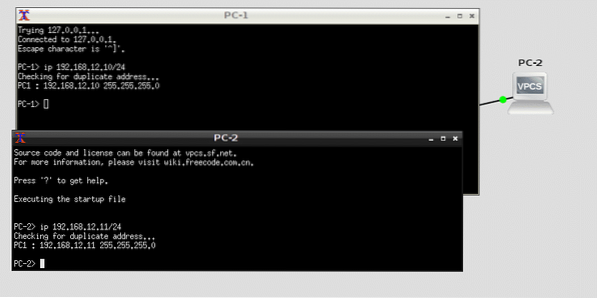
Now let's try to ping PC-1 from PC-2 and PC-2 from PC-1 and see what happens.
PC-1> ping 192.168.12.11PC-2> ping 192.168.12.10
As you can see, the pings are successful. So our simple topology is working correctly.
That's how you install, setup and use GNS3 on Debian 9 GNU/Linux. Thanks for reading this article.

