FreeBSD is one of the many open-source distributions of the Berkeley Software Distribution (BSD) Kernel. Since BSD is an iteration of Research Unix, FreeBSD is said to be a Unix-like operating system. It can be used on pretty much any processor adaptive to Intel's x86 architecture. Other builds that can run it includes amd64, PC-98, Alpha/AXP, and IA-64. It is known for being more reliable and faster than Linux, hence used as an alternative to Linux. It is favored by manufacturing companies, and such other entities, because of its licensing system, which allows them to modify the kernel without having to make the changes open-source.
This tutorial is about installing FreeBSD 12 on VirtualBox. The instructions here are universal to almost all other hypervisors.
Pre-requisites
First, get the FreeBSD 12 image before you proceed to install; use the link below:
$ wget http://ftp.freebsd.org/pub/FreeBSD/releases/ISO-IMAGES/12.2/FreeBSD-12.2-RELEASE-amd64-memstick.imgThen create a bootable FreeBSD 12 USB with the command below:
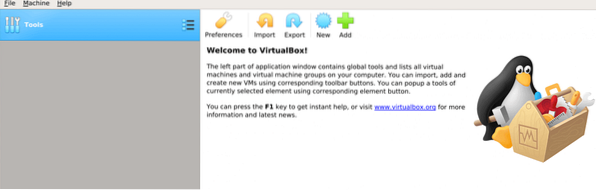
$ sudo dd if=FreeBSD-12.2-RELEASE-amd64-memstick.img of=/dev/sdb bs=1M conv=syncNow, Fire-up VirtualBox and click the New button to start creating a Virtual machine.
Name your Virtual Machine, then select the operating system type:

Then allocate the appropriate disk space for installation:

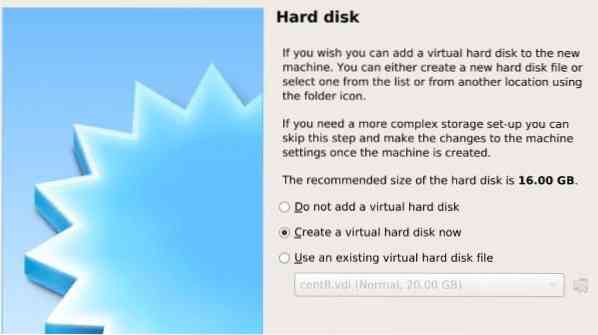
After that, proceed to select a hard disk:
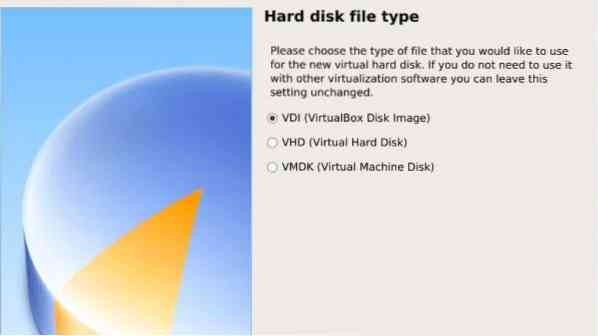
Select a file type for this hard disk:
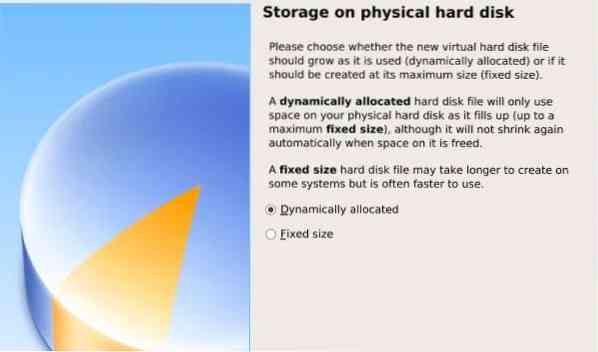
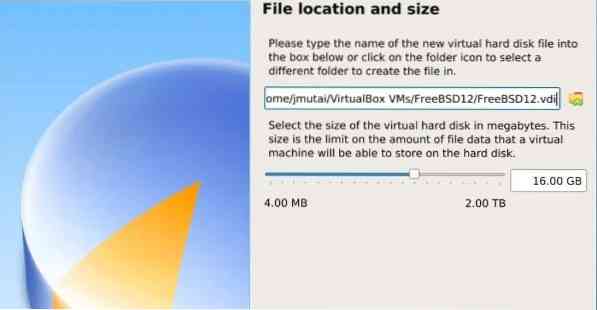
The next step is to choose between dynamic and fixed-sized installation. The Dynamic allocation allows the hard disk file to accumulate in size, whereas fixing the HDD file size creates the file at maximum size.
Then name your virtual HDD file and select a size for it:
The template for your virtual machine is up and ready to go.

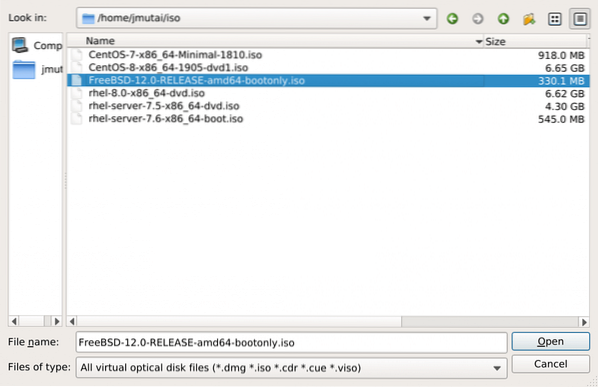
Click the green button labeled start and select an ISO image path:
Installing FreeBSD
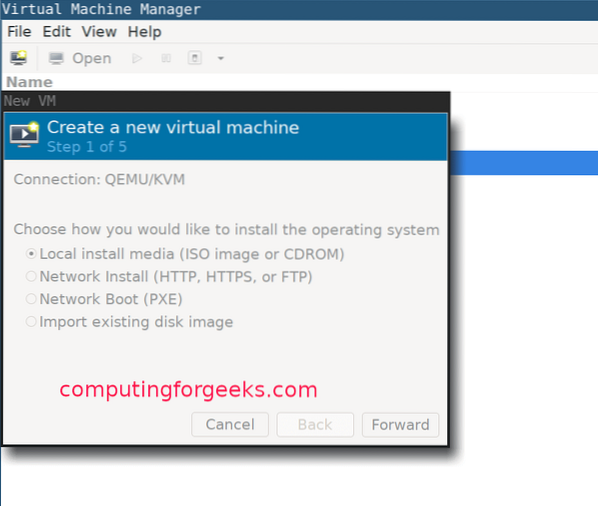
Create a new virtual machine, as follows:
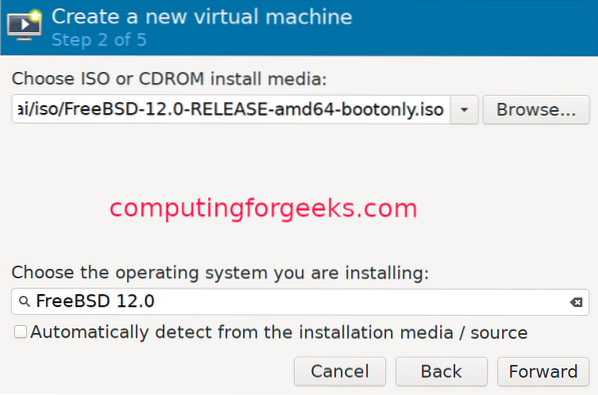
Select the operating system type:
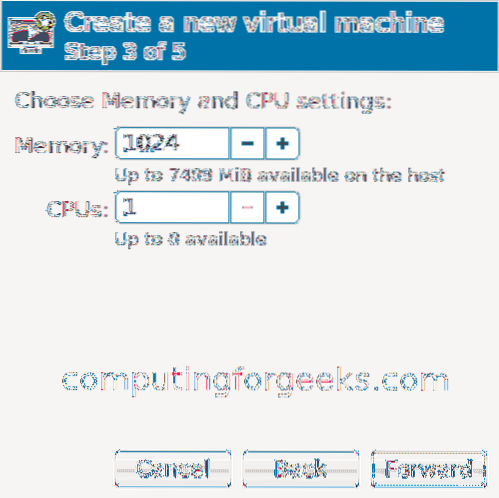
Allocate some memory to your virtual machine and configure CPU settings:
Allocate a disk size for your VM:

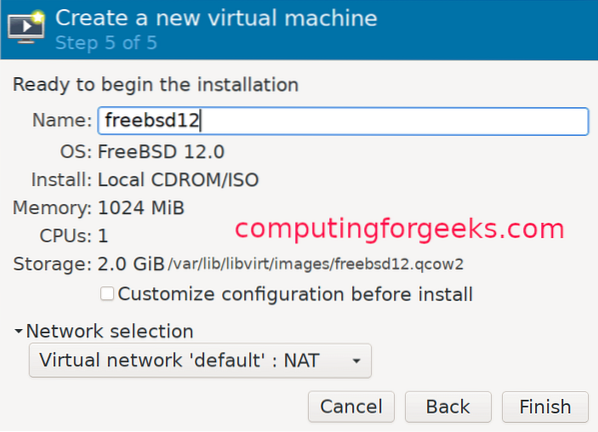
Give your VM a name:
FreeBSD KVM installation guide
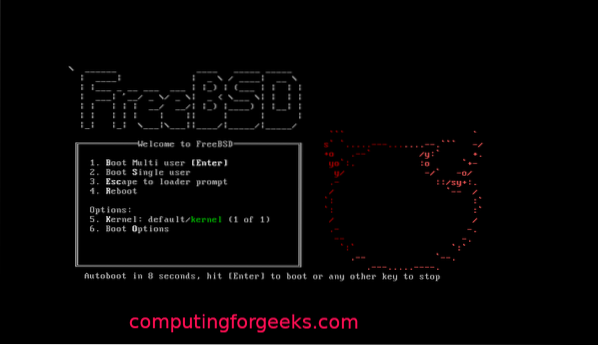
Once the VM creation is finished, the installer will start automatically. Press enter to continue.
Click the install button to continue.

Choose one of the keymaps.
Give your VM a hostname:

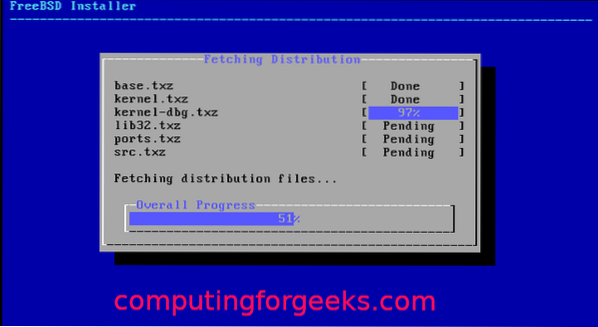
Select the FreeBSD components you want to install:
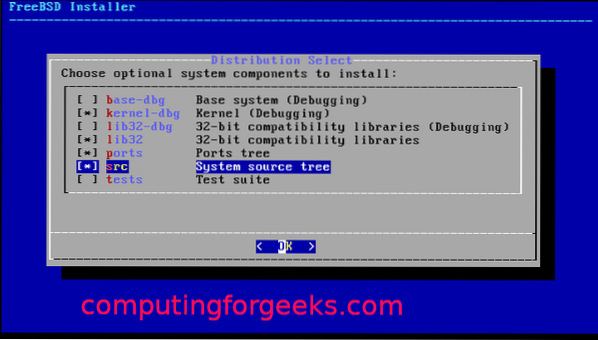
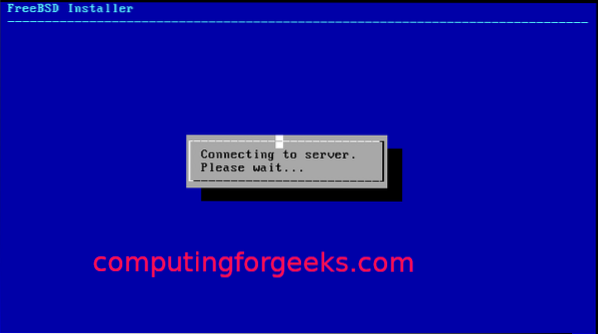
If the software packages aren't retrievable from the disk, it'll download it off of the web.

Choose the network interface to configure:

Just agree if you're using IPv4.

Choose DHCP if you're using static IP addressing:

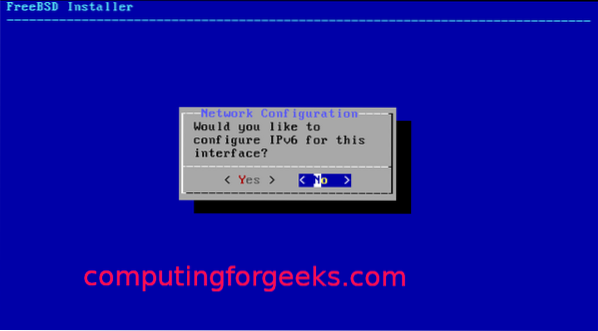
Click on Yes if you're using IPv6:
Then for the revolver configuration:

Out of the installation mirrors, select those that are nearest to you:

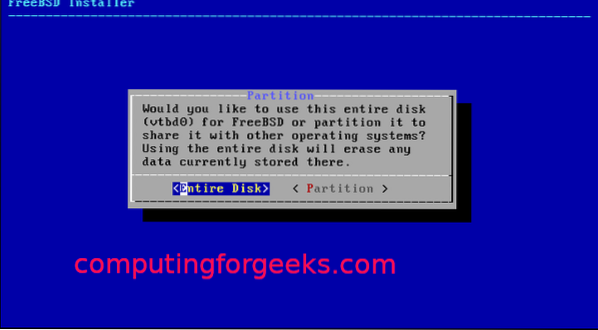
Select one of the partitioning methods(auto/manual/shell):


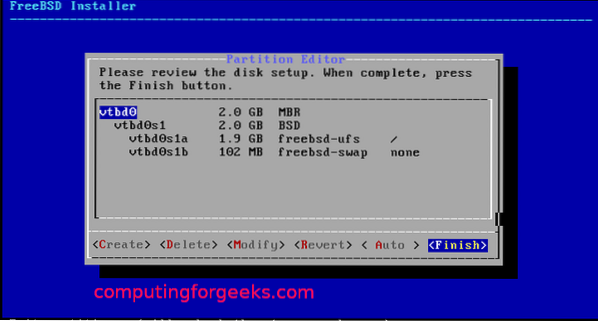
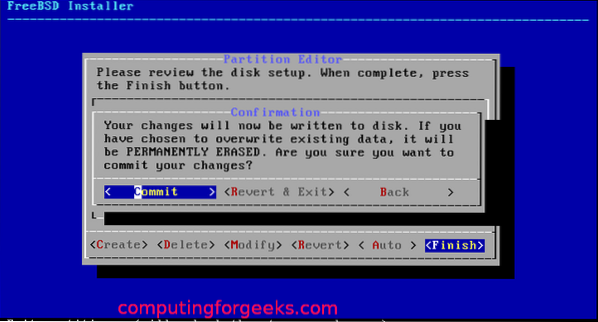
With the partitioning done with, it should start with the installation.
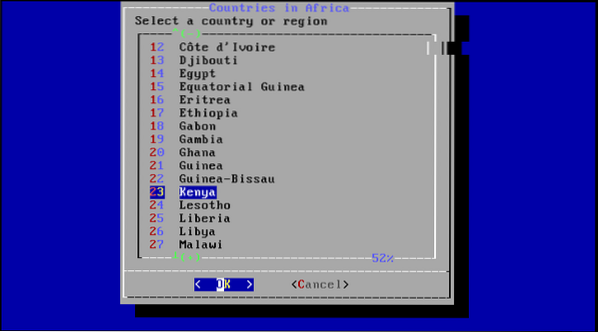
Select a time zone and region:

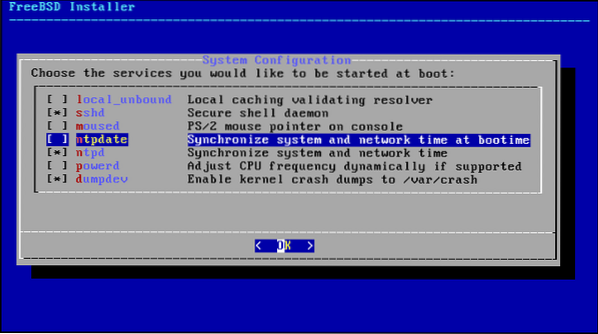
Select the processes you want to run at startup:
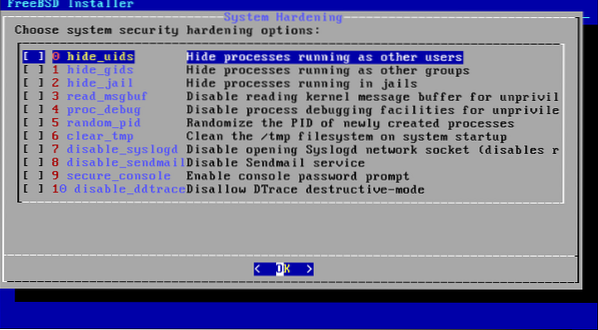
Choose the system hardening options:
Set the root password and create users:


Select Exit and click on OK.
With that, you've successfully installed FreeBSD on KVM. Now, you just have to reboot the system.


Wrapping up
This tutorial has demonstrated to users how to set up FreeBSD on VirtualBox and configure it. If the instructions here worked out for you, check out more FreeBSD tutorials on our website.


