
The Ubuntu distribution comes pre-installed with a bunch of cool fonts. However, you are not restricted. If you feel like you want to install your additional favorite fonts, follow the steps below.
To install a new font on Ubuntu, you first have to find and download the font itself. One of the sites I would recommend to download the fonts is 1001freefonts.com. However, you are not limited; you can still download fonts from other websites online.

For this tutorial, I will download the Southern Aire font from the 1001freefonts website. The fonts are downloaded as a zipped file. You can easily extract them by right-clicking on the zipped file and selecting the option “extract here.” You will see several files, but your focus is to find a file with the extension '.ttf.' That is the file containing the fonts.
Installing the Downloaded fonts on Ubuntu
Once you have the fonts downloaded and extracted on your PC, all that's left is installing them. There are many ways you can install fonts on Ubuntu. In this tutorial, we will show you three of these ways. Let's dive in.
1. Using the Font Manager
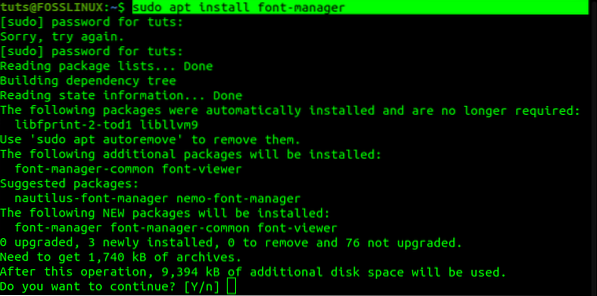
It is one of the easiest methods. To get started, you need to install the font-manager utility. Execute the commands below on your Terminal.
sudo apt update sudo apt install font-manager
Once the installation completes, proceed to launch the font-manager from the applications menu.

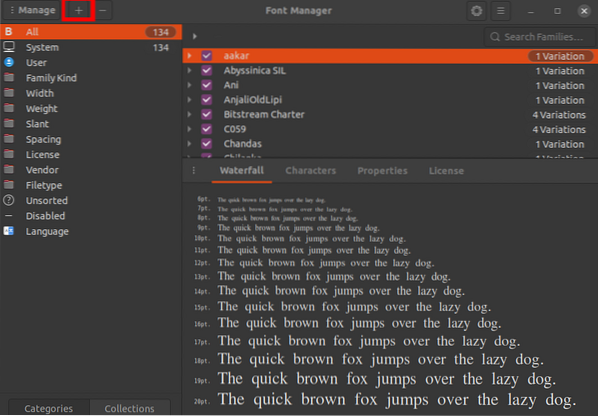
The Font manager window will open, giving you the various options for managing your fonts. To add your font, click on the plus (+) sign at the top and navigate to the directory where you extracted your fonts.
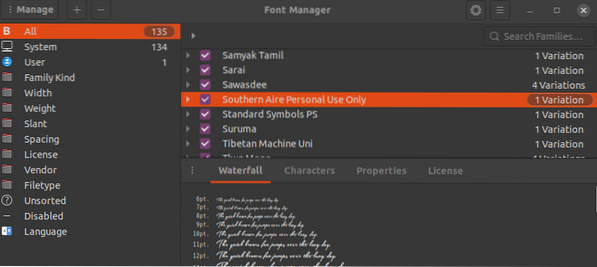
You can confirm whether the font was imported successfully by scrolling through the font manager's fonts. Alternatively, you can search for it via the search box at the top.
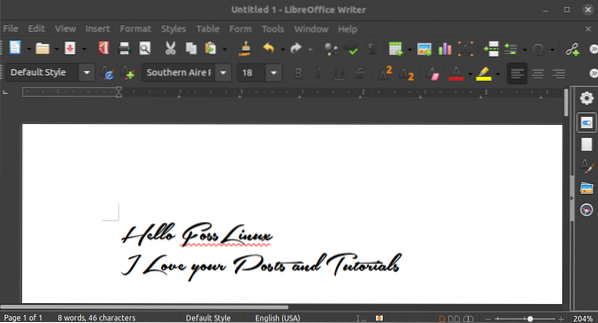
To test out your new font, use an application like LibreOffice Writer. In the font-name box, select your font and start typing.
Before proceeding with the other methods, you need to understand that the installed fonts will only be available for the current user using the font manager. That's because the fonts are stored in the ~/.local/share/fonts/ directory. To know how you can make the fonts available for every user on the system, please read along.
2. using the ~/.font directory
If you are looking forward to installing multiple fonts, this method can be quite useful. Using the font-manager to install many fonts at once can be quite time-consuming.
With this method, all you need to do is create a /.font directory on the home folder. Alternatively, execute the command below on the Terminal, and it will create the folder for you.
mkdir ~/.fonts
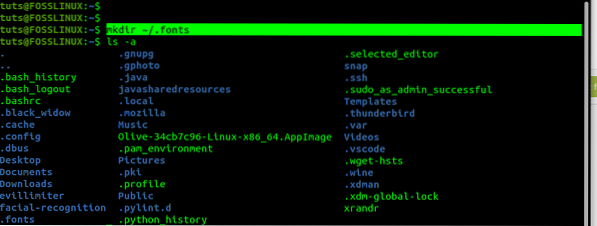
You have probably noticed that the folder name starts with a full stop (.). That means that this is a hidden folder. To view hidden files and folders, you can use the shortcut keys Ctrl + H o Ubuntu. Once you have created the /.fonts directory, paste all your fonts (they should have a .ttf extension) here.
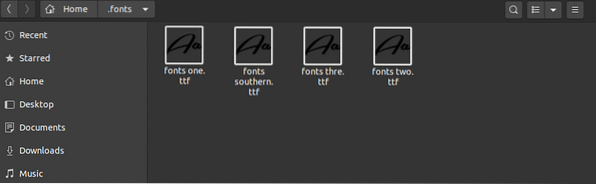
You can also make sub-directories to separate these fonts. By default, your Ubuntu system will recursively scan through this directory automatically, making any detected fonts available.
3. Install fonts for all available users
With both the first and second methods described above, the installed fonts will only be available for the user who installed them. To do a system-wide installation and make the fonts available for all users, use this method.
All you need to do is copy the fonts to the /usr/local/share/fonts/ directory. Here you can also make sub-directories to organize your fonts. To confirm that the fonts directory is present, execute the command below:
sudo mkdir /usr/local/share/fonts/

Once you have created the directory, open it by navigating through the file manager and paste your fonts. Alternatively, if you are well versed with the Terminal commands, use the cp command to copy and paste the fonts. For example, to copy my downloaded fonts to the fonts folder, I would execute the command below.
sudo cp ~/Downloads/Southern-Aire.ttf /usr/local/share/fonts/

Conclusion
This post has given you a step by step guide on installing fonts on the Ubuntu system. If you are just getting started with Linux and looking forward to installing a few fonts, the first method would be a great option. The other two would be much faster for installing multiple fonts, especially when executed on the command-line. Do you have another method that you would want to share with our readers? Hit the comments below!


