Docker is a containerization system for Linux that is used to run lightweight Linux containers on top of a Linux operating system (Docker host). To install Docker on your Raspberry Pi 4, you will need the following:
- A Raspberry Pi 4 single-board computer
- A Raspberry Pi 4 Type-C power supply.
- A microSD card (at least 32GB) with the Raspberry Pi OS image on it.
- Internet connectivity on the Raspberry Pi 4.
- A laptop or desktop for VNC remote desktop access or SSH access to the Raspberry Pi 4.
Note: If you don't want to access your Raspberry Pi 4 remotely via SSH or VNC, you will need to connect a monitor, a keyboard, and a mouse to your Raspberry Pi. We will not connect any peripherals to our Raspberry Pi here, as we connect to our Raspberry Pi 4 remotely via the VNC remote desktop protocol with the headless Raspberry Pi 4 setup.
Additional Resources: To learn how to install Raspberry Pi OS on your Raspberry Pi 4, go here: How to Install Raspberry Pi OS on Raspberry Pi 4. To learn how to flash the Raspberry Pi OS image onto the microSD card. go here: How to Install and Use Raspberry Pi Imager. To learn more about the headless setup of Raspberry Pi 4, go here: How to Install and Configure Raspberry Pi OS on Raspberry Pi 4 Without External Monitor.
Updating Raspberry Pi OS
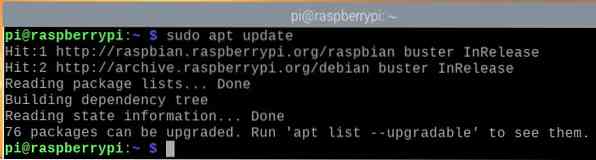
Before installing Docker, you should update all packages on your Raspberry Pi OS. To do so, first update the APT package repository cache with the following command:
$ sudo apt update
This command should update the APT package repository cache.
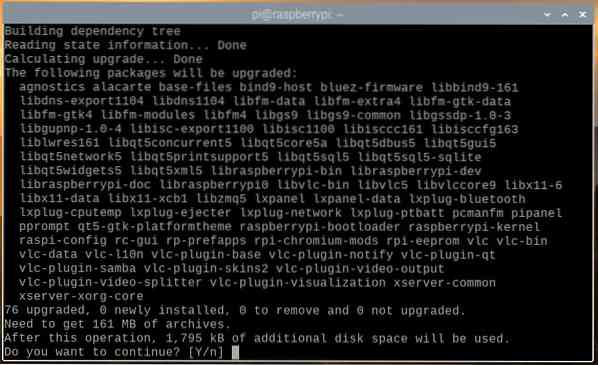
To update all the packages on your Raspberry Pi OS, run the following command:

To confirm the upgrade, press Y and then
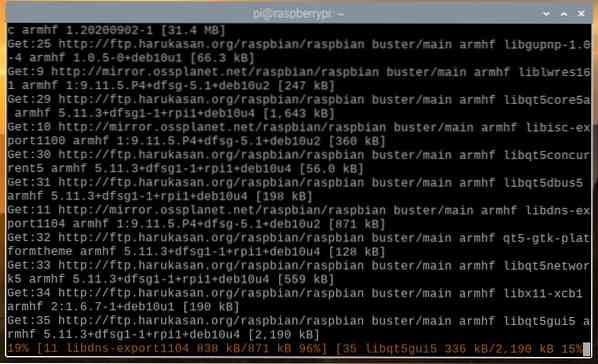
The APT package manager should download all the required packages from the internet. This step may take a while to complete.
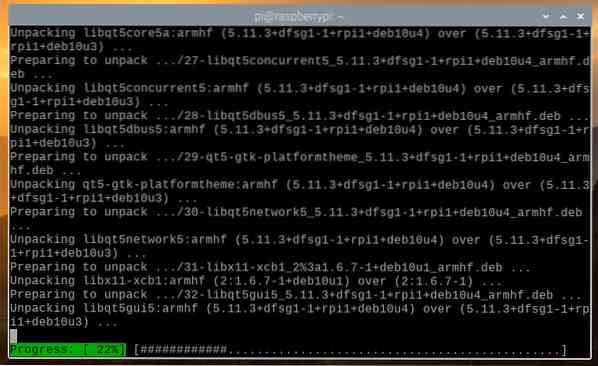
Once all the required packages are downloaded, the APT package manager should install them one by one. This step may also take a while to complete.
At this point, all the existing packages should be updated.
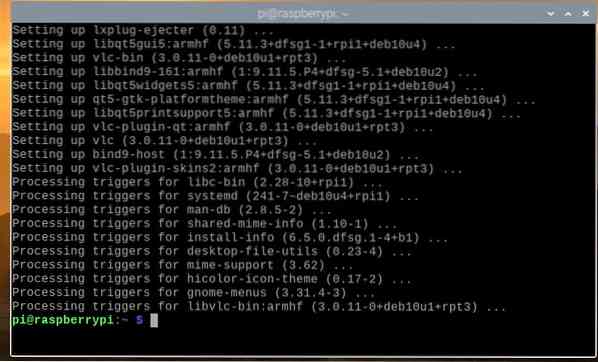
For the changes to take effect, reboot your Raspberry Pi 4 with the following command:

Installing Docker on Raspberry Pi OS
Installing Docker on a Raspberry Pi 4 running the Raspberry Pi OS is very straightforward, as Docker now officially supports Raspberry Pi OS.
To install Docker on your Raspberry Pi OS, you must download the Docker installation script on your Raspberry Pi 4. You can download the Docker installation script on your Raspberry Pi 4 with the following command:
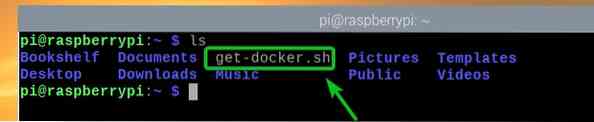
$ curl -fsSL https://get.docker.com -o get-docker.sh
The Docker installation script get-docker.sh should be downloaded to your current working directory.
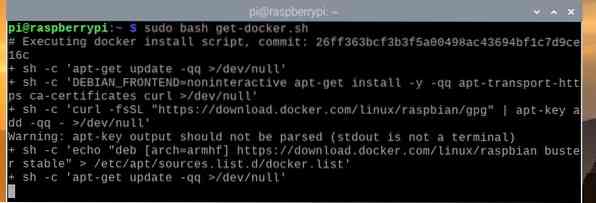
Run the Docker installation script get-docker.sh as root with the following command:

The Docker installation script will download and install all the necessary packages from the internet. This step may take a while to complete.
At this point, Docker should be installed.
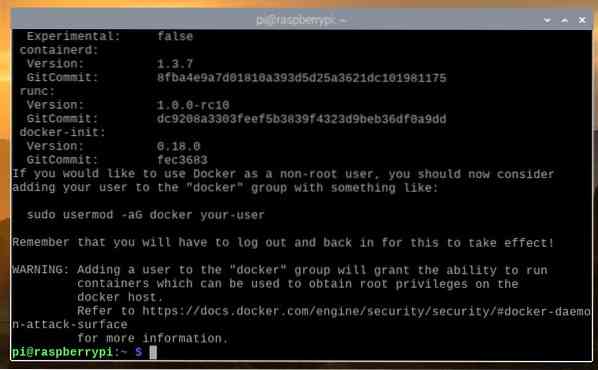
Once Docker is installed, add your login user to the docker group with the following command:

For the changes to take effect, reboot your Raspberry Pi 4 with the following command:

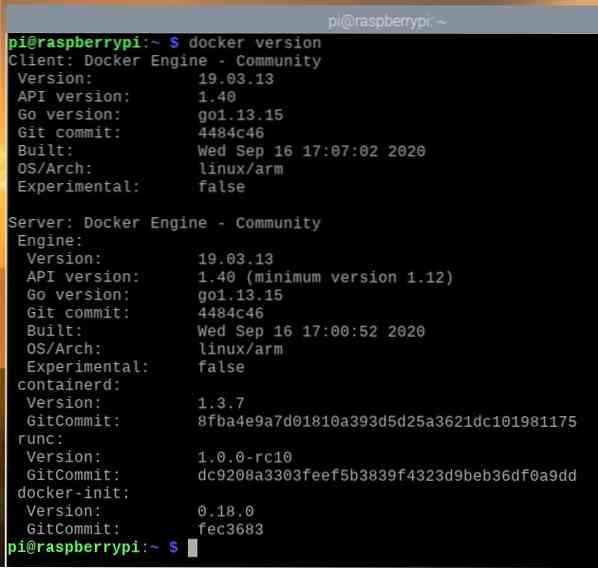
Once your Raspberry Pi 4 boots, run the following command to verify whether docker is installed:

As you can see, I am running Docker version 19.03.13, which is the latest version of Docker available for Raspberry Pi OS at the time of writing. By the time you read this article, the version number may change.
Installing Docker Compose on Raspberry Pi OS
Docker Compose is a tool for automating Docker projects using a YAML file.
Let's say you want to do PHP web development using Docker. For that, you need multiple containers, such as a web server (i.e. php) container and a database server (i.e. mysql or mongo) container. If you use RAW Docker, you need to start, stop, and configure these containers separately, which will be troublesome and time-consuming. In contrast, if you use Docker Compose, you can manage and configure all the containers using a simple YAML file and Docker Compose commands.
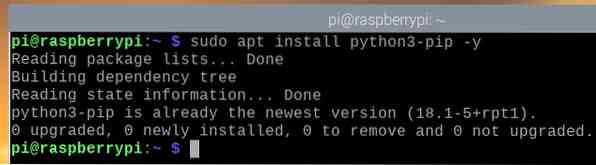
You can install Docker Compose using Python's pip package installer. Python pip should be preinstalled on your Raspberry Pi, but if pip is not installed, you can install it from the official package repository of Raspberry Pi OS with the following command:
$ sudo apt install python3-pip -y
In our case, Python pip was already installed.
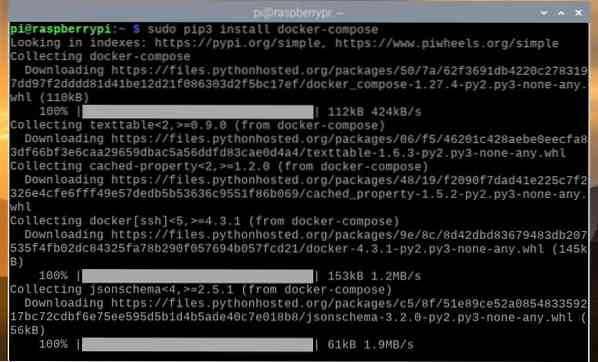
Once Python pip is installed, you can install Docker Compose with the following command:

In the image below, Docker Compose is being installed.
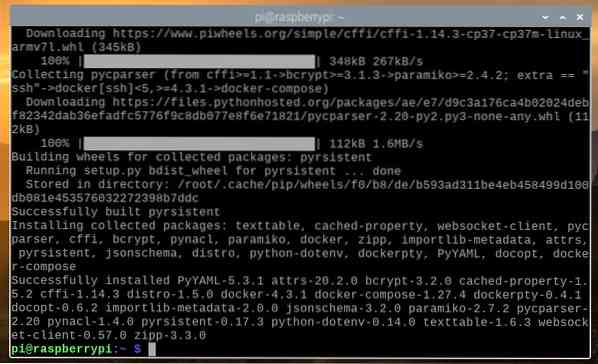
In the following image, Docker Compose should be installed.
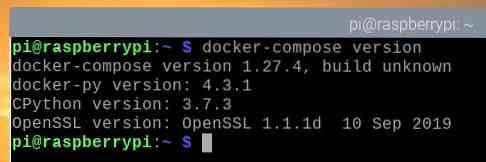
Once Docker Compose is installed, check whether you can access it with the following command:

As you can see, we are using Docker Compose version 1.27.4. By the time you read this article, you may have a later version of Docker Compose installed on your Raspberry Pi OS.
Using Docker on Raspberry Pi 4
In this section, we will show you how to use Docker on your Raspberry Pi 4. If you have never used Docker, this section should help you get started.
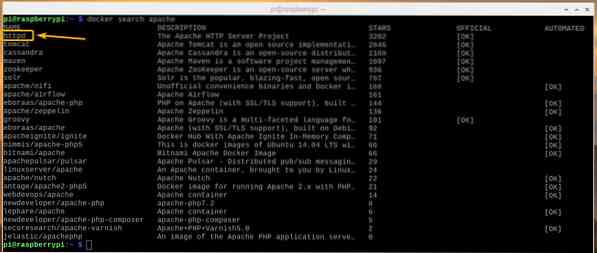
To run a Docker container, you need a Docker image on which the Docker container will be based. There are thousands of Docker containers available in the Docker container registry (Docker Hub). You can search for Docker containers (e.g., Apache web server container) as follows:
$ docker search apache
The Docker containers that match the search query will be returned.
The official Apache web server container is called httpd, as shown in the screenshot below. Let's create a Docker container based on that image.
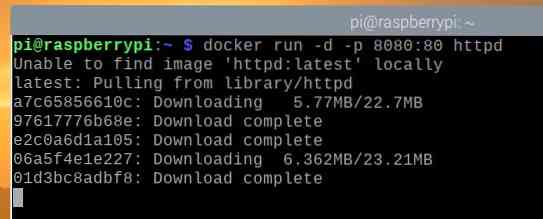
To create and start the Apache web server Docker container using the httpd Docker image, run the following command:
Note: Here, -p 8080:80 is used to forward port 80 of the httpd Docker container to port 8080 on the Docker host (Raspberry Pi 4).

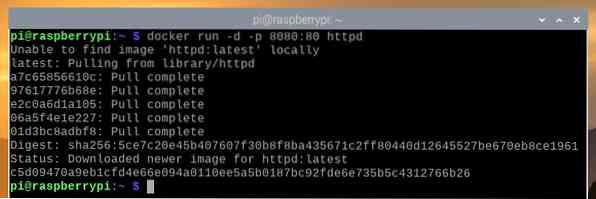
The httpd Docker image should be downloaded from the internet (Docker Hub). This step may take a while to complete.
At this point, the Docker httpd container image should have been downloaded, and a new Docker container should have been created.
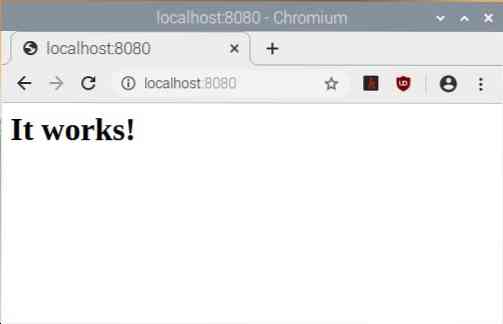
If you open a web browser in your Raspberry Pi 4 and visit http://localhost:8080, you should see the following web page that tells you that the Apache web server container is running correctly.
You can list all the running Docker containers with the following command:
At present, we have only one running Docker container, i.e., the Apache web server container. The container has the name awesome_grothendieck (randomly generated), and the ID c5d09470a9eb.

The Docker containers you create gets a randomly generated name, but you can name a Docker container with the -name command line argument. For example, to create another httpd Docker container with the name webserver2, you can run the following command:

By entering the above command, a Docker container named webserver2 should be created.

As you can see, the newly created Docker container is named webserver2.

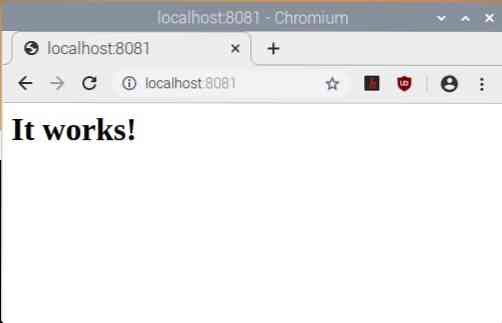
The web server running on the second container webserver2 should also be accessible at the URL http://localhost:8081.
You can stop a running Docker container using the name or the ID of the running container. For example, to stop the running Docker container webserver2, run the following command:

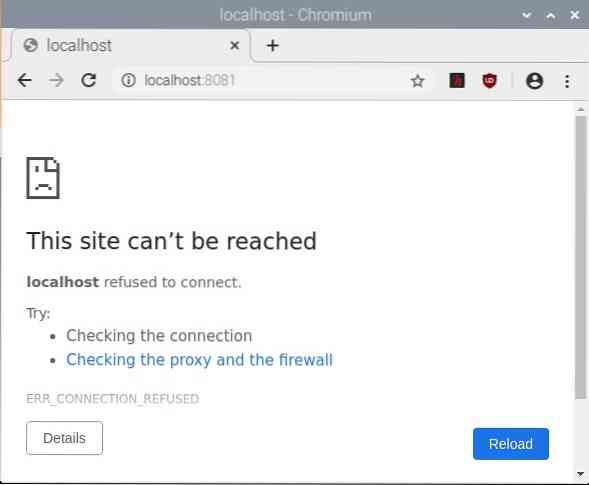
The Docker container webserver2 should be stopped.

As you can see, the web server that was running on the webserver2 container has also stopped.
You can stop container c5d09470a9eb with the following command:

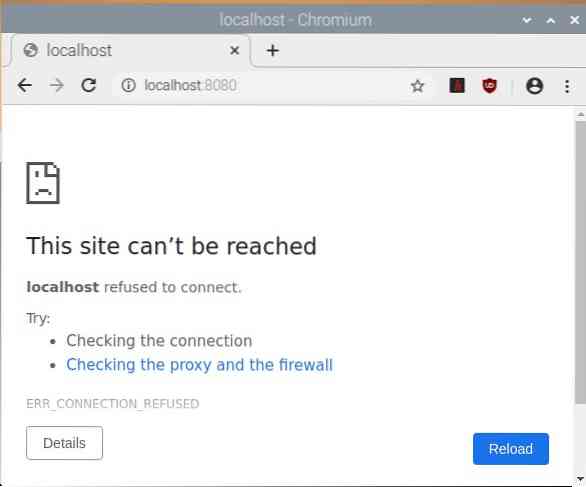
As shown in the image below, the Docker container c5d09470a9eb is no longer running.

The image below shows that the web server that was running on the c5d09470a9eb container has also been stopped.
Using Docker Compose on Raspberry Pi 4
In this section, we will show you how to use Docker Compose to manage Docker projects.
First, create a new project directory ~/webserver as follows:
$ mkdir -v ~/webserver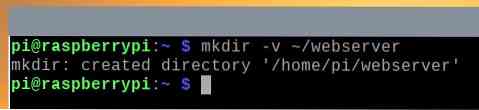
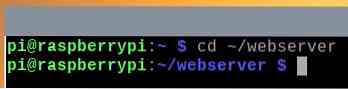
Navigate to the ~/webserver directory as follows:
Create a new file docker-compose.yaml as follows:

Enter the following text in the docker-compose.yaml file.
services:
web:
image: httpd:latest
restart: always
volumes:
- ./www:/usr/local/apache2/htdocs
ports:
- "8083:80"
Note: Make sure to use the proper indentation. Indentation is very important for YAML files. Incorrect indentation will result in syntax errors.
Once you're done, press
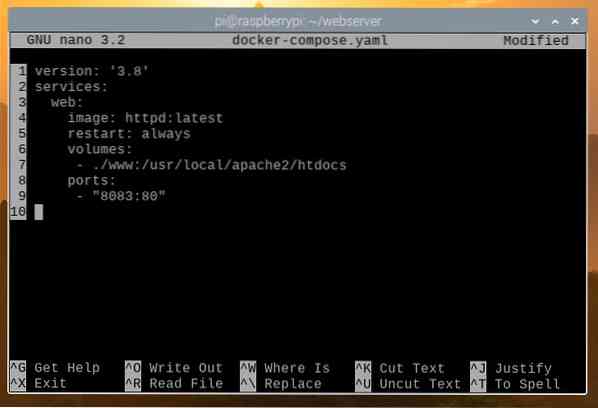
Here, in the services section, we have definition for the web Docker container.

In line 4, the Docker image that the web container will use should be defined. Here, the image to use is httpd:latest

In line 5, restart: always is used to restart the web container if it stops unexpectedly.

Lines 6-7 are used to mount the www/ directory of your project directory to /usr/local/apache2/htdocs, i.e., the webroot of the container.

Lines 8-9 are used to forward port 80 of the container to port 8083 of the Docker host (Raspberry Pi 4).

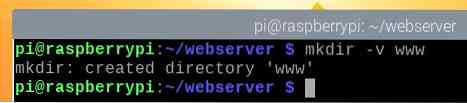
Create a new directory www/ in the project directory as follows:
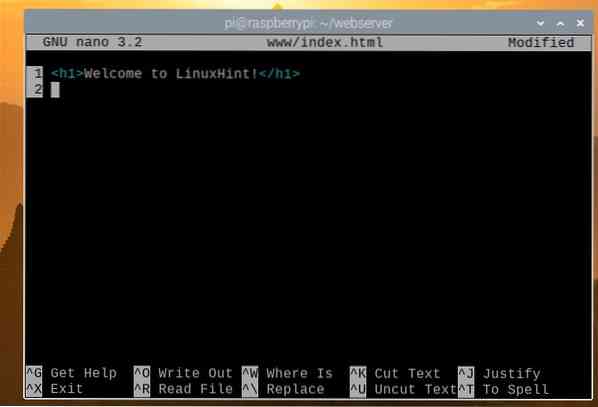
Create a new file index.html in the www/ directory as follows:

Type in the following command and press
You can start the Docker Compose project with the following command:

The Docker Compose project should be up and running.

As you can see, a web server container is running.

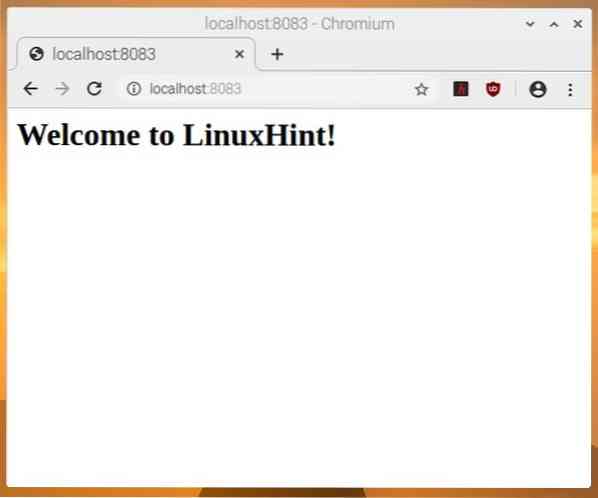
If you visit the URL http://localhost:8083 from a web browser, you should see the following page, which means the Docker Compose project is working.
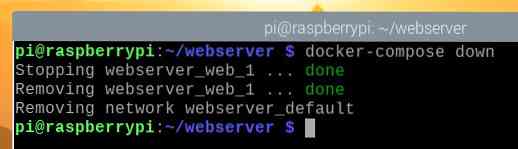
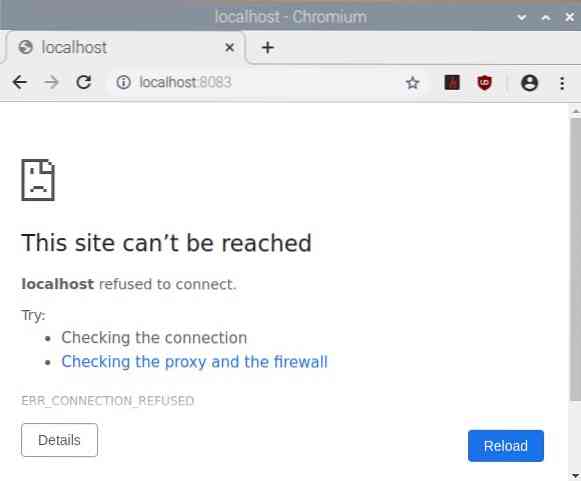
To stop the Docker Compose project (i.e., stop all the containers of the project), run the following command:

The Docker Compose project should have stopped.
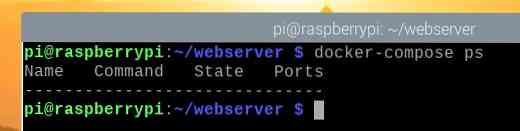
As you can see, no containers are running.
In addition, the web server cannot be accessed.
Conclusion
In this article, we installed Docker and Docker Compose on Raspberry Pi 4. Furthermore, we use Docker and Docker Compose to create Docker containers. This article should help you get started with Docker and Docker Compose on Raspberry Pi 4.


