In this article, I will show you how to download and install Debian Testing on your computer. Let's get started.
Downloading Debian Testing:
You can download Debian Testing weekly builds or daily builds.
To download Debian Testing weekly builds, go to http://cdimage.debian.org/cdimage/weekly-builds/
To download Debian Testing daily builds, go to http://cdimage.debian.org/cdimage/daily-builds/
I prefer the weekly builds, because I can download Debian Testing CD image with desktop environment included. It's easier to install without internet connection. The daily builds mostly have net install images, which I don't like. You may have different opinion. That's fine.
For more information, go to https://wiki.debian.org/DebianTesting
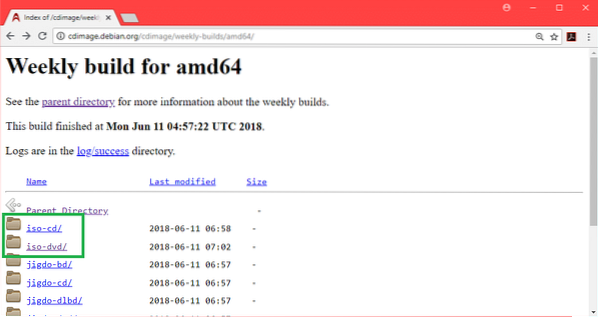
If you go to the Debian Testing weekly builds link http://cdimage.debian.org/cdimage/weekly-builds/, you show see the following page. Select your desired architecture. I am going to download the 64-bit version of Debian Testing. So I am selecting amd64. For 32-bit version, select i386.

Now you can download either a CD image of Debian Testing, or a DVD image of Debian Testing. The DVD image is about 3.7 GB in size. The download should take a long time. So I went for the CD image. But DVD image would work just fine. Select either iso-cd for Debian Testing CD image or iso-dvd for Debian Testing DVD image.
Note: If you want to download Debian Testing DVD image, you only need to download the first DVD image, for example debian-testing-amd64-DVD-1.iso, you can leave the others.
Now you should see the following page.
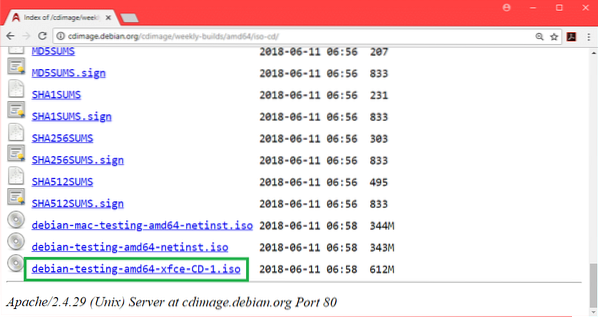
Scroll down a little bit and click on the CD image debian-testing-amd64-xfce-CD-1.iso as marked in the screenshot below.
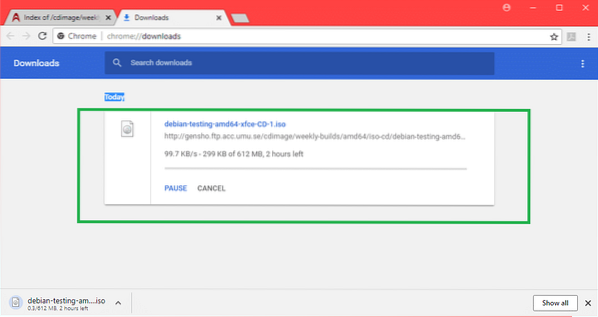
Your download should start.
Making Debian Testing Bootable USB Drive:
You can write the ISO image to a CD/DVD or you can make a bootable USB drive with Rufus from Windows operating system. In this section, I am going to show you how to make bootable USB drive with Rufus.
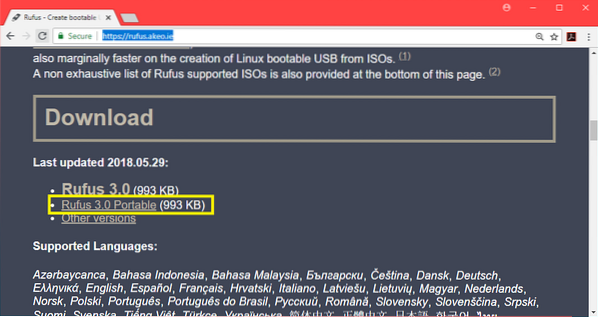
First go to the official website of Rufus at https://rufus.akeo.ie/ and go scroll down to the Download section. Now click on Rufus Portable link as marked in the screenshot below.
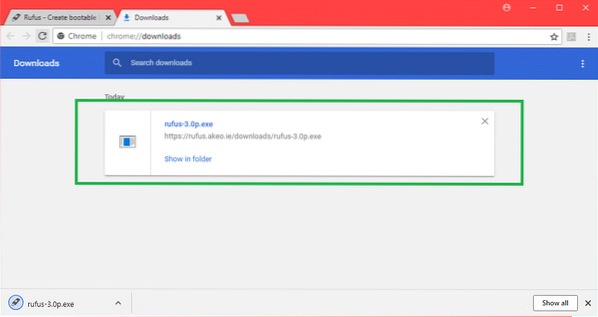
Rufus Portable should be downloaded.
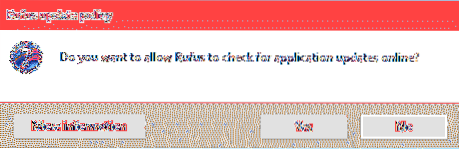
Now double click on Rufus Portable executable. If you see the following dialog, click on No.
Rufus Portable should open.
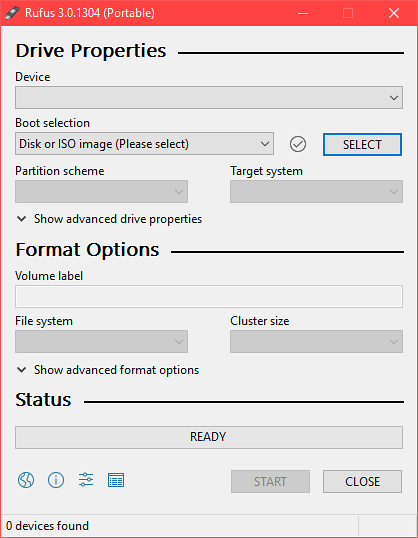
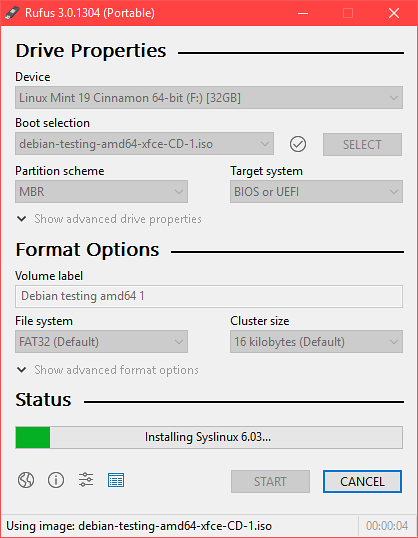
Now insert your USB drive. It should be selected.
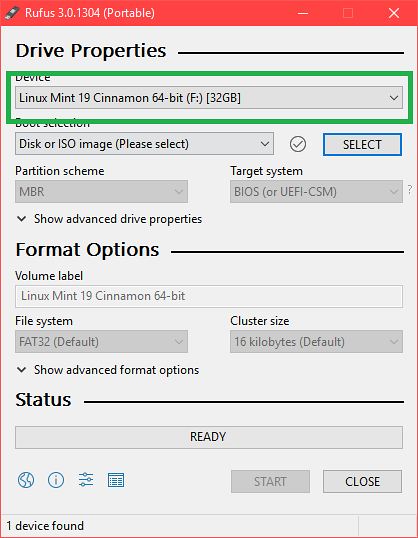
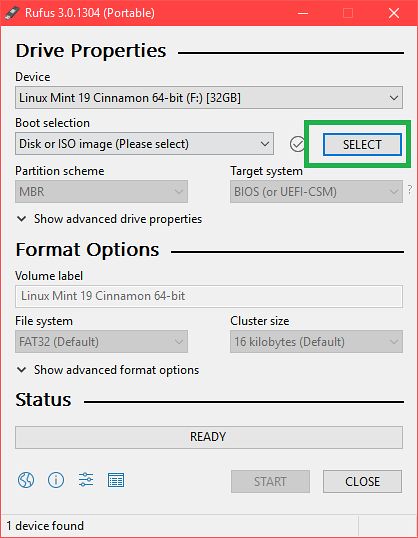
Now click on SELECT.
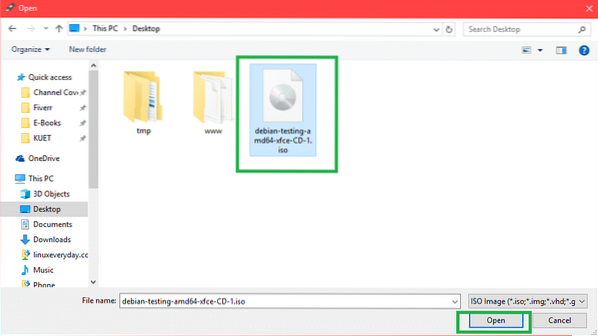
Now select the Debian Testing ISO file from the file picker and click on Open.
Now click on START.

Click on Yes.

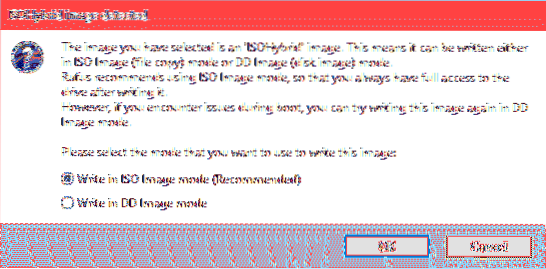
Leave the defaults and click on OK.
Make sure you have no important data in your USB drive and click on OK. It will be formatted.
The process of making Debian Testing bootable USB drive using Rufus Portable.
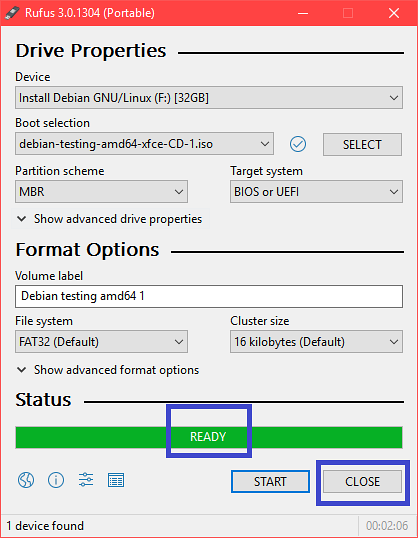
Once it's complete, you should see the READY status and you can click on CLOSE.
Booting Debian Testing from the USB Drive:
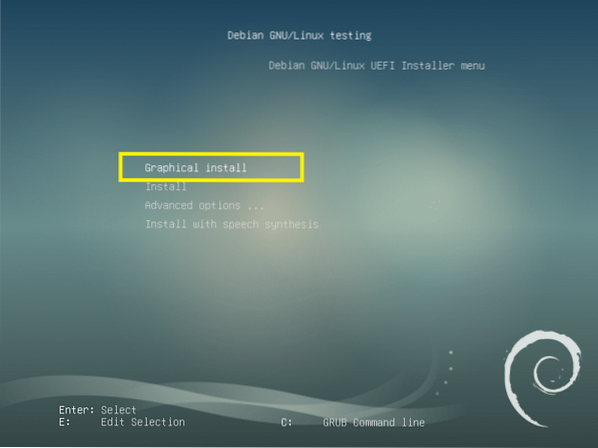
Now insert your USB drive and press the power button of your computer. Now go to the BIOS of your computer and select your USB drive as the boot device. How you go to your BIOS depends on your motherboard. Be sure to google it.
Now select Graphical install and press
Installing Debian Testing:
This is the Debian Testing installer. In this section, I will show you how to install Debian Testing.
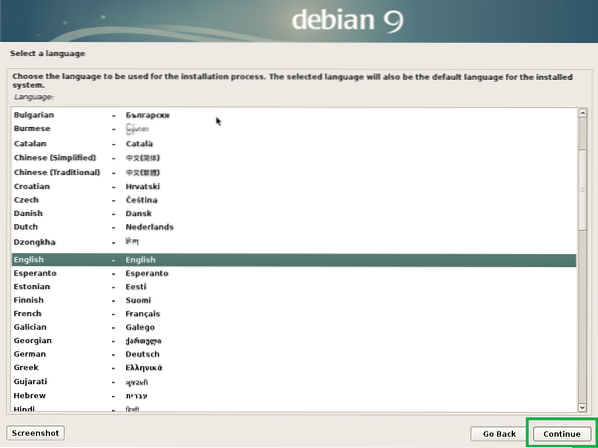
First select your language and click on Continue.
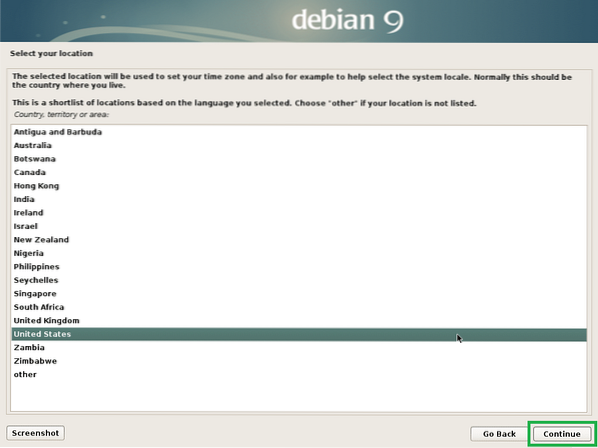
Select your location and click on Continue.
Select your keyboard layout and click on Continue.

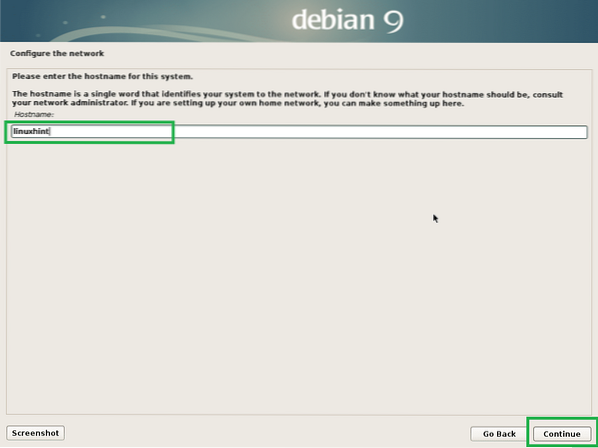
Now type in your hostname and click on Continue.
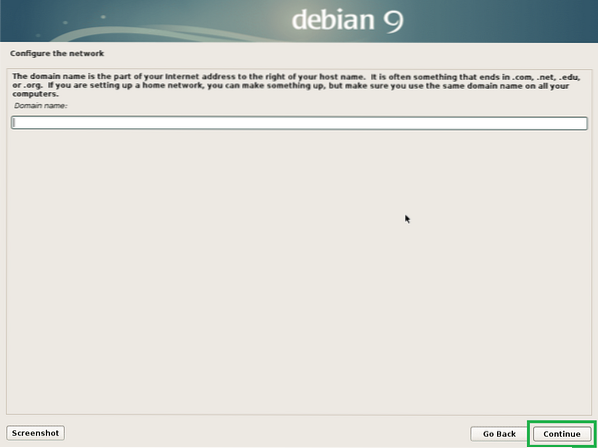
Now type in your domain name. You may leave it blank if you don't have one. Now click on Continue.
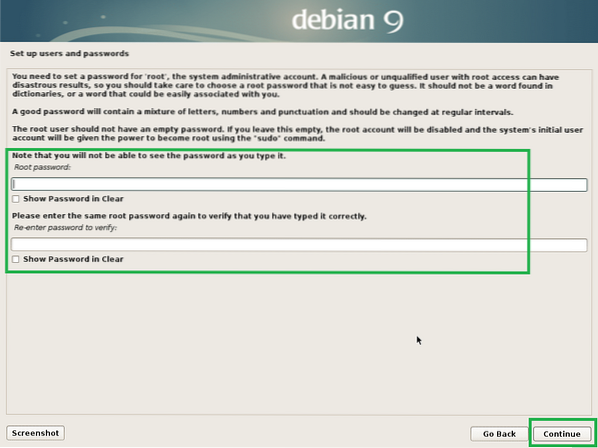
Now you can enable root user. To enable root user, just type in a root password and click on Continue. You may also leave it blank and click on Continue. In that case, your ordinary user should be able to use sudo. I am going to leave it blank.
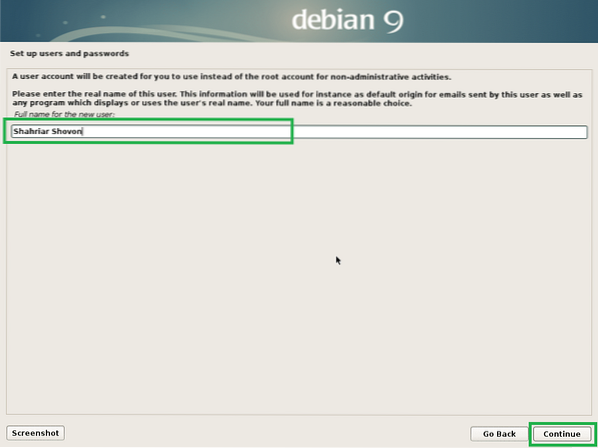
Now type in your full name and click on Continue.
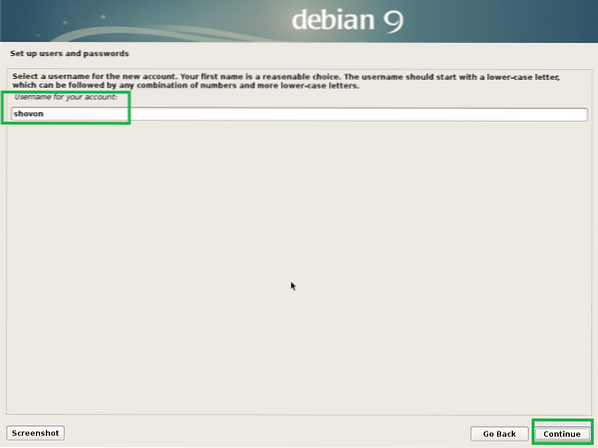
Type in your username and click on Continue.
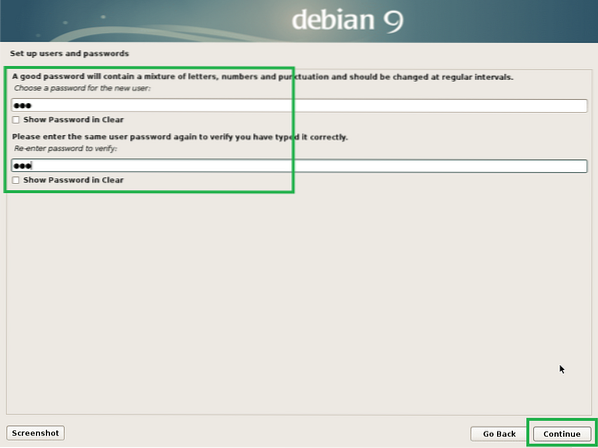
Now type in your login user's password and click on Continue.
Now select your time zone and click on Continue.

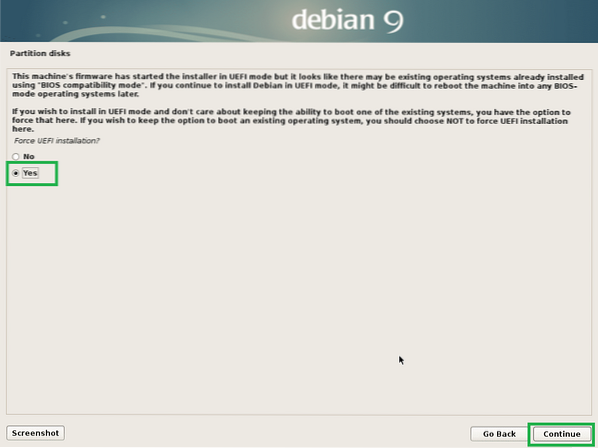
If your hardware is UEFI compatible, select Yes and click on Continue.
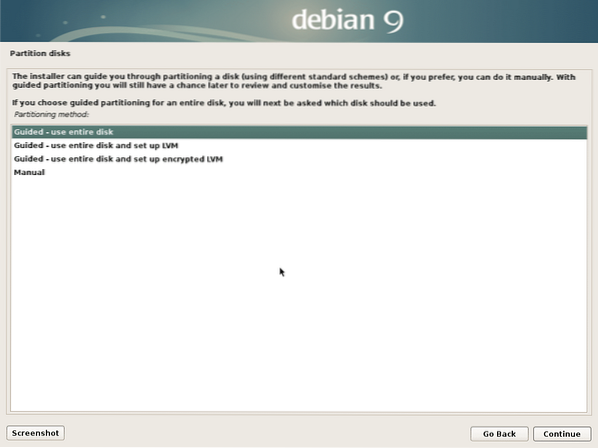
Now you have to partition the disk. You can use the entire disk if you select Guided - use entire disk. You can also set up LVM and use the entire disk if you select Guided - use entire disk and set up LVM. You can also set up LVM and set up encryption if you select Guided - use entire disk and set up encrypted LVM. You can also go for manual partitioning if you select Manual. I am going to show you how to do manual partitioning as this is where most people get stuck.
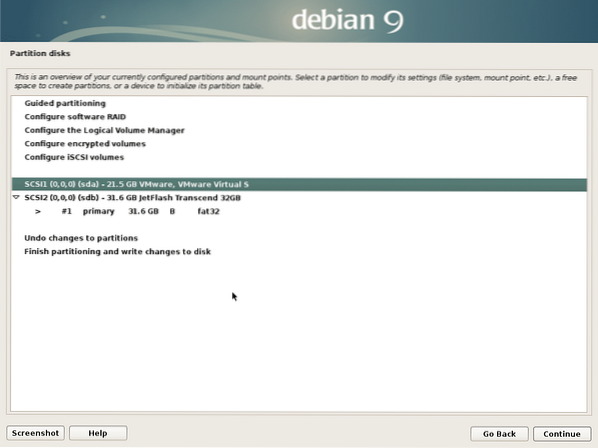
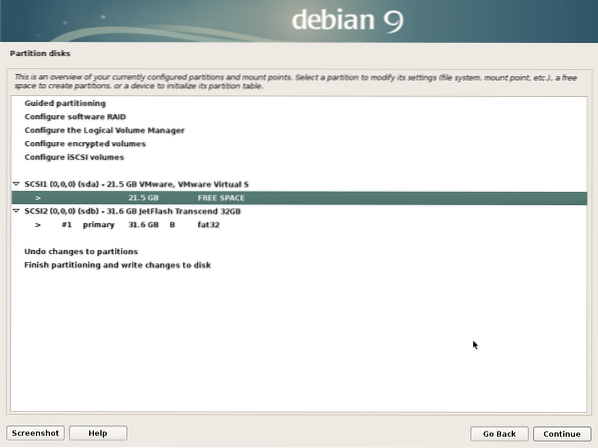
This is the manual partitioning window. For EFI installation, you need at least 2 partitions. EFI System Partition of about 512 MB and a Root (/) partition.
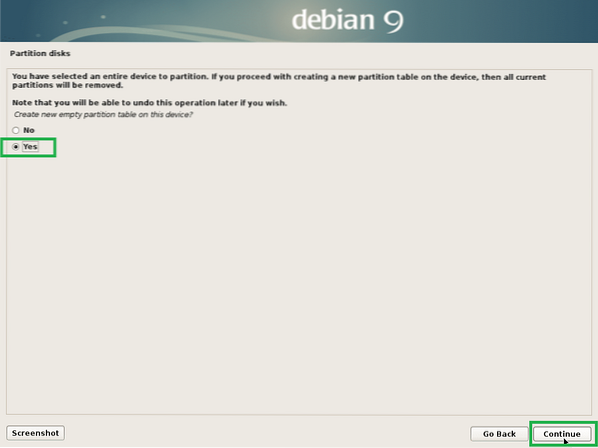
As my hard drive don't have a partition table yet, I can create a new partition table if I select the hard drive and click on Continue.
Click on Yes and click on Continue.
Now to create a new partition, select FREE SPACE and click on Continue.
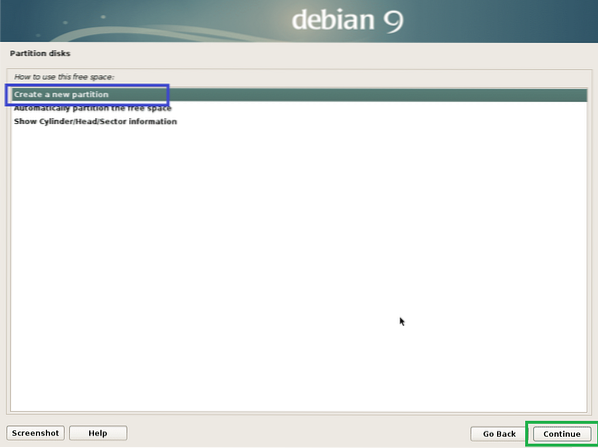
Click on Create a new partition and click on Continue.
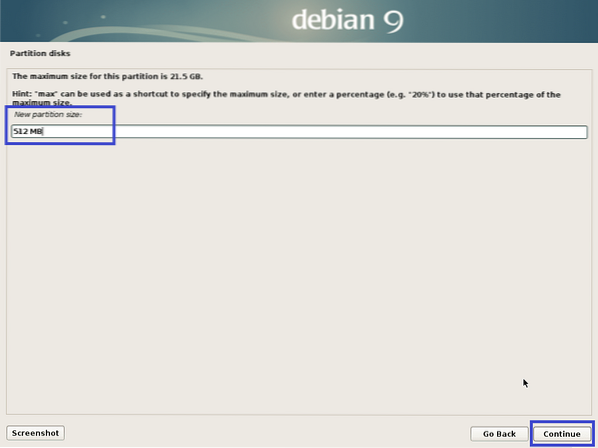
I am going to create a EFI System Partition. Now set the partition size to 512 MB and click on Continue.
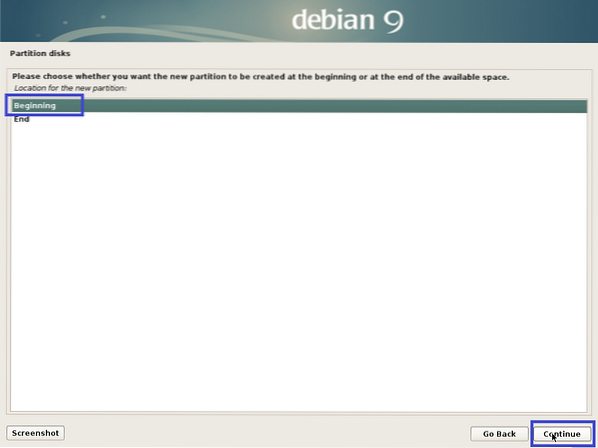
Select Beginning and click on Continue.
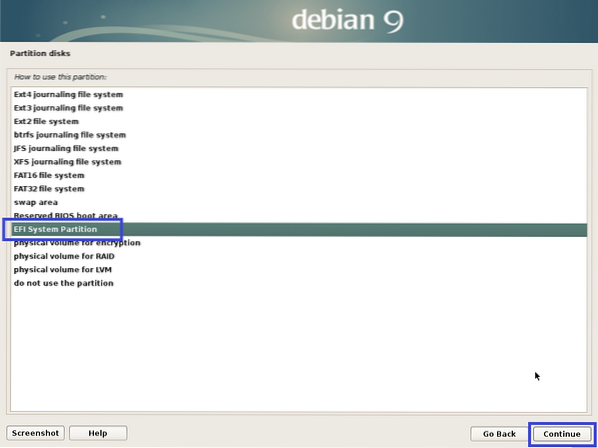
Select Use as: and click on Continue to change the partition type.
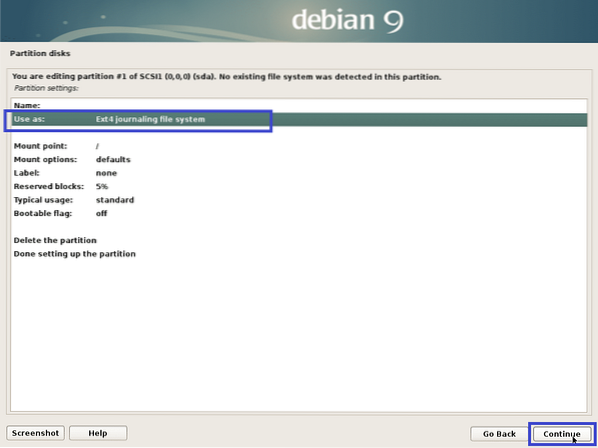
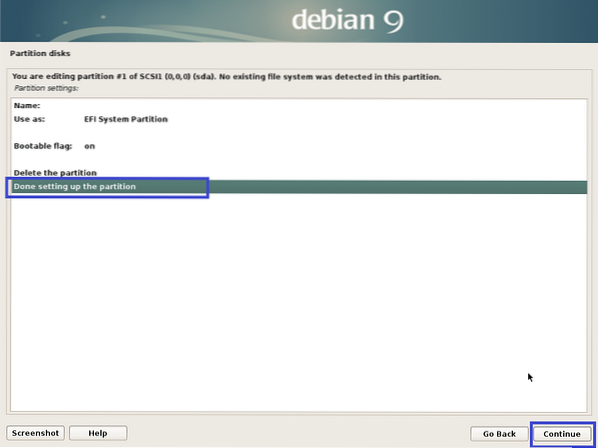
Select EFI System Partition and click on Continue.
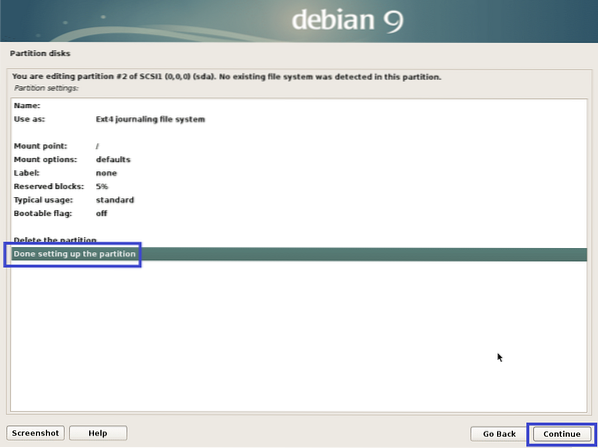
Select Done setting up the partition and click on Continue.
The partition should be created.
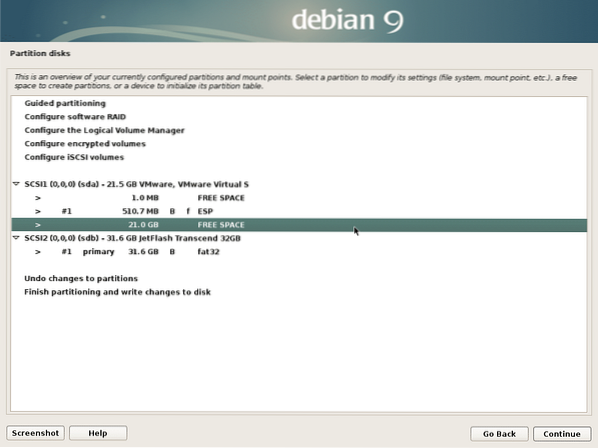
Now create a Root (/) partition the same way with the following settings:
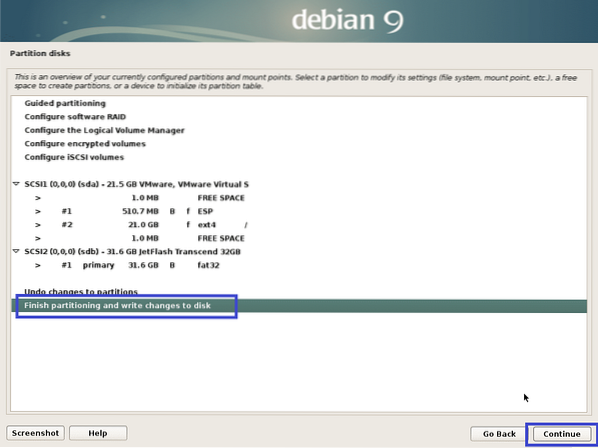
Finally, it looks something like this.
Now select Finish partitioning and write changes to disk and click on Continue.
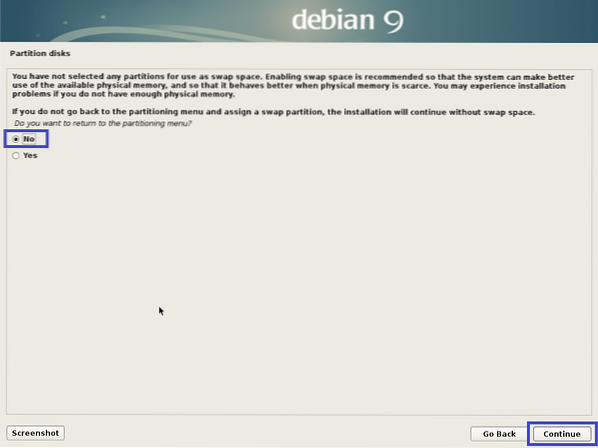
Select No and click on Continue.
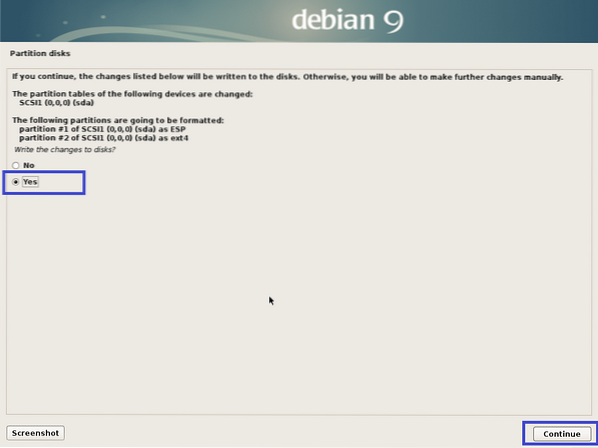
Now select Yes and click on Continue.
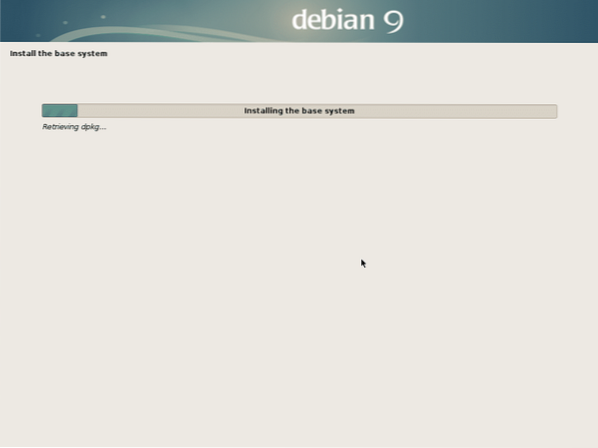
The installation should start.
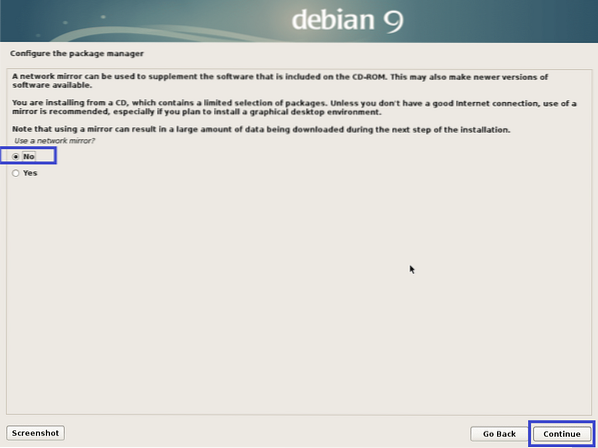
Now select No and click on Continue.
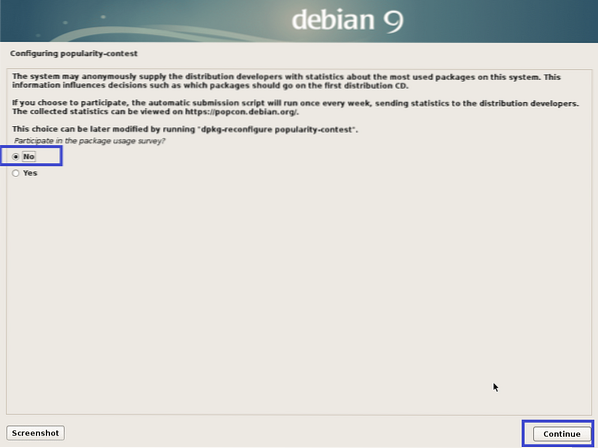
Now select No and click on Continue.
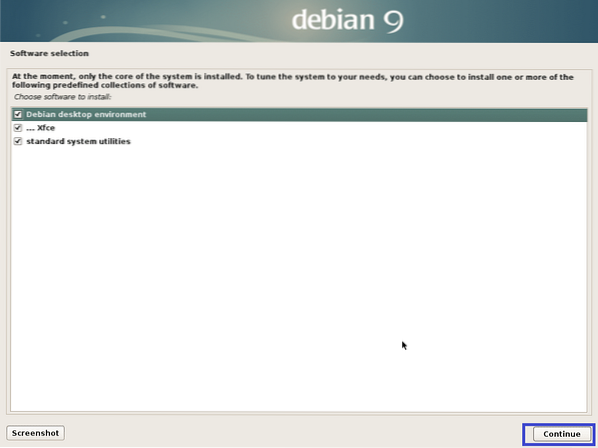
Now make sure Debian desktop environment and either Xfce, Gnome or KDE is selected. Then click on Continue.
The installation should continue.

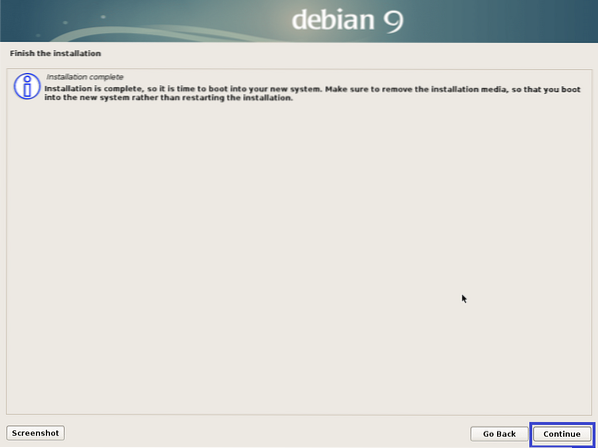
Once the installation is complete, click on Continue.
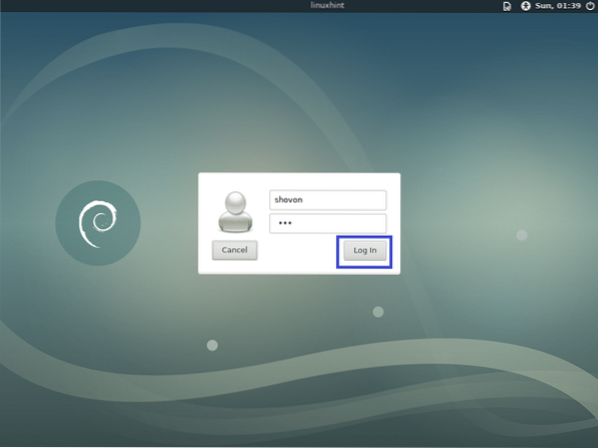
Now that Debian Testing is installed, you can log into it using your login username and password.
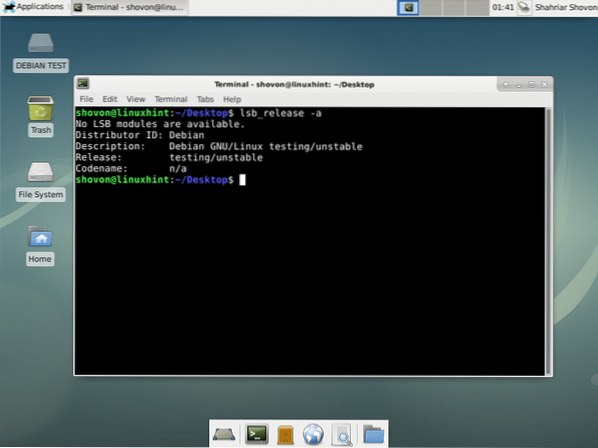
Debian Testing XFCE desktop environment:
Adding Swap to Debian Testing:
In this section, I will show you how to add swap to Debian Testing.
First run the following command to create a swap file of 1024 MB.
$ sudo dd if=/dev/zero of=/SWAP bs=1M count=1024 &&sudo chmod 0600 /SWAP && sudo mkswap /SWAP


Now add SWAP to /etc/fstab file with the following command:
$ echo "/SWAP swap swap defaults 0 0" | sudo tee /etc/fstab -a
Now restart your computer with the following command:
$ sudo reboot
Once your computer starts, swap should be enabled as you can see from the screenshot below.
$ free -h
That's how you download and install Debian Testing. Thanks for reading this article.


