In the old days, you just needed a parchment and a quill for writing stuff up. However, as the digital revolution hit the shores of the world, technology came into existence and that changed everything. Today, those parchments and quill pens have been converted into note-taking applications which clearly have made things so much easier and faster than before. Finding a great note-taking application, however, is quite the hassle as there are a variety of tools and applications for taking notes.
The topic of our discussion in this article would therefore be revolving around the installation of one such great app that goes by the name of Joplin and has become immensely popular among the Linux community.
What is Joplin?
Joplin is an open-source & free note-taking application, bundled with plenty of features. It is available for both desktops and mobile phones as well as even having a command-line version of itself. Joplin is extremely powerful and can easily handle the organization and management of large sets of notes categorized into multiple notebooks. It also allows the searching of notes, adding tags to notes, and even importing and exporting of files into several data-formats such as Evernote export, PDF, HTML, etc. Coupled with this, Joplin further allows users to synchronize their accounts to cloud services like Dropbox, OneDrive, etc. that backs up its data and secures it. It even has a web clipper for both Firefox and Chrome, from which webpages can be saved as notes.
Installing Joplin
There are two main ways by which we can install Joplin on Ubuntu. Let us look at both of them.
1) Installing Joplin using Snaps
Joplin can easily be installed by using a snap version of it. Snaps are compressed packages that contain the entire application along with all its dependencies inside of it. This is quite useful as now there is no hassle of separately installing the dependencies. To install Joplin from the Snapcraft, simply run the following command into the terminal:
$ sudo snap install joplin-james-carroll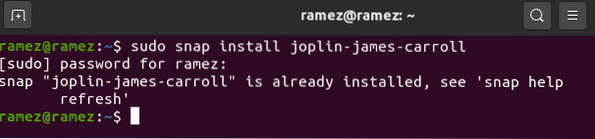
2) Installing Joplin using AppImage
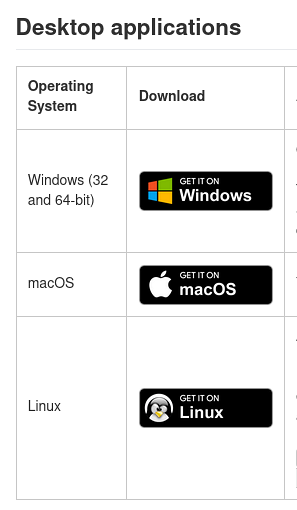
For users that are not comfortable with the terminal, Joplin can also be installed through its AppImage which is like the executable file of the application similar to what you see in Windows. To download the AppImage, go to the official site of Joplin and you can find it under the Desktop applications (Get it on Linux icon).
Next, go to the directory where it was downloaded and right-click on it. Over here, open the permissions tab and tick the checkbox next to Execute.
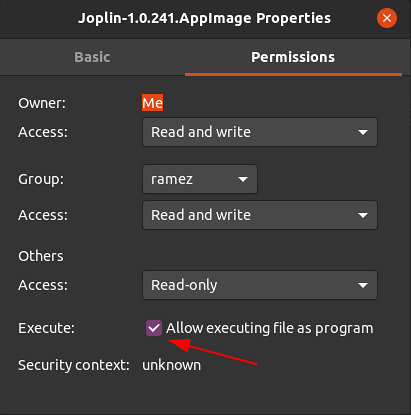
After this, simply double click on the AppImage file and Joplin will run.
3) Installing Joplin using Installer Script
Another method of installing Joplin is by using the installer script which installs the latest version of Joplin directly from the GitHub repository. To do this, we first have to run the update command so all the system cache is up to date which can be done by running the following command:
$ sudo apt-get updateNext, enter the following command in the terminal to install Joplin:
$ wget -O - https://raw.githubusercontent.com/laurent22/joplin/master/Joplin_install_and_update.sh | bash
Using Joplin
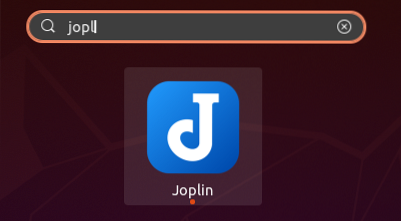
After installing Joplin, you can find it in your list of applications installed.
When you open the application, you will be greeted with an interface that is packed with numerous features. As seen from the image below, its interface has 3 panes - the sidebar that has all your notebooks listed, the middle bar that contains all your notes inside that notebook, and the right pane which is the Note Editor.
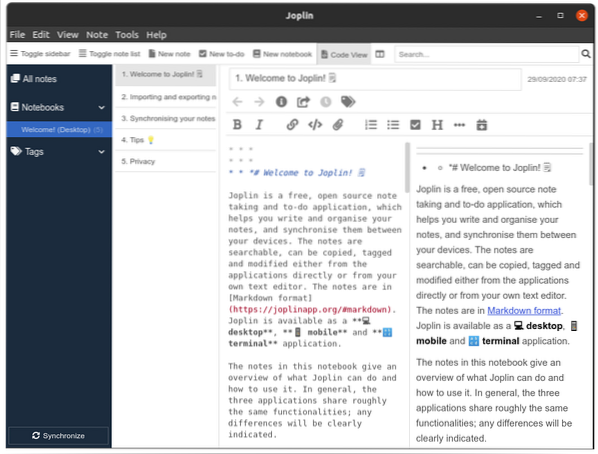
Joplin allows users to have multiple notebooks which themselves can have subnotebooks and multiple notes inside them. The interesting about Joplin is that notes are written using the Markdown language as seen in the image below:

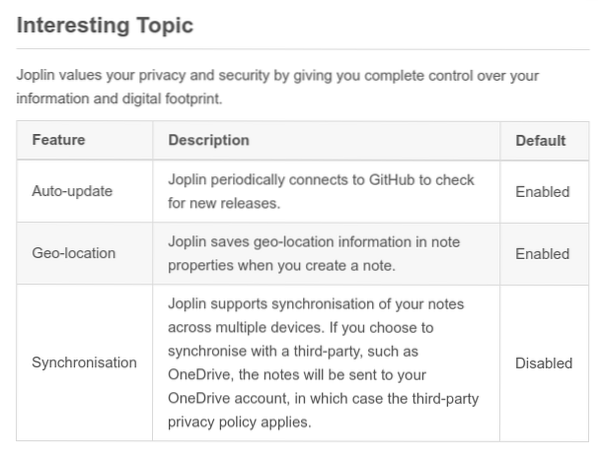
The result of that will come out to be the following:
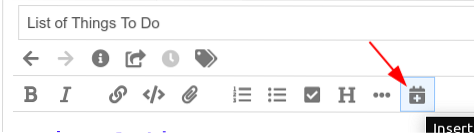
It also provides you with numerous styling tools that you can use to customize your notes even further. For example, let us say we want to add the current date to the note and then list the items that must be completed that day. To add the Date, click on the button with the calendar icon.
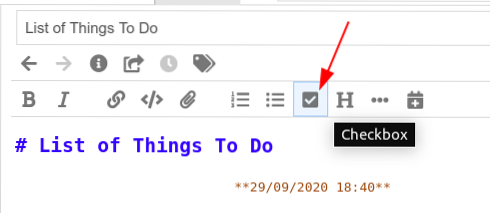
Next, to add the checkboxes, click on the button with the tick sign. You can add as many lists of items that you want.
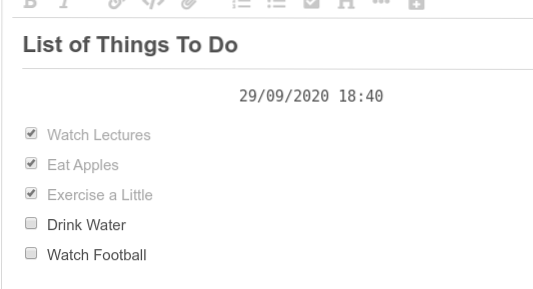
The final result that we get is the following:
You can also toggle back and forth from the editor to the main screen by using the layout button next to the search bar.

You can change the settings of the layout button as well by going to the Layout button sequence in the View section.

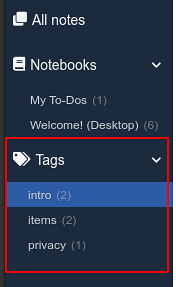
You can also add tags to your notes, and you can easily use these to filter out your notes. Even multiple tags can be added to a single note.
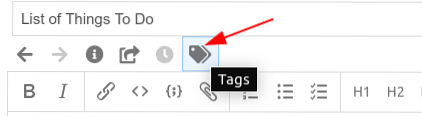
Adding Tags:
Filter Notes using Tags:
Joplin even offers synchronization of your notes to cloud services. To do this, first, click the Synchronize button in the bottom left.

Next, simply follow the steps shown on the screen and your Joplin application will start synchronizing.

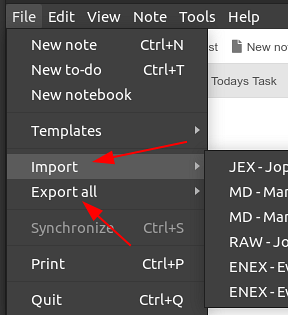
You can also export all your notes as well as import them from other files including the Evernote Enex File. To do this, click on the File section and then choose the file format that you want to import or export.
Why use Joplin?
Joplin is one of the best note-taking applications, fully packed with features along with having a simple and easy to use interface. For users having to write down notes regularly, Joplin would be an excellent choice.