After 6 years of development, a new version of GIMP, version 2.10 was released recently. GIMP 2.10 comes with a lot of new features and improvements. You can learn more about the new features and improvements of GIMP 2.10 at https://www.gimp.org/release-notes/gimp-2.10.html
In this article, I will show you how to install GIMP 2.10 on Ubuntu 18.04 LTS and how to do basic image editing with GIMP 2.10. Let's get started.
Installing GIMP 2.10 using Flatpak:
GIMP 2.10 is available as a Flatpak package. It is the preferred way to install GIM 2.10 on Linux based operating systems according to the official website of GIMP.
Flatpak may not be installed by default on Ubuntu 18.04 LTS. But Flatpak is available in the official package repository of Ubuntu 18.04 LTS. So, you can easily install Flatpak.
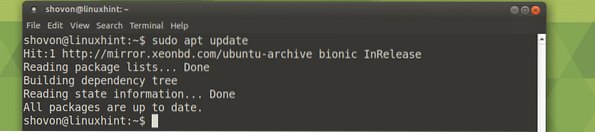
First update the APT package repository cache with the following command:
$ sudo apt update
The APT package repository cache should be updated.
Now install Flatpak with the following command:
$ sudo apt install flatpak
Now press y and then press
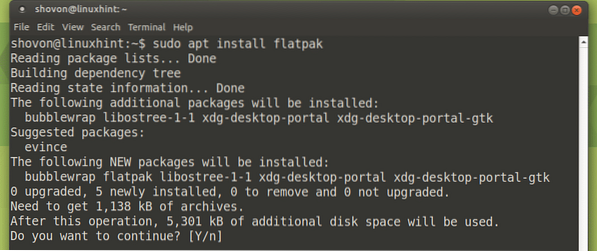
Flakpak should be installed.

Now install GIMP 2.10 with Flatpak with the following command:
$ flatpak install https://flathub.org/repo/appstream/org.gimp.GIMP.flatpakref
Type in your login user's password and click on Authenticate.
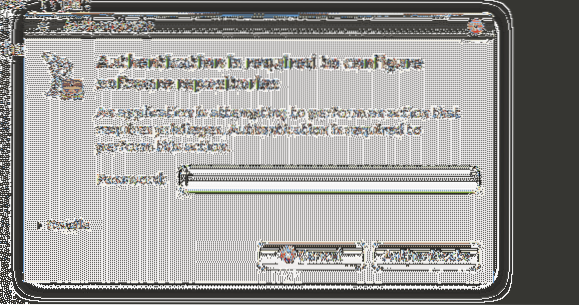
GIMP 2.10 Flatpak package installation process should start.

Now press y and then press

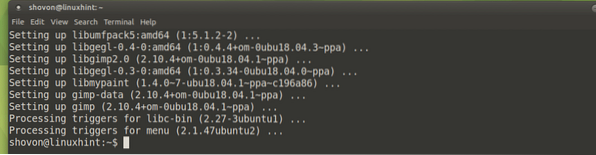
The installation should continue.

Once the installation is complete, you should see the following window:

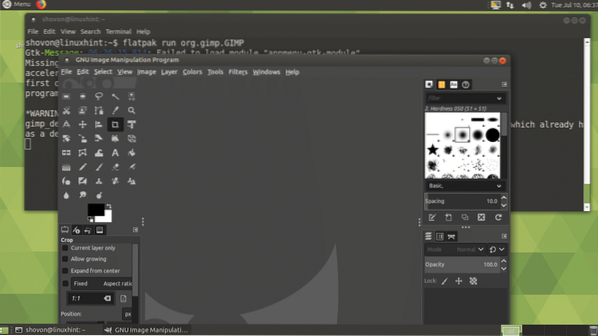
Now you can run GIMP 2.10 with the following command:
$ flatpak run org.gimp.GIMP
The splash screen of GIMP 2.10 should show up.
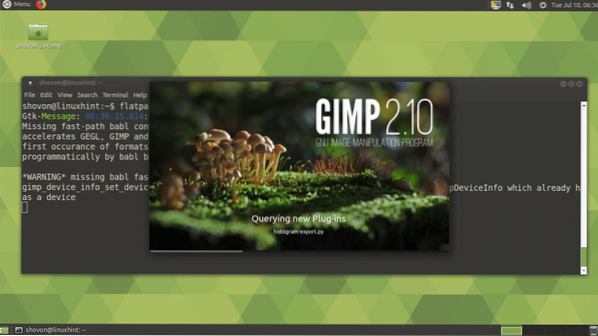
GIMP 2.10 Flatpak version is running on Ubuntu MATE 18.04 LTS.
Installing GIMP 2.10 using PPA:
GIMP 2.10 is not available in the official package repository of Ubuntu 18.04 LTS. If you want to install GIMP 2.10 using APT package manager, you have to add a GIMP unofficial PPA.
To add the GIMP unofficial PPA, run the following command:
$ sudo add-apt-repository ppa:otto-kesselgulasch/gimp
Now press
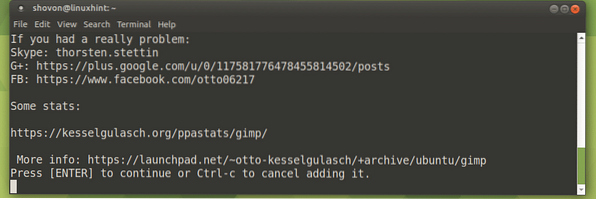
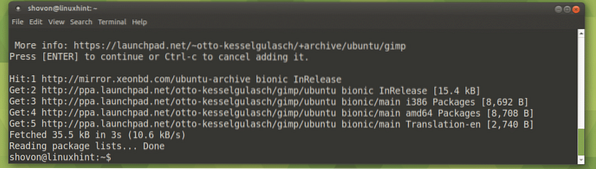
The unofficial GIMP PPA should be added and the APT package repository cache should be updated.
Now install GIMP 2.10 with the following command:
$ sudo apt install gimp
Now press y and then press
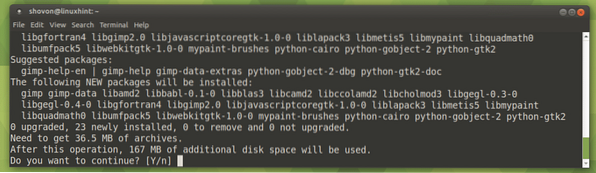
GIMP 2.10 should be installed.
Starting GIMP 2.10:
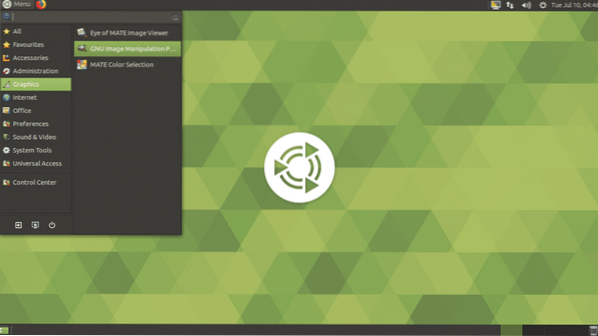
Now you can find GIMP 2.10 launcher in the Application Menu of your Ubuntu 18.04 LTS operating system. Click on the GNU Image Manipulation Program icon to start it.
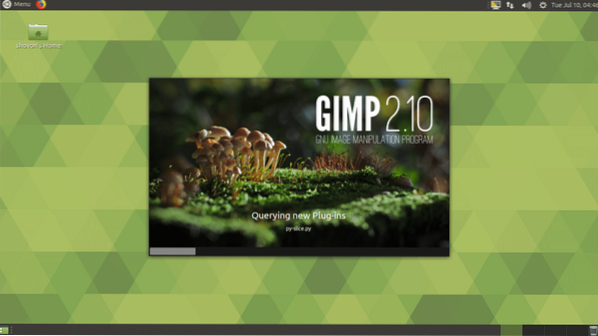
GIMP 2.10 splash screen should show up.
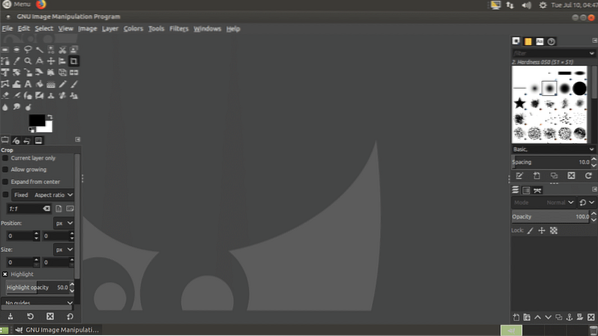
GIMP 2.10 should start as you can see in the screenshot below.
Creating a New File on GIMP:
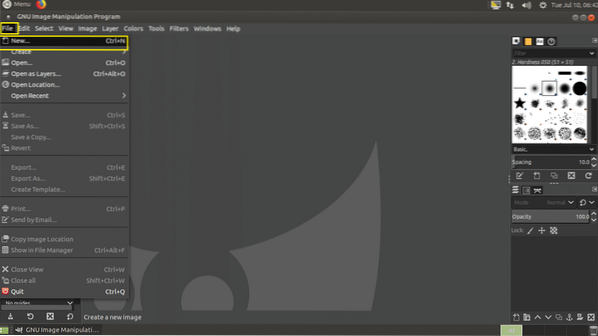
To create a new blank file, go to File > New… or you can press
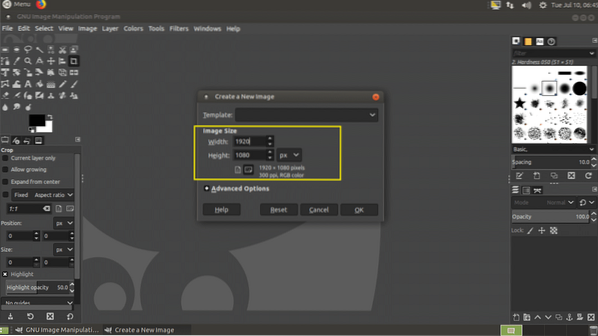
Now you can set your image's Width and Height in the Image Size section as marked in the screenshot below.
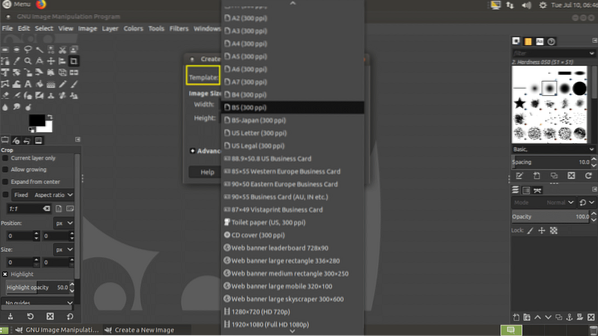
You can choose from a lot of pre-defined Templates from the Template section as you can see from the screenshot below. Choosing a Template will also set your Width and Height accordingly.
You can also click on the Advanced Options to see more options. Once you're happy with your configuration, click on OK.

A new file should be created.
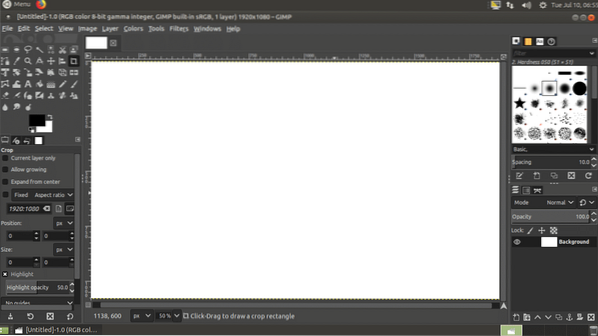
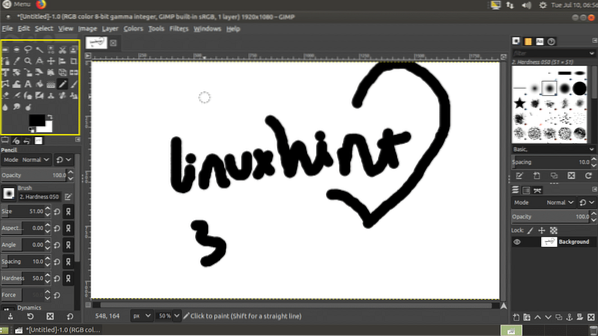
Now you can draw and do many things here with one of the tools as marked in the screenshot below.
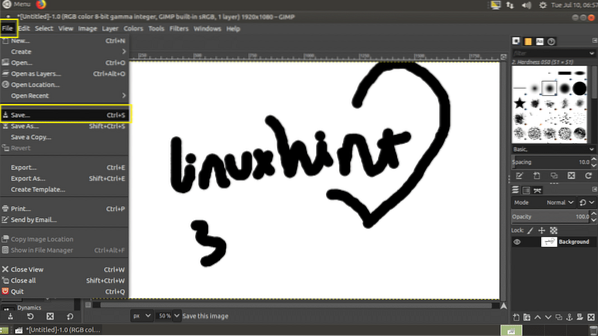
Saving Your Work:
Once you're done with your drawing and editing, go to File > Save… or press
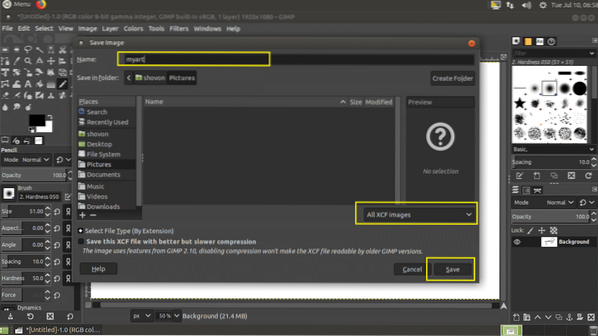
Now in the Save Image dialog, navigate to the directory where you want to save your work, type in a filename, select the Image type and click on Save. Your work should be saved. The GIMP's own file format is XCF, it is what PSD for Adobe Photoshop. This image type keeps all the Layers and other object data, so that you can open them and make changes later.
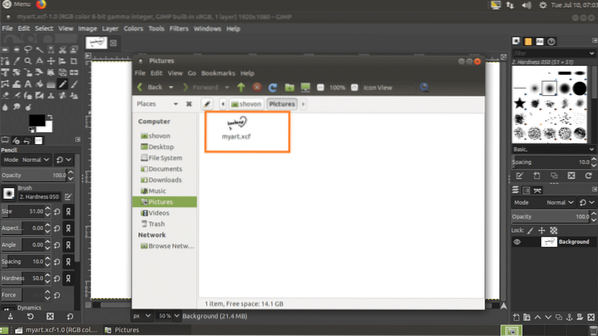
As you can see, my work is saved as an XCF file.
Opening an Image File on GIMP:
You can open an image file with GIMP if you go to File > Open… or press + o.

Now select your file and click on Open.

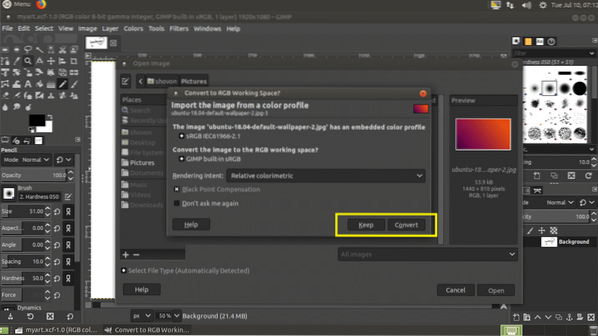
In case your image has different Color Profile than the one GIMP uses, you may see the following window. You can click on Keep to keep the original Color Profile, or you can click on Convert to convert the original Color Profile to GIMP Color Profile. I will keep the original Color Profile.
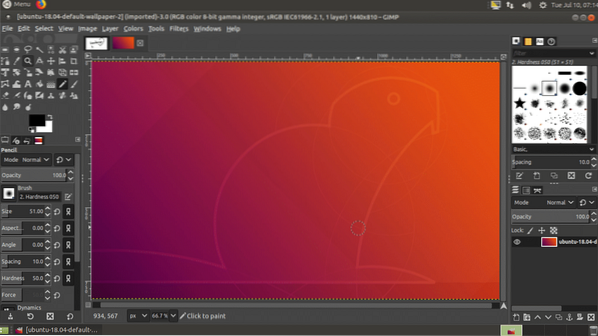
Your image should open.
Resize Images with GIMP:
You can use GIMP 2.10 to resize images.
First open an image.

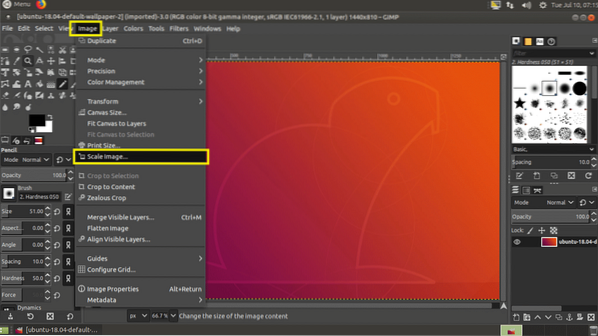
Now go to Image > Scale Image…
You should see the Scale Image window. You can click on the marked icon to toggle Relative Scaling. If Relative Scaling on enabled, changing the Width or Height of the image will change the other as well. If you disable Relative Scaling, then you can change the Width and Height of the image separately.
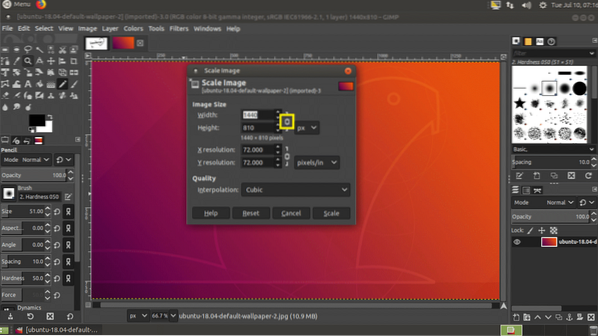
Once you're done, click on Scale.
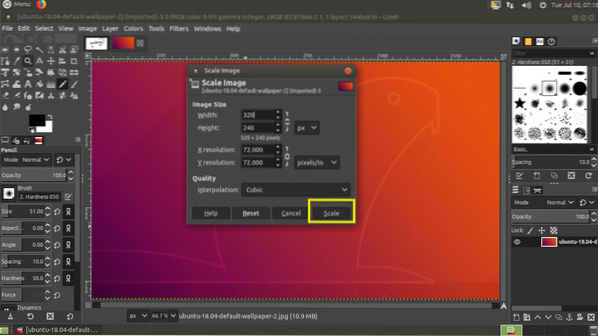
The image should be resized.

Exporting Images with GIMP:
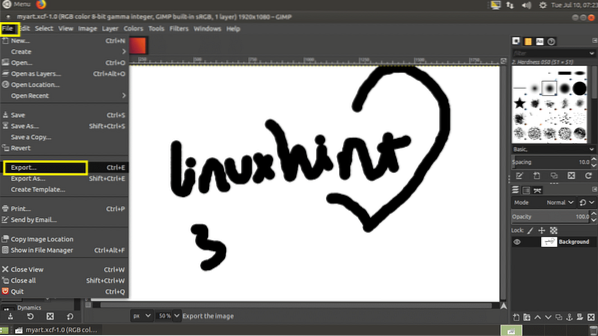
GIMP saves its images as XCF file. This file is only good for GIMP. If you send it to someone, he/she won't be able to open it without GIMP. So you want to send a common image format such as JPEG or PNG, which can even be opened in a web browser or image viewer in any operating system.
To do that go to File > Export… or press
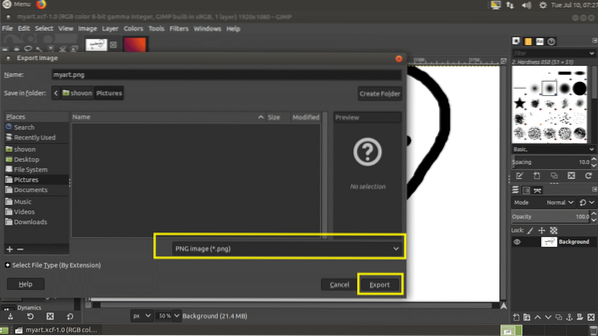
Now type in your filename, select your destination directory and finally click on the type selector as marked in the screenshot below.
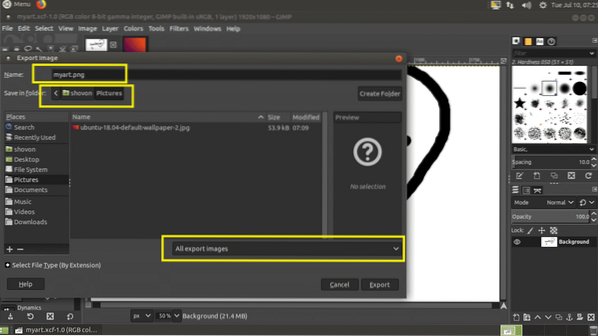
Now select JPEG or PNG from the list.
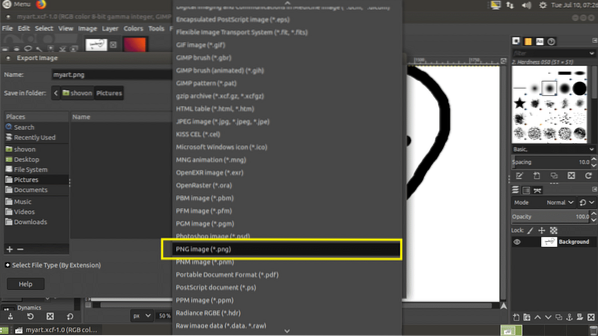
Now click on Export.
Click on Export again.
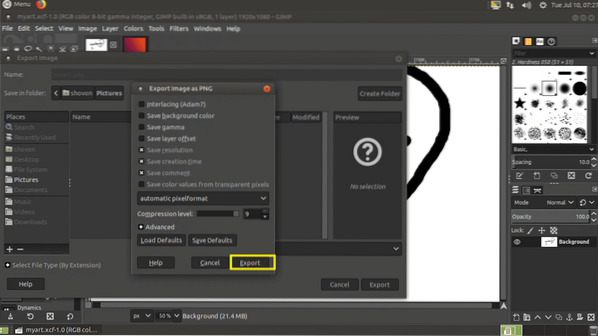
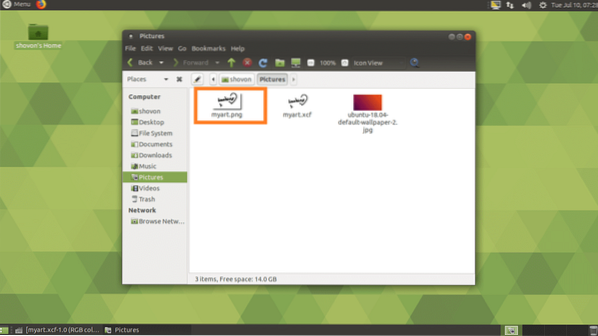
The file should be exported.
That's how you install GIMP 2.10 on Ubuntu 18.04 LTS. Thanks for reading this article.


