First you have to add the repository of QGIS 3 on the sources.list file of your Ubuntu 18.04 Bionic Beaver machine.
You can directly edit the /etc/apt/sources.list file with the following command:
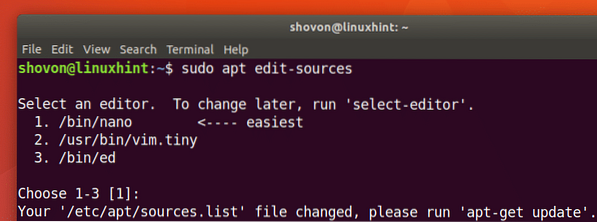
$ sudo nano /etc/apt/sources.listOr you can run the following command to open /etc/apt/sources.list file:
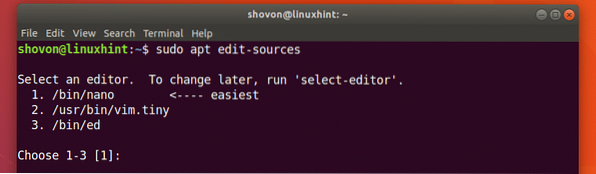
$ sudo apt-get edit-sources
It should ask you to choose a text editor. Select any text editor you want. Just type in the line number in the left side of each editor and press
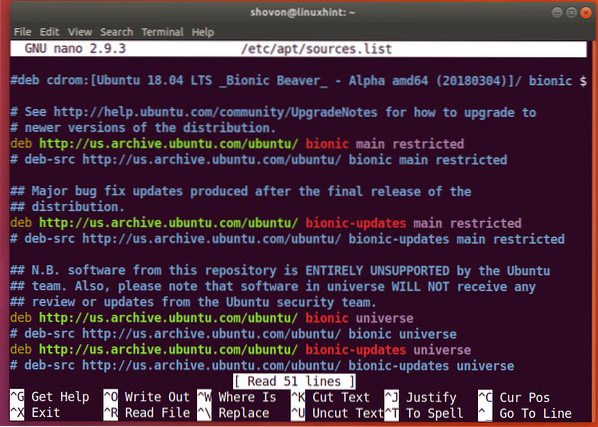
/etc/apt/sources.list file should be opened with your editor of choice. It should look something like the screenshot below. Here you can see all the Ubuntu's default package repository lists or more specifically apt lines. You have to add QGIS 3's apt line here.
As you're using Ubuntu 18.04 Bionic Beaver, you will have to add Ubuntu 18.04 specific repository of QGIS 3. The codename of Ubuntu Bionic Beaver is bionic.
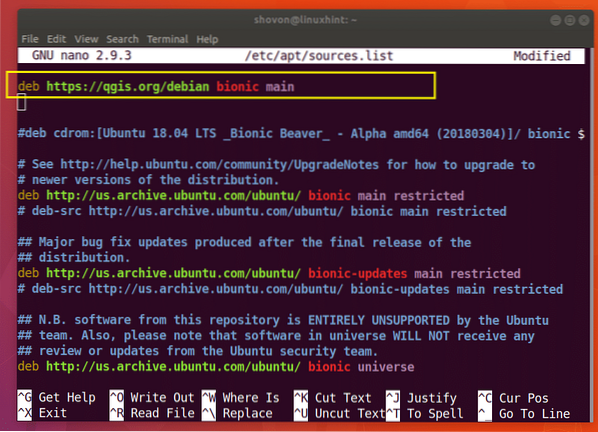
Add the following line to the top or bottom of the /etc/apt/sources.list file:
deb https://qgis.org/debian bionic main
This is how it looks like once the apt line of QGIS 3 is added to the /etc/apt/sources.list file.
If you're using nano just press
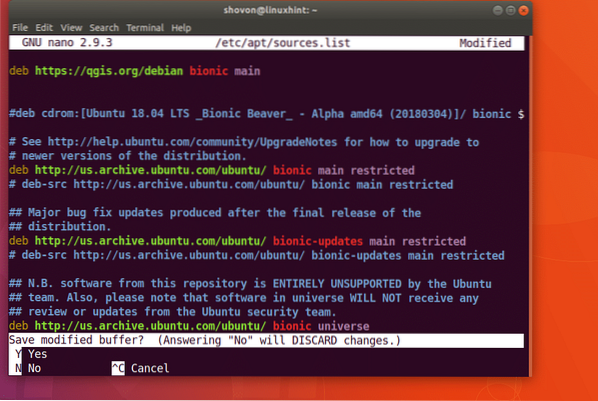
And then press
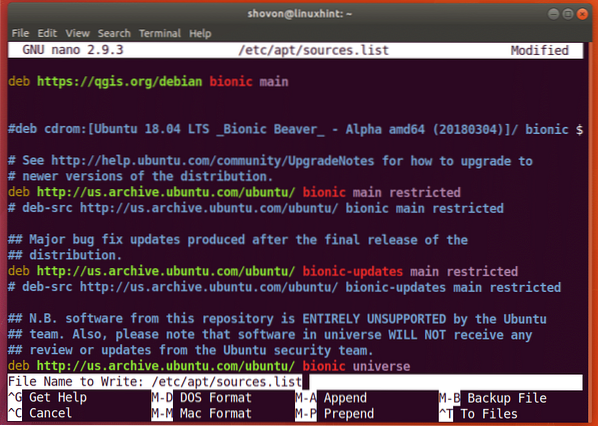
The file should be saved.
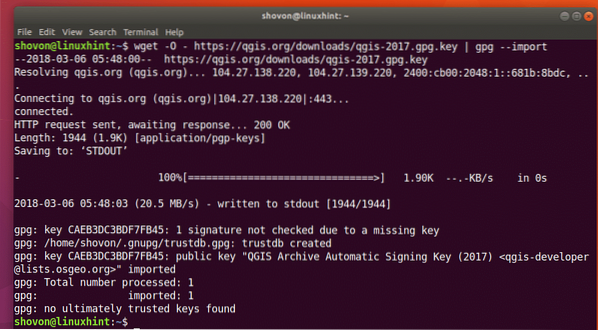
Now you have to import the GPG key of QGIS 3 with the following command:
$ wget -O - https://qgis.org/downloads/qgis-2017.gpg.key | gpg --import
The GPG key should be added to your Ubuntu 18.04 Bionic Beaver machine.
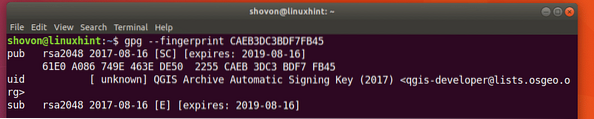
Now you can verify whether the GPG key was imported correctly with the following command:
$ gpg --fingerprint CAEB3DC3BDF7FB45
As you can see from the screenshot below, the GPG key was imported correctly.
Now you have to add the GPG key of QGIS 3 to apt package manager. Otherwise you won't be able to update the apt package repository cache of QGIS 3 repository and you won't be able to download and install QGIS 3 on Ubuntu 18.04.
Run the following command to add the GPG key of QGIS 3 to apt package manager:
$ gpg --export --armor CAEB3DC3BDF7FB45 | sudo apt-key add -
The GPG key should be added to the apt package manager.

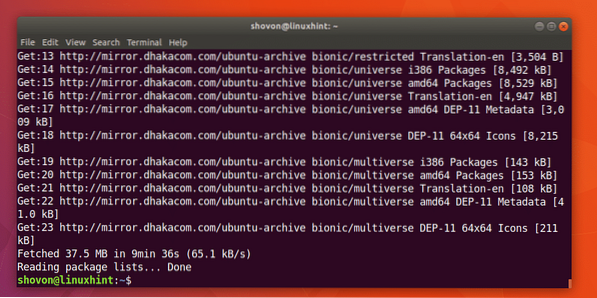
Now you should update the apt package repository cache of Ubuntu 18.04 Bionic Beaver with the following command:
$ sudo apt-get update
The package repository cache of your Ubuntu 18.04 Bionic Beaver machine should be updated.
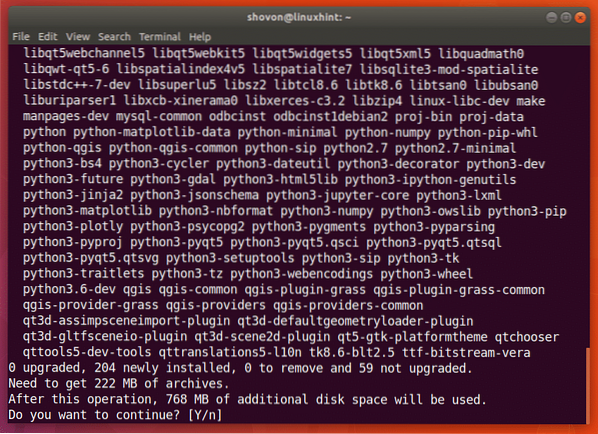
Now you can install QGIS 3 with the following command:
$ sudo apt-get install qgis python-qgis qgis-plugin-grass
Now press 'y' and then press
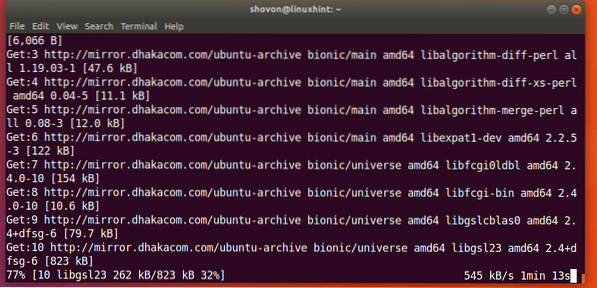
The download and installation process of QGIS 3 should start. It should take a while.
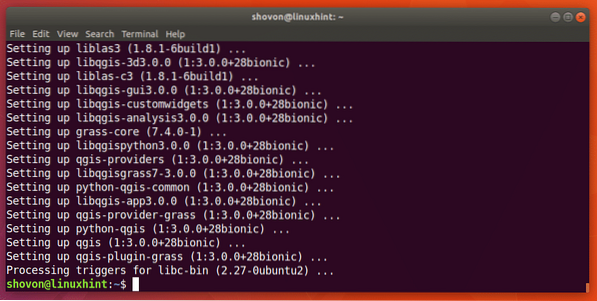
The installation process of QGIS 3 is complete at this point.
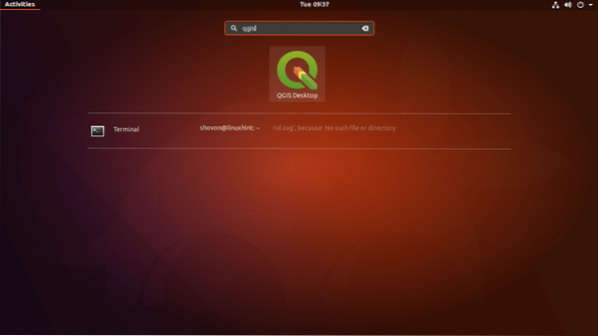
Now you can go to Activities of GNOME 3 desktop environment or Application Menu of other desktop environments and look for qgis and you should be able to find the logo of QGIS Desktop as shown in the screenshot below. Click on the QGIS Desktop logo.
You should see the following window as shown in the screenshot below.
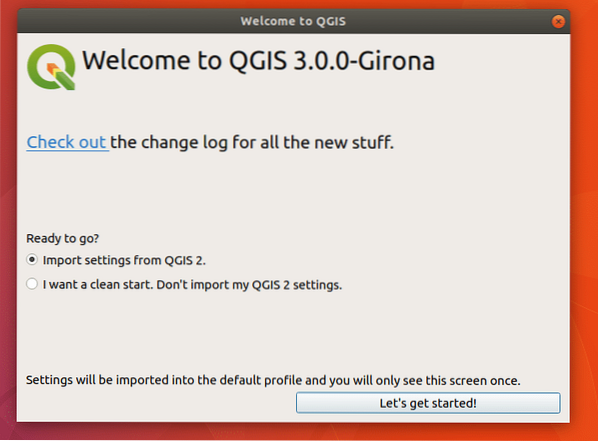
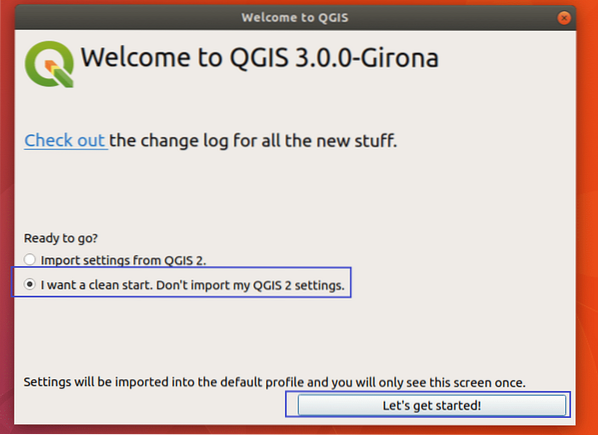
If you've used QGIS before and you have settings from previous version of QGIS, you should select Import settings from QGIS 2. If you're new to QGIS, then select I want a clean start. Don't import my QGIS 2 settings and click on the Let's get started! button as marked in the screenshot below.
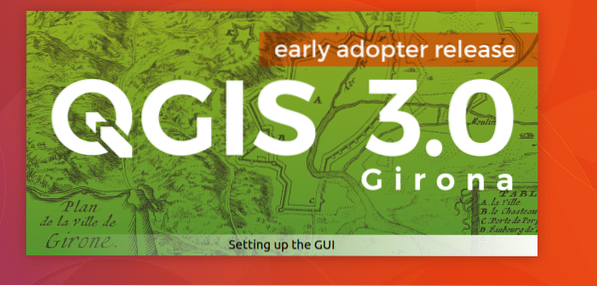
You should see a loading window of QGIS 3 as shown in the screenshot below.
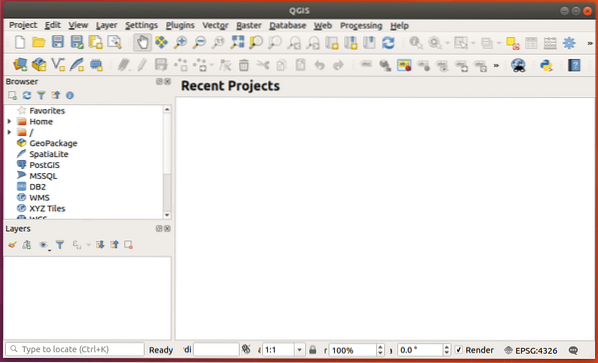
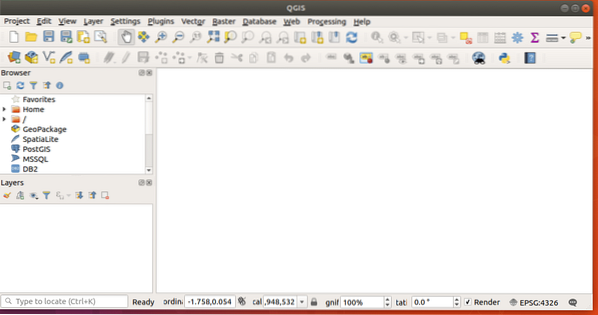
Once QGIS 3 loader loaded everything it needs, you should see the main window of QGIS 3 as shown in the screenshot below.
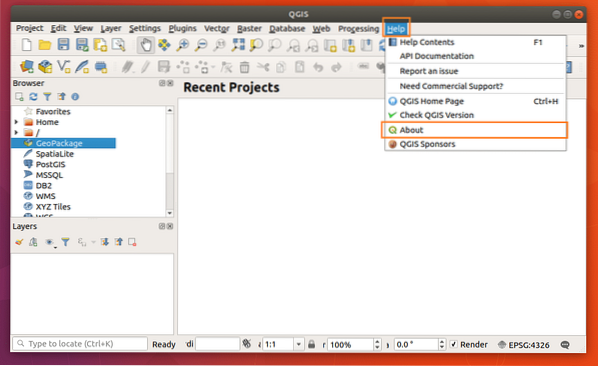
You can click on Help and then click on About from the dropdown menu to check more information about QGIS.
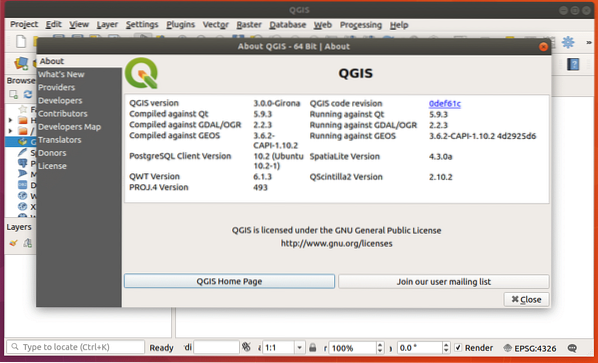
The About page of QGIS shows a lot of information about the QGIS you've installed as you can see from the screenshot below.
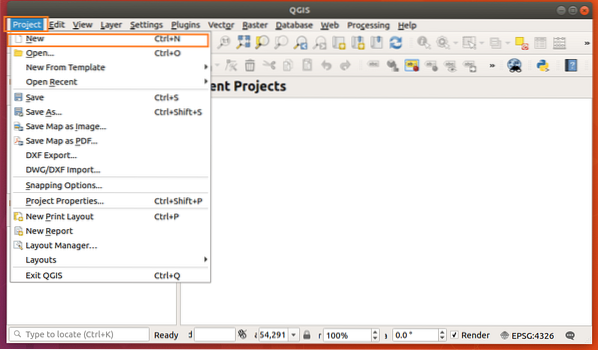
You can click on Project and click on New from the dropdown menu to create a new Project in QGIS 3 as marked in the screenshot below.
A new project is created.
Now have fun drawing your geospatial information. That's how you install and get started with QGIS 3 on Ubuntu 18.04 Bionic Beaver. Thanks for reading this article.


