Ever wanted to build your own operating system which boots in seconds and also includes your favourite programs? Are you a big fan of Linux and wants to create a custom Linux operating system which boots from USB or CD? If so, here is your chance to create a custom Linux OS with a few mouse clicks and that too without installing any software on your computer!
Computer users who are not familiar with coding or programming languages can also build an operating system, thanks to SUSE Studio. The custom OS can then be installed on a computer or inside a virtual machine. So, how to build your own OS?
SUSE Studio is a free service or web application that lets you build a custom Linux OS in seven simple steps. The user interface of this web application is easy-to-use. Even if you are new to Linux, you can build the custom OS without any difficulties.
Procedure:
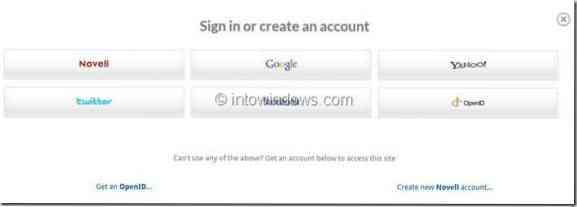
Step 1: Visit this page and click on Sign in or create an account button to login to the service. You can use Novell, Google, twitter, facebook, Yahoo!, or OpenID account to login.

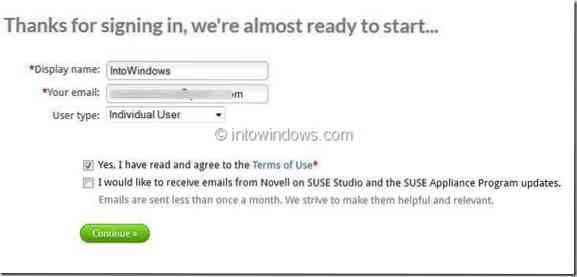
Step 2: After signing in, you will be asked to enter display name and user type. You will have to accept terms of use to continue. Enter the details, check Yes, I have read and agree to the Terms of Use and then click Continue button.
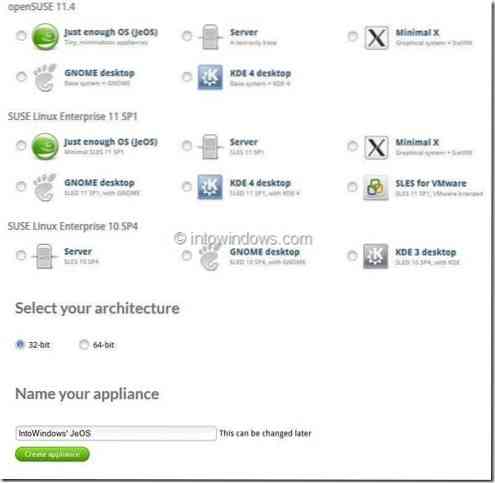
Step 3: This is where the actual OS building procedure begins. Users who are familiar with Linux desktop environment can select their favourite environment, SUSE version, and OS architecture (32-bit or 64-bit). If you have no idea, simply click on Create appliance button at the lower bottom of the page. In this guide, we have selected GNOME desktop and 32-bit architecture.

Step 4: In the following screen, you will be asked to configure the previously selected appliance. As you can see in the below screenshot, you will see Start, Software, Configuration, Files, Build and Share tab.
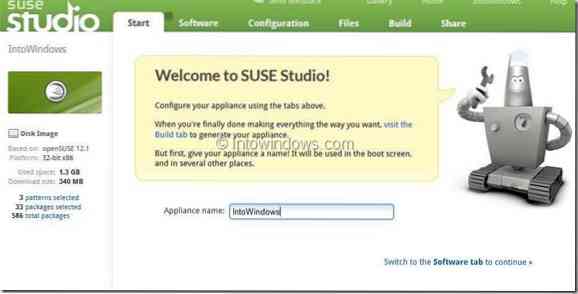
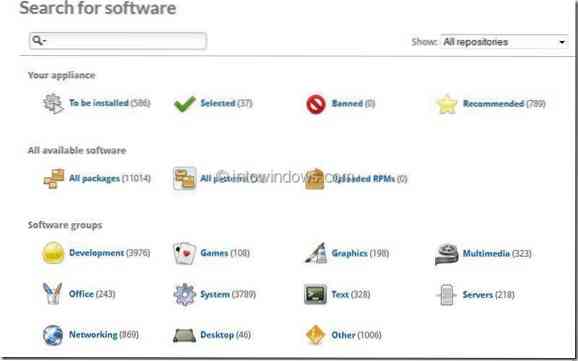
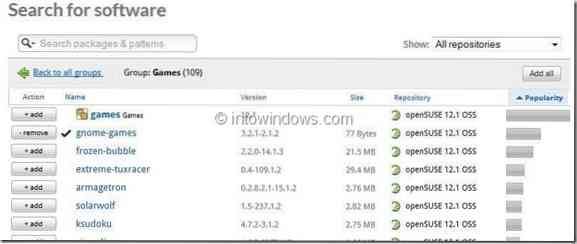
Under Start tab enter a name for your OS and then switch to Software tab to select software packages that you would like to include in your OS. Click on a software group to see the list of software available under that group. Clicking on add button will add the package or application to the build.
On the left side of the page, you can see disk image information such as platform, used space, download size, selected patterns, total included packages, etc.
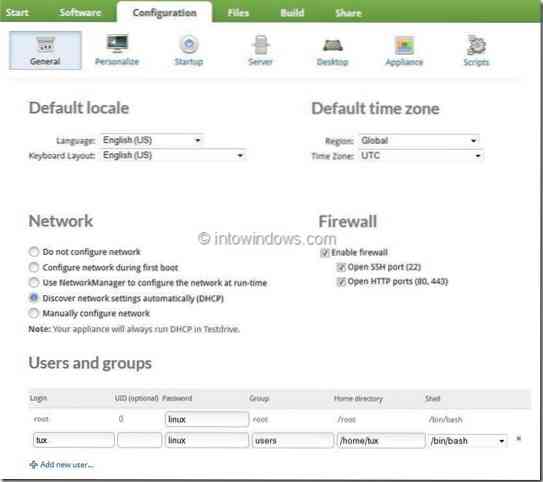
Step 5: Next switch to Configuration tab to change various default settings for network, users and groups, firewall, time zone, desktop background, end user license agreement (yes, you can add your own license agreement!), and many other settings. Once done, move to Files tab.
Step 6: Under Files tab, you will see options to upload files to your appliance. You can simply skip this tab and move to Build tab.
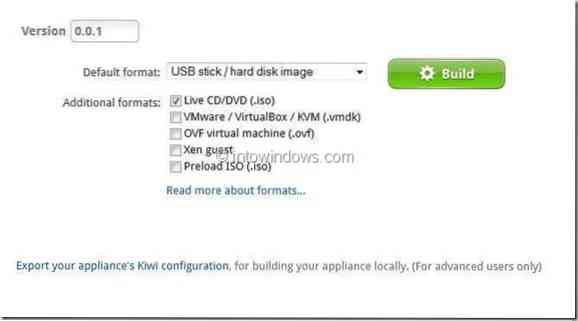
Step 7: Here, under Build tab,you will see options to create live CD/USB, VMware image, or preload ISO. Select an option and click on Build button to create your own Linux operating system.
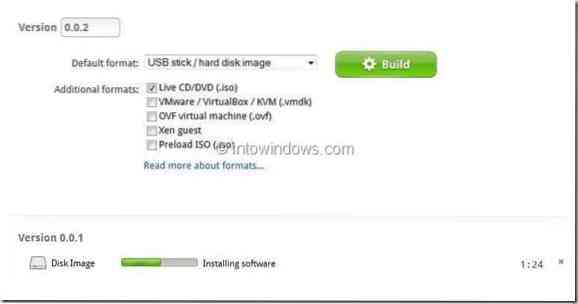
Depending on the size of the packages and configuration, the OS building process may take few minutes to hours. Once done, you will see options to test-drive the build and download the OS in ISO format. Good luck!


