An Intrusion Detection System can warn us against DDOS, brute force, exploits, data leak, and more, it monitors our network in real time and interacts with us and with our system as we decide.
At LinuxHint we previously dedicated Snort two tutorials, Snort is one of the leading Intrusion Detection Systems in the market and probably the first one. The articles were Installing and Using Snort Intrusion Detection System to Protect Servers and Networks and Configure Snort IDS and Create Rules.
This time I'll show how to setup OSSEC. The server is the core of the software, it contains the rules, event entries and policies while agents are installed on the devices to monitor. Agents deliver logs and inform on incidents to the server. In this tutorial we will only install the server side to monitor the device in use, the server already contains agent's functions to the device it is installed in.
OSSEC Installation:
First of all run:
apt install libmariadb2For Debian and Ubuntu packages you can download OSSEC Server at https://updates.atomicorp.com/channels/ossec/debian/pool/main/o/ossec-hids-server/
For this tutorial I will download the current version by typing in the console:
wget https://updates.atomicorp.com/channels/ossec/debian/pool/main/o/ossec-hids-server/ossec-hids-server_3.3.0.6515stretch_amd64.deb

Then run:
dpkg -i ossec-hids-server_3.3.0.6515stretch_amd64.deb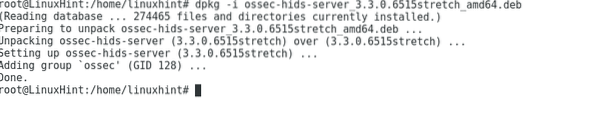
Start OSSEC by executing:
/var/ossec/bin/ossec-control start
By default our installation didn't enable mail notification, to edit it type
nano /var/ossec/etc/ossec.confChange
For
And add:

Press ctrl+x and Y to save and exit and start OSSEC again:
/var/ossec/bin/ossec-control start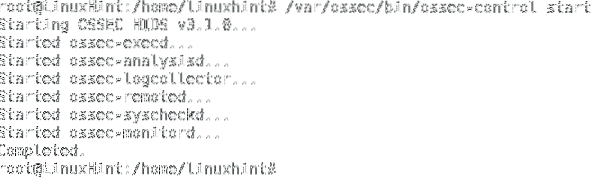
Note: if you want to install OSSEC's agent on a different device type:
wget https://updates.atomicorp.com/channels/ossec/debian/pool/main/o/ossec-hids-agent/ossec-hids-agent_3.3.0.6515stretch_amd64.deb
dpkg -i ossec-hids-agent_3.3.0.6515stretch_amd64.deb

Again lets check the configuration file for OSSEC
nano /var/ossec/etc/ossec.conf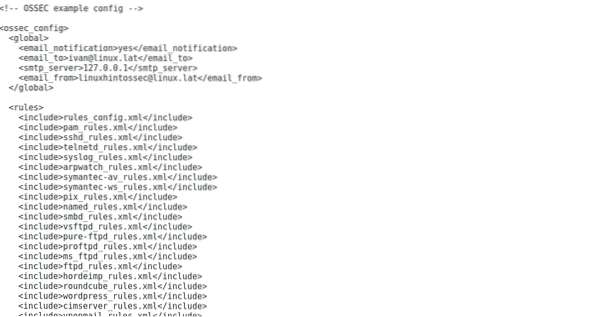 Scroll down to reach Syscheck section
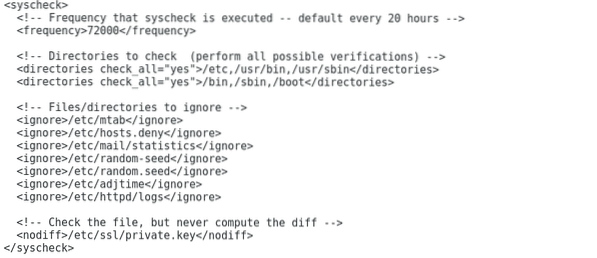
Here you can determine the directories checked by OSSEC and the revision intervals. We can also define directories and files to be ignored.
To set OSSEC to report events in real time edit the lines
To
/usr/sbin
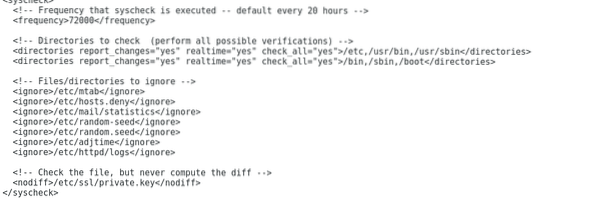
To add a new directory for OSSEC to check add a line:
Close nano by pressing CTRL+X and Y and type:
nano /var/ossec/rules/ossec_rules.xml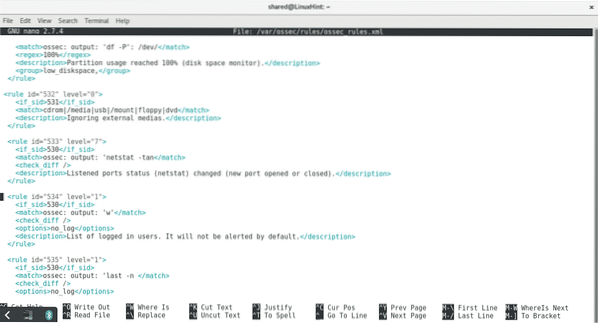
This file contains OSSEC's rules, the rule level will determine the system's response. For example, by default OSSEC only reports on level 7 warnings, if there is any rule with level lower than 7 and you want to get informed when OSSEC identifies the incident edit the level number for 7 or higher. For example if you want to get informed when a host gets unblocked by OSSEC's Active Response edit the following rule:
To:
A safer alternative may be to add a new rule at the end of the file rewritting the previous one:
Now we have OSSEC installed at local level, on a next tutorial we will learn more about OSSEC rules and configuration.
I hope you found this tutorial useful to get started with OSSEC, keep following LinuxHint.com for more tips and updates on Linux.


