Restrictive vs Permissive Firewall Policies
In addition to the syntax you need to know to manage a firewall, you will need to define the firewall's tasks to decide what policy will be implemented. There are 2 main policies defining a firewall behavior, and different ways to implement them.
When you add rules to accept or refuse specific packets, sources, destinations, ports, etc. the rules will determine what will happen with the traffic or packets which aren't classified within your firewall rules.
An extremely simple example would be: when you define if you whitelist or blacklist the IP x.x.x.x, what happens with the rest?.
Let's say you whitelist traffic coming from the IP x.x.x.x.
A permissive policy would mean all IP addresses which are not x.x.x.x can connect, therefore y.y.y.y or z.z.z.z can connect. A restrictive policy refuses all traffic coming from addresses which are not x.x.x.x.
In short, a firewall according to which all traffic or packets which are not defined among its rules isn't allowed to pass is restrictive. A firewall according to which all traffic or packets which are not defined among its rules is allowed is permissive.
Policies can be different for incoming and outgoing traffic, many users trend to use a restrictive policy for incoming traffic keeping a permissive policy for outgoing traffic, this variates depending of the use of the protected device.
Iptables and UFW
While Iptables is a frontend for users to configure the kernel firewall rules, UFW is a frontend to configure Iptables, they are not actual competitors, the fact is UFW brought the capability to quickly setup a customized firewall without learning unfriendly syntax, yet some rules can't be applied through UFW, specific rules to prevent specific attacks.
This tutorial will show rules I consider among the best firewall practices applied mainly but not only with UFW.
If you have not UFW installed, install it by running:
# apt install ufw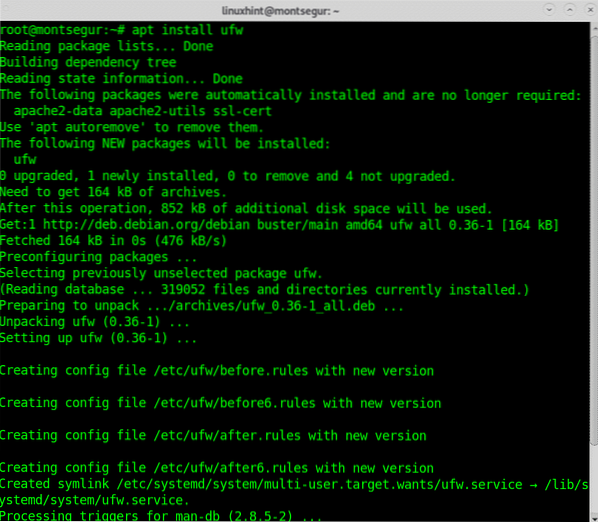
Getting started with UFW:
To begin let's enable the firewall at the startup by running:
# sudo ufw enable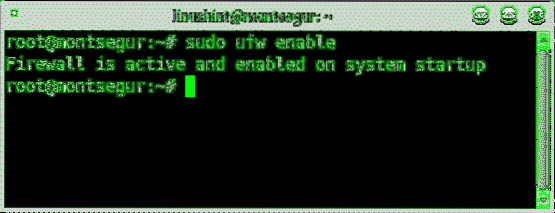
Note: if required you can disable the firewall using the same syntax replacing “enable” for “disable” (sudo ufw disable).
At any time, you will be able to check the firewall status with verbosity by running:
# sudo ufw status verbose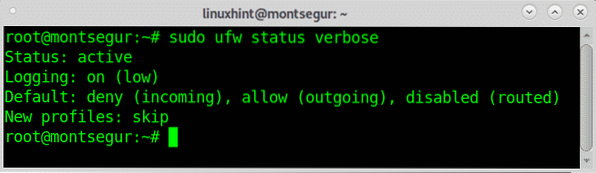
As you can see in the output the default policy for incoming traffic is restrictive while for outgoing traffic the policy is permissive,the “disabled (routed)” column means routing and forwarding are disabled.
For most of devices I consider a restrictive policy is part of the best firewall practices for security, therefore lets begin by refusing all traffic except the one we defined as acceptable, a restrictive firewall:
# sudo ufw default deny incoming
As you can see the firewall warns us to update our rules to avoid failures when serving clients connecting to us. The way to do the same with Iptables could be:
# iptables -A INPUT -j DROPThe deny rule on UFW will drop the connection without informing the other side the connection was refused, if you want the other side to know the connection was refused you can use the rule “reject” instead.
# sudo ufw default reject incoming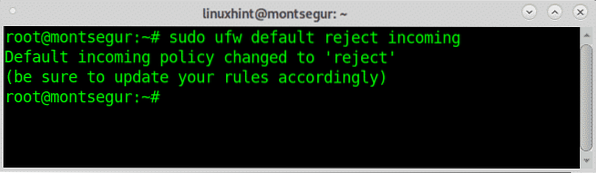
Once you blocked all incoming traffic independently of any condition lets start set discriminative rules to accept what we want to be accepted specifically, for example, if we are setting up a web server and you want to accept all petitions coming to your web server, in port 80, run:
# sudo ufw allow 80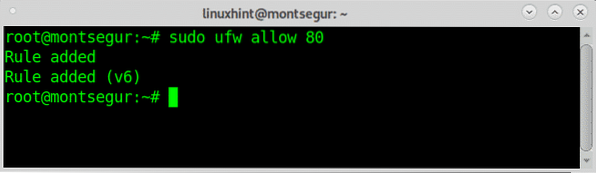
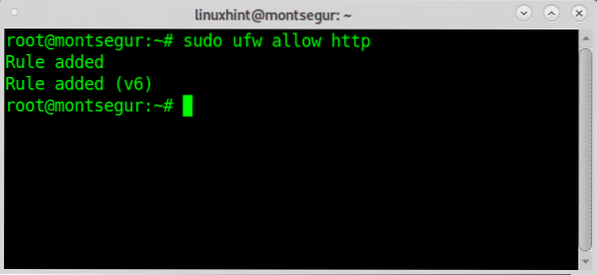
You can specify a service both by port number or name, for example you can use the prot 80 as above or the name http:
Additionally to a service you can also define a source, for example, you can deny or reject all incoming connections except for a source IP.
# sudo ufw allow from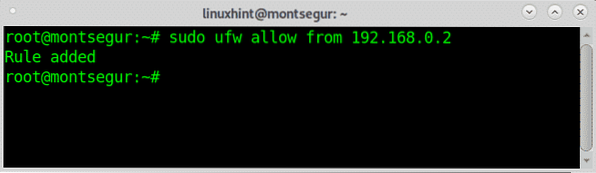
Common iptables rules translated to UFW:
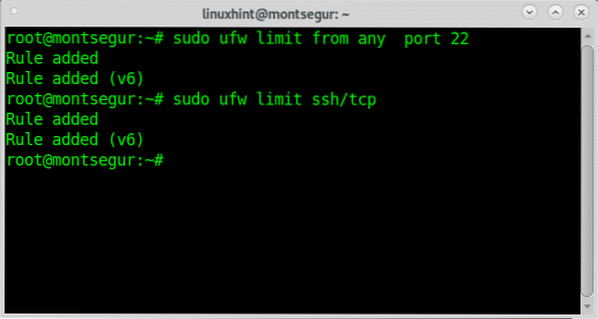
Limiting rate_limit with UFW is pretty easy, this allows us to prevent abuse by limiting the number each host can establish, with UFW limiting the rate for ssh would be:
# sudo ufw limit from any port 22# sudo ufw limit ssh/tcp
To see how UFW made the task easy below you have a translation of the UFW instruction above to instruct the same:
# sudo iptables -A ufw-user-input -p tcp -m tcp --dport 22 -m conntrack --ctstate NEW-m recent --set --name DEFAULT --mask 255.255.255.0 --rsource
#sudo iptables -A ufw-user-input -p tcp -m tcp --dport 22 -m conntrack --ctstate NEW
-m recent --update --seconds 30 --hitcount 6 --name DEFAULT --mask 255.255.255.255
--rsource -j ufw-user-limit
# sudo iptables -A ufw-user-input -p tcp -m tcp --dport 22 -j ufw-user-limit-accept
The rules written above with UFW would be:
I hope you found this tutorial on Debian Firewall Setup Best Practices for Security useful.


