This article shows you how to change the appearance and themes in Android Studio.
Changing the Theme of Android Studio
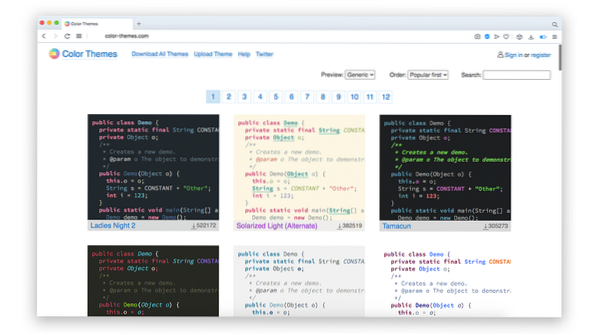
When changing the theme of Android Studio, the first thing you need to do is download some color themes. Visit http://color-themes.com to do so, as shown in the image below:
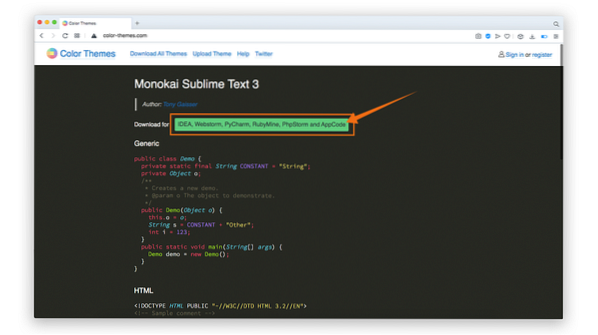
There are tons of themes available on this site. Select the theme of your choice and download it (for this tutorial I am downloading 'Monokai Sublime Text 3'):

Download the Jar file of the theme:
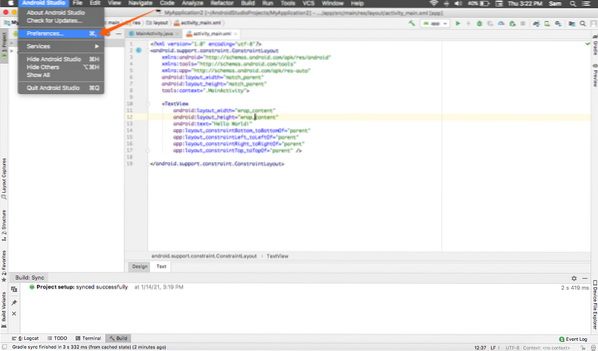
Open Android Studio and click Android Studio, then Preferences:
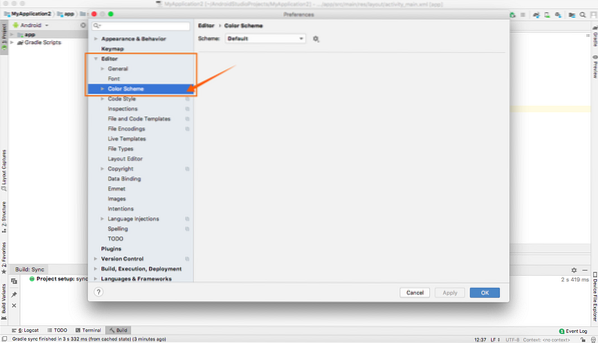
Expand the Editor menu item, then click the Color Scheme option:
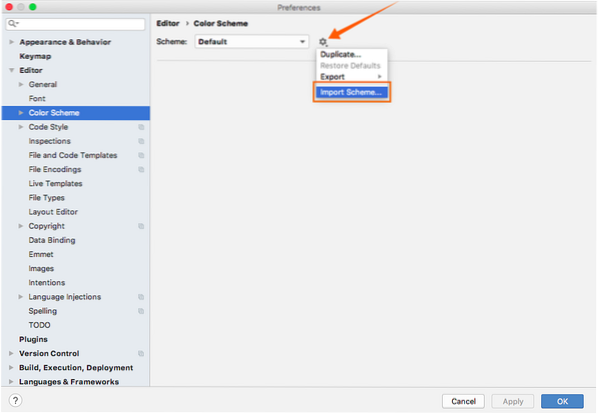
To import the downloaded scheme, click the icon, and a menu will show up. See the following image for reference. Next, click Import Scheme:
Navigate to the folder in which the Jar file of the theme is stored and import it:

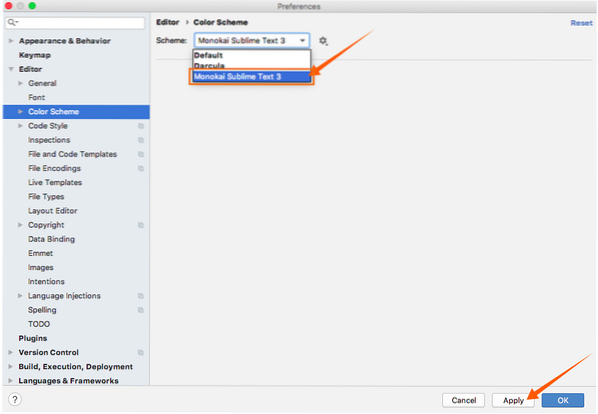
Now, the scheme can be viewed in the Scheme menu. Select the theme you would like to apply to Android Studio and hit the Apply button.
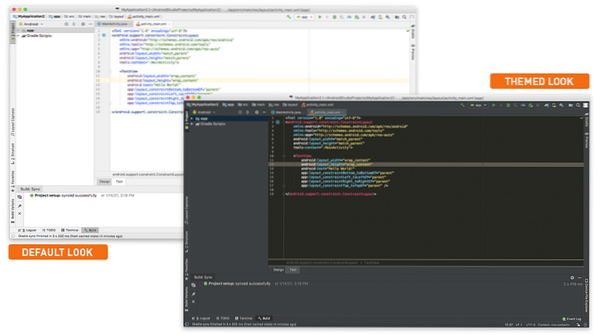
After you click Apply, the entire appearance of the IDE will change, as shown in the images below:
Conclusion
For a developer, the appearance of any IDE matters. Luckily, Android Studio is very flexible in terms of customization and themes. In this article, you learned how to change the appearance of Android Studio by downloading a scheme and applying it to the program.


