The dig command to query DNS records
The traceroute command to diagnose network problems
The scp command to transfer files between devices
The nc (netcat) command to scan ports and transfer files
The rsync command to clone directories between devices
The present tutorial is a continuation of Basic Linux Network Commands, despite it starts with easy commands for DNS lookup, all commands are essential to diagnose problems. In this tutorial a few examples for each command are shown and briefly explained.
The nslookup and host commands to query DNS records
According to Wikipedia “nslookup is a network administration command-line tool available in many computer operating systems for querying the Domain Name System (DNS) to obtain domain name or IP address mapping, or other DNS records.”
In the following example the command nslookup is used to resolve the IP address of linuxhint.com.
nslookup linuxhint.com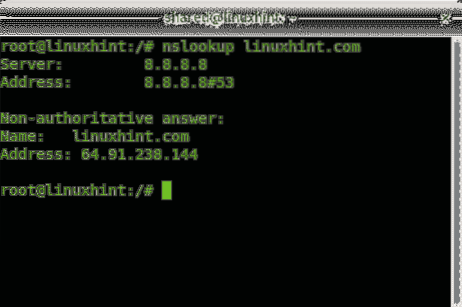
The following example shows the mx records for linuxhint.com by applying the option -type=mx.
nslookup -type=mx linuxhint.com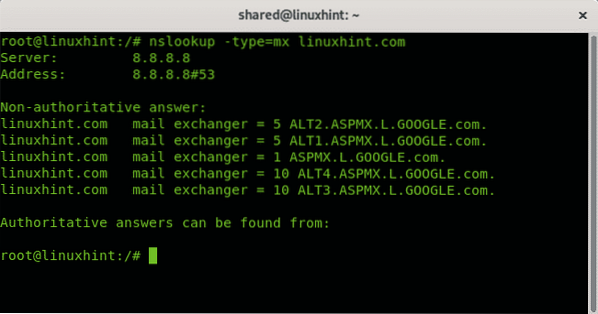
Alternatively you could use the command host to get both lookup resolution and mx records:
host linuxhint.com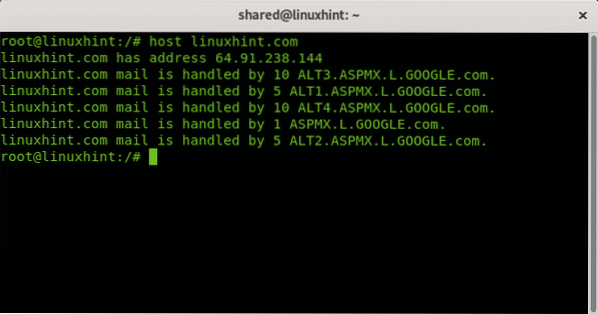
The dig command to query DNS records
The dig command (Domain Information Groper) needs a longer description to understand its output (check Understanding dig command output section)
dig linuxhint.com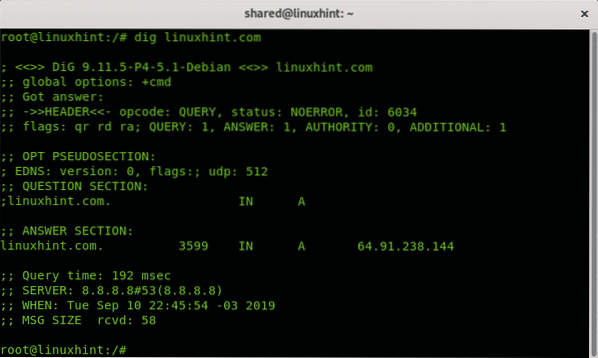
Where (Understanding dig command output):
The first line ; <<>> DiG 9.11.5-P4-5.1-Debian <<>> linuxhint.com shows the dig version used.
The following lines specify dig got an answer to a query without errors, its ID number, flags section in this case show it is printing a query response (qr), Recursion Desired (rd) and Recursion Available (ra). The rest prints the quantity of results.
;; ->>HEADER<<- opcode: QUERY, status: NOERROR, id: 6034
;; flags: qr rd ra; QUERY: 1, ANSWER: 1, AUTHORITY: 0, ADDITIONAL: 1
Next lines show EDNS (Extension mechanisms for DNS) compatibility, while the Question section shows what was asked (linuxhint.com Address).
;; OPT PSEUDOSECTION:; EDNS: version: 0, flags:; udp: 512
;; QUESTION SECTION:
;linuxhint.com.
The answer section gives the result, linuxhint.com IP address (A).
;; ANSWER SECTION:linuxhint.com. 3599 IN A 64.91.238.144
The rest is additional description on how the query was carried out, time, DNS server and size.
;; Query time: 192 msec;; SERVER: 8.8.8.8#53(8.8.8.8)
;; WHEN: Tue Sep 10 22:45:54 -03 2019
;; MSG SIZE rcvd: 58
It is important to highlight all from all mentioned above only the lines without “;” are relevant, lines starting with “;” are comments.
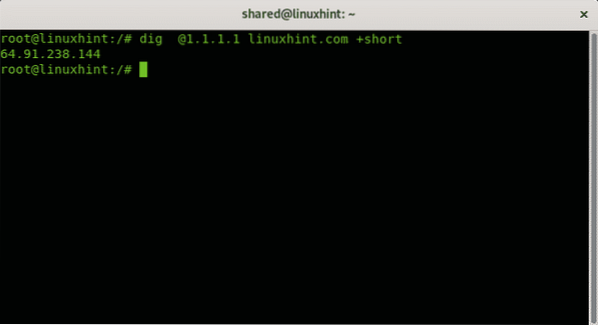
By default, dig works through our local DNS (on Linux specified in the file /etc/resolv.conf). We can specify a DNS by adding a @ prefix.
The following example instructs dig to use the 1.1.1.1 DNS and avoid all comments with the option +short.
To end the introduction to dig, a final example showing the CNAME records for LinuxHInt:
dig linuxhint.com CNAME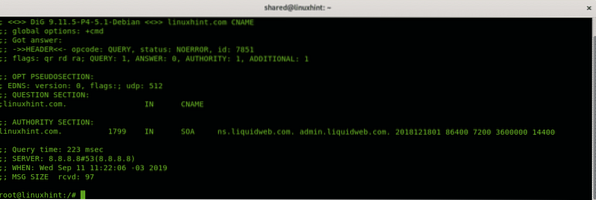
You can use dig to get any kind of DNS record like MX records.
The traceroute command to diagnose network problems
All modern operating systems include the traceroute feature (recently explained in Nmap traceroute). This function is excellent to diagnose network problems, including speed tests and packets which can't reach the destination. When traffic goes through internet each routing device intermediating is called “hop”, traceroute helps to identify what hops are affecting our traffic in some manner, for example, delaying it or blocking it.
The following example shows a simple traceroute, without options, for linuxhint.com
traceroute linuxhint.com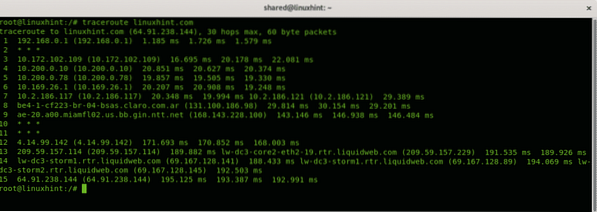
In the example above you see 15 hops, or routing devices from my local router 192.168.0.1 to reach linuxhint.com, some of the hops, 2, 10 and 11 are not responding to the traceroute packets (* * *).
Let's take a single line to check:
On the side right you can see the round-trip time (RTT), it gives three times because by default traceroute sends 3 packets, you can modify it by applying the -q option.
The following example will show only one RTT result per line:
traceroute -q 1 linuxhint.com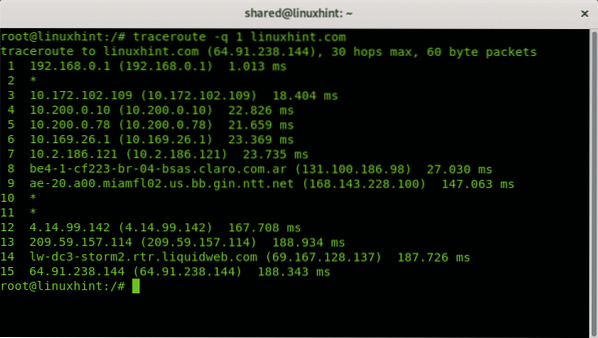
In case a connection is slow, or you couldn't reach the destination by using traceroute you can determine what hop is generating the problem.
The scp command to transfer files between devices
The scp command is a command every admin, or user should know to transfer files between Linux devices, it was deeply explained at Using the scp Command, but will be quoted in this tutorial too.
The first example shows how to copy a file from a remote computer to the local computer, the syntax is:
scp [email protected]:/path/to/remote/file /local/directory/where/to/save/the/fileWhere:
scp = calls the program
Username = replace it for the proper username
@ = separates username and host/ip
X.X.X.X = replace it for the proper host/ip.
:/path/to/remote/file = determine the remote location of the file to fetch.
/local/directory/where/to/save/the/file = replace it for the local directory where you want to store the file.
In my case, I connect to the remote device with IP 192.168.0.1 using the user linuxhint to copy the Vagrantfile file which is stored in the home directory of the user linuxhint, and I copy it to the home of the local user called shared.
scp [email protected]:/home/linuxhint/Vagrantfile /home/shared/
The following example shows how to copy a local file to a remote device:
scp /home/shared/Vagrantfile [email protected]:/home/linuxhint/Desktop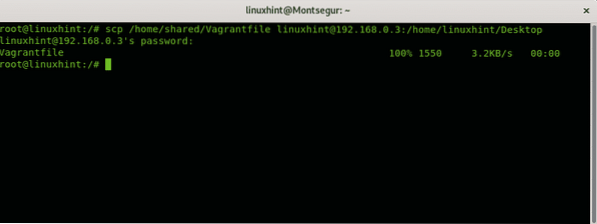
Where:
scp = calls the program
FILENAME = name of the file to transfer
Username = replace it for the proper username
@ = separates username and host/ip
X.X.X.X = replace it for the proper host/ip
:/remote/directory = determine the remote location to store the transferred file.
The nc command to transfer files and scan ports
The nc (netcat) command is among the most useful tools for sysadmins, nc is useful for many tasks like redirecting, port scan, server diagnostics, file transferences, network monitoring and more. This tutorial shows two examples of the nc command use to scan ports and transfer files over the network.
The following example shows how nc is used to send a file called “linuxhint” from a computer to another through port 22.
On the destination computer run the following command:
nc -l 22 > linuxhint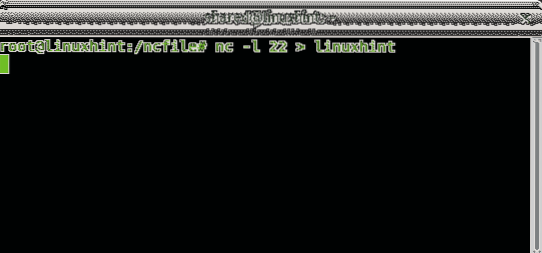
On the sending computer execute:
nc 192.168.0.14 22 < linuxhint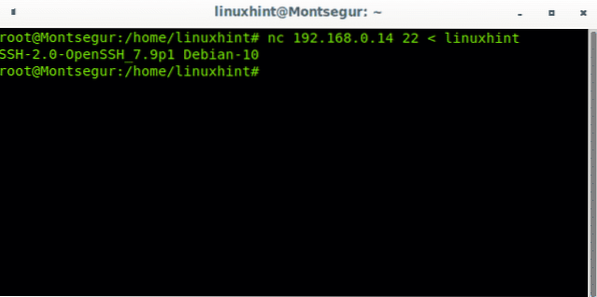
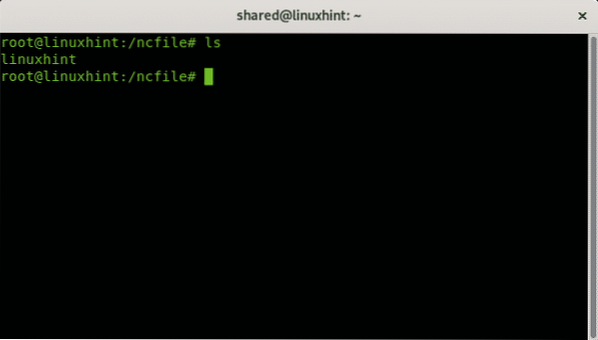
I check the file is there by running ls
The following example shows how nc is used to scan the range port 22-80 on linuxhint.com
nc -z -v linuxhint.com 22-80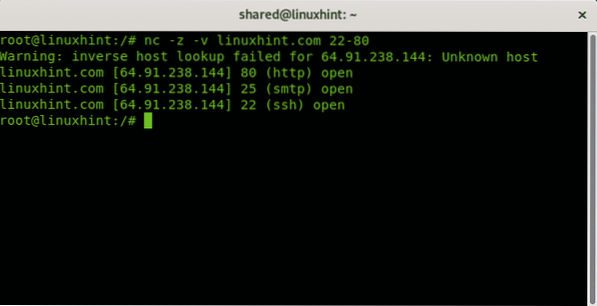
The rsync command to clone and files directories between devices
The rsync command is a great tool to clone files and directories from a device to other, it can be useful to keep real time synchronization between devices, you can keep updated back up, create a script for Continuous Data Protection and more. The following 2 examples show how to synchronize files and directories from and to a server.
The syntax to copy a file from a server to a directory is:
rsyncIn the following example I copy the file named linuxhint to the current or working directory (.)
rsync [email protected]:/home/linuxhint/linuxhint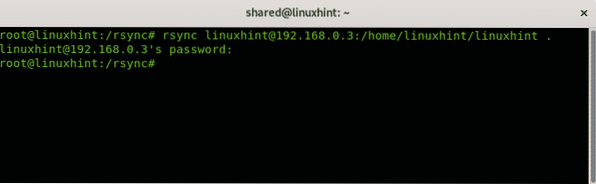
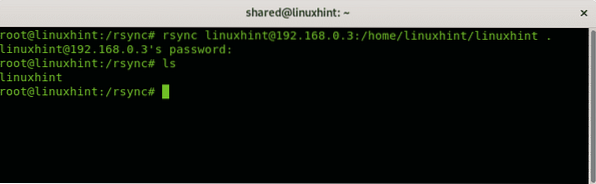
I check the file transference with by running ls on the working directory
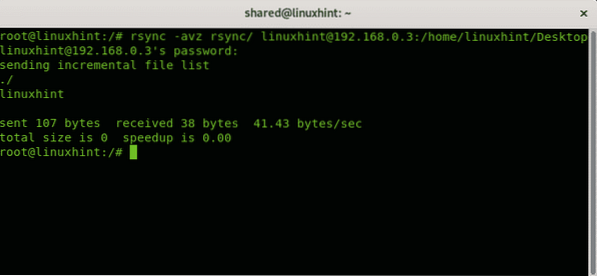
The following example shows how to clone a local directory to a remote server, the syntax is:
rsync -avz:
In this practical example I clone a directory named rsync to the Desktop directory of the linuxhint user at the remote server.
Where:
a= archive
z= compress
v= verbosity
I hope you found this description on important Linux networking commands useful to understand their importance when working with networks. Keep following LinuxHint for new tips and updates on Linux and networking.


